Okay, so I know I said I wasn't going to buy the nephews and nieces any toys for Christmas -- does this really count? It's not some shiny light up plastic thing after all. Oh well, I suppose I'm allowed to break my own rules.
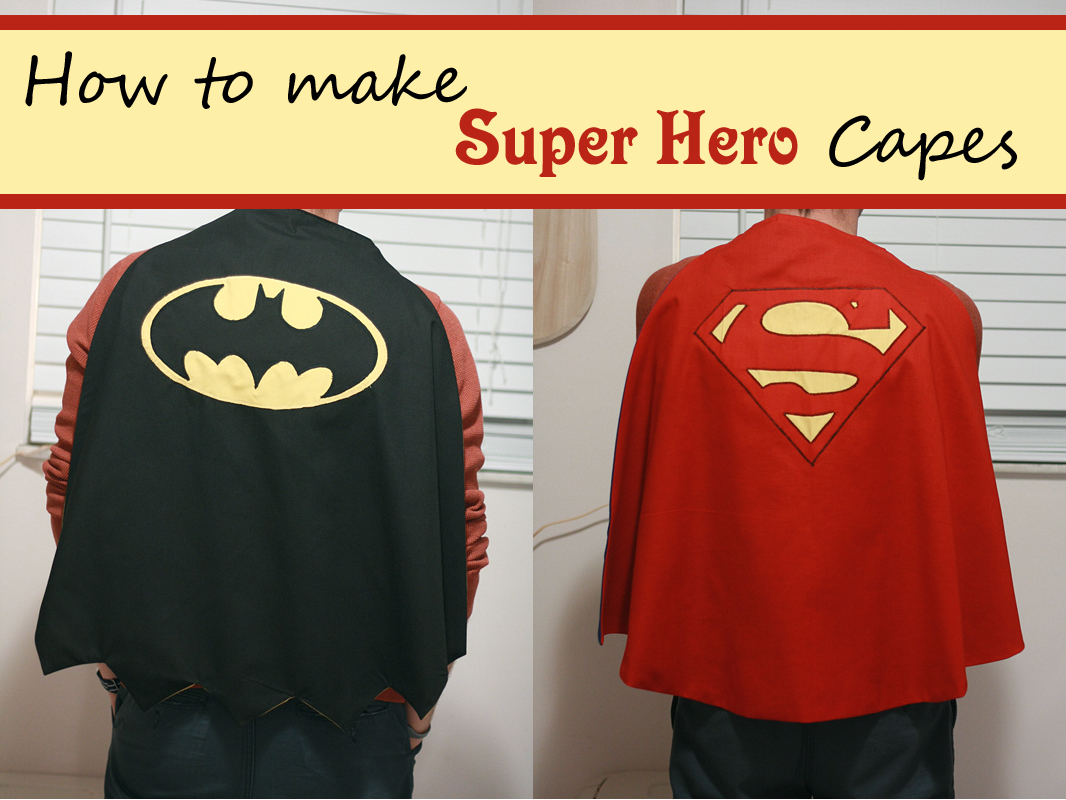
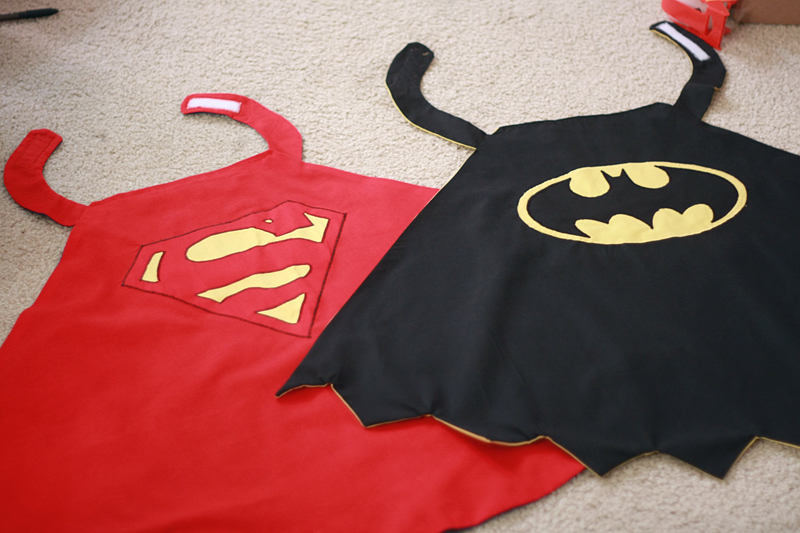
The oldest nephew right now is enamored with super heroes. Loves them. Ran around the house at Thanksgiving assigning everyone a super hero. So when I ran across these on Pinterest, I knew I had a winner for a Christmas gift.
Surprisingly, these are fairly easy -- the longest part is appliqueing the emblem on the back. And choosing what you want to go on the back in the first place.
Things You'll Need
3/4 yard fabric for each side of the cape (1 1/2 yards total)
1/8-1/4 yard fabric for each emblem piece/layer
Spools of thread in matching colors
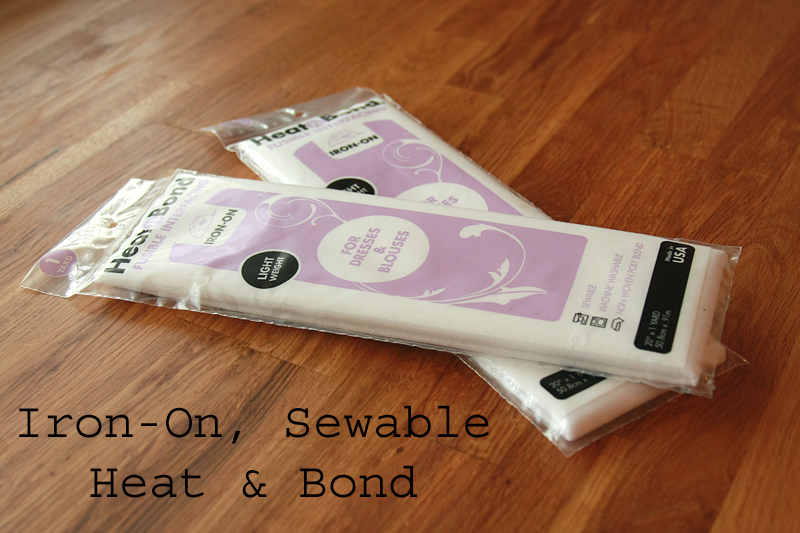
Iron-on, Sewable, Heat & Bond interfacing
Scissors
Tape measure
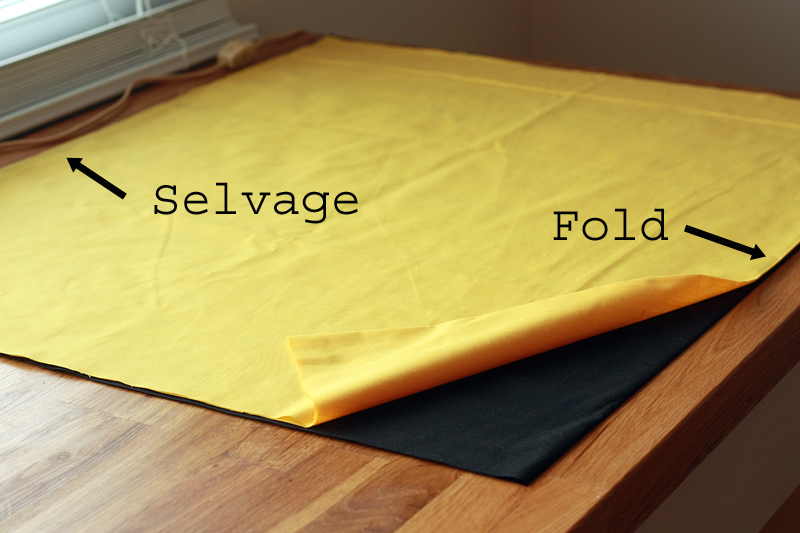
Let's start by cutting out the body of our cape. I went with two different colors (one for the front and one for the back) for each cape I made, but you could easily just use the same color for both.
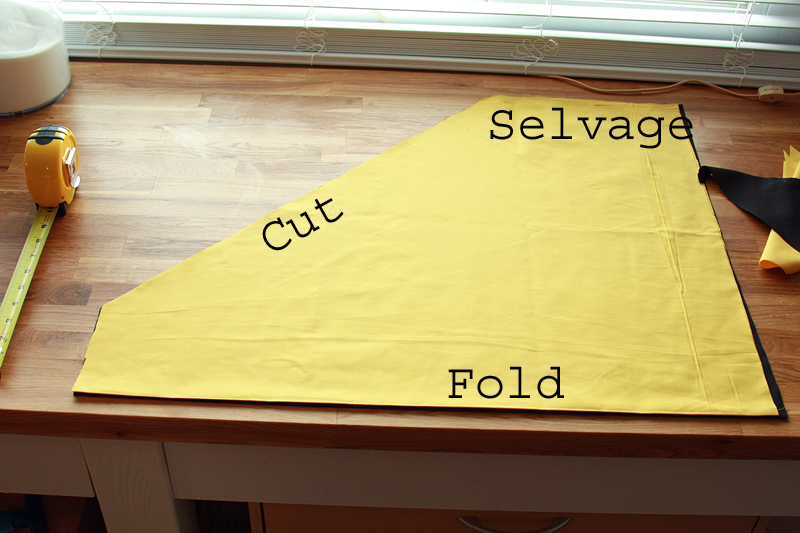
Lay out both 3/4 yard pieces of fabric (if using one color, cut your 1 1/2 yard piece in two), one on top of the other with the folds and selvages lined up.
Grab the top left corner (between top of fabric and selvage) of the top fabric and pull downwards towards the fold. Stop when there is 4" left along the top between the fold and the fabric you are pulling. This is going to be the neckline.
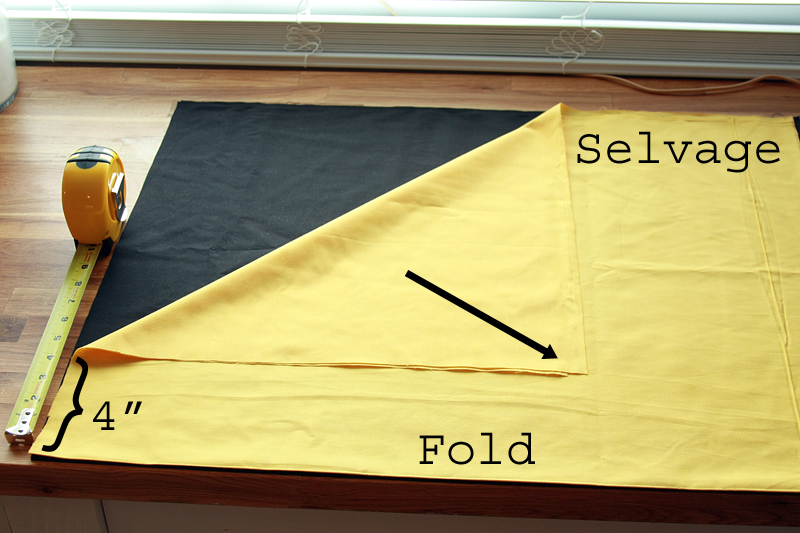
Cut along the crease you just formed. This is going to be the sides of the cape.
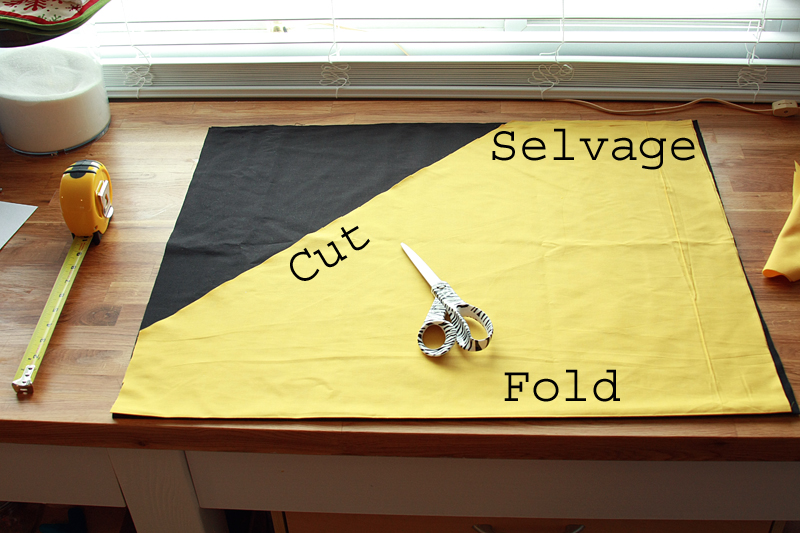
Cut the bottom layer along this line.
Now we run into Tricky Part #1. You're going to have to free-hand draw a little here. In order to give the bottom of the cape a nice curve, you need to draw a line from the bottom corner (fold side) to the corner you just made. Don't worry, you can do it. It took me a few tries to get it how I wanted it, but I found that starting straight for a little bit along the bottom of the cape worked better than trying to curve from the get-go.
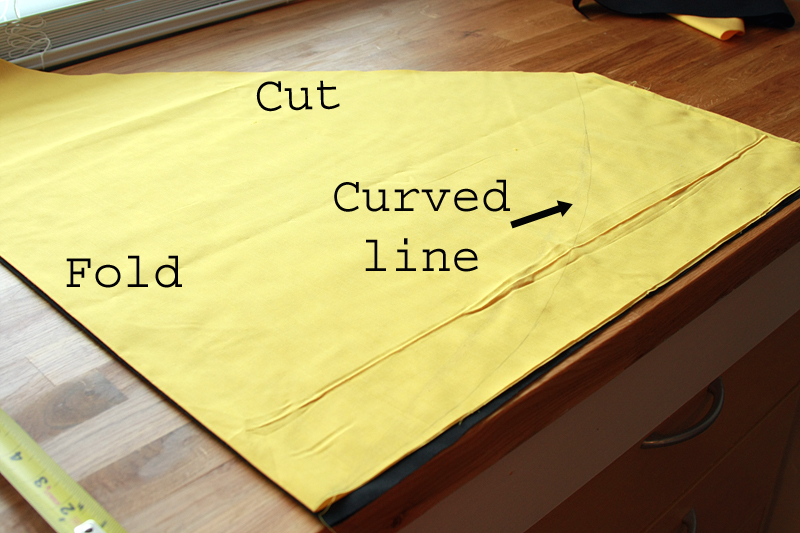
Cut through both fabrics along your drawn line.

Open up of of the layers of fabric and check out how your cape looks. Pretty nifty, huh? (Note: if you're making multiple capes, I seriously recommend using of the layers of your first cape as a pattern to cut around. It makes cutting the remaining capes lickity-split fast, not to mention you don't have to free-hand draw the bottom again.)
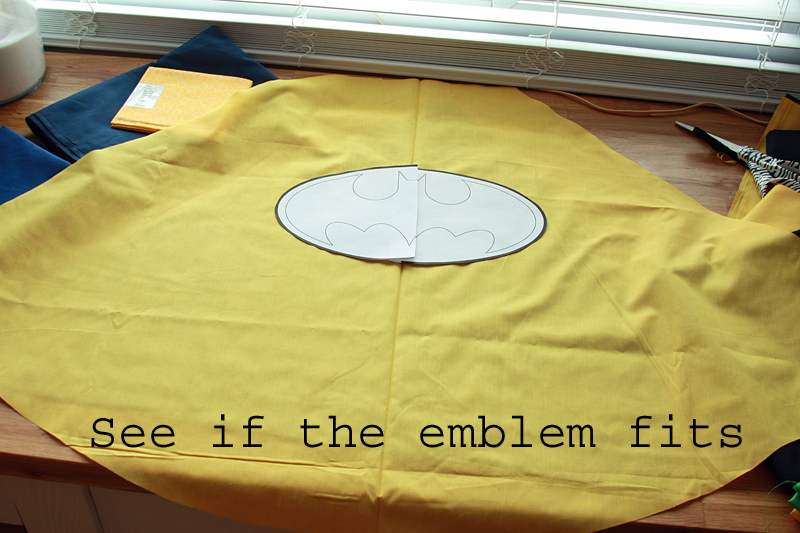
Now it's time to decide on the what and where and size of the emblem. For the Batman logo (and Superman), I found that 12" across worked really well. I just found a logo online that was very simplistic, printed it out, then pieced it together with some tape.
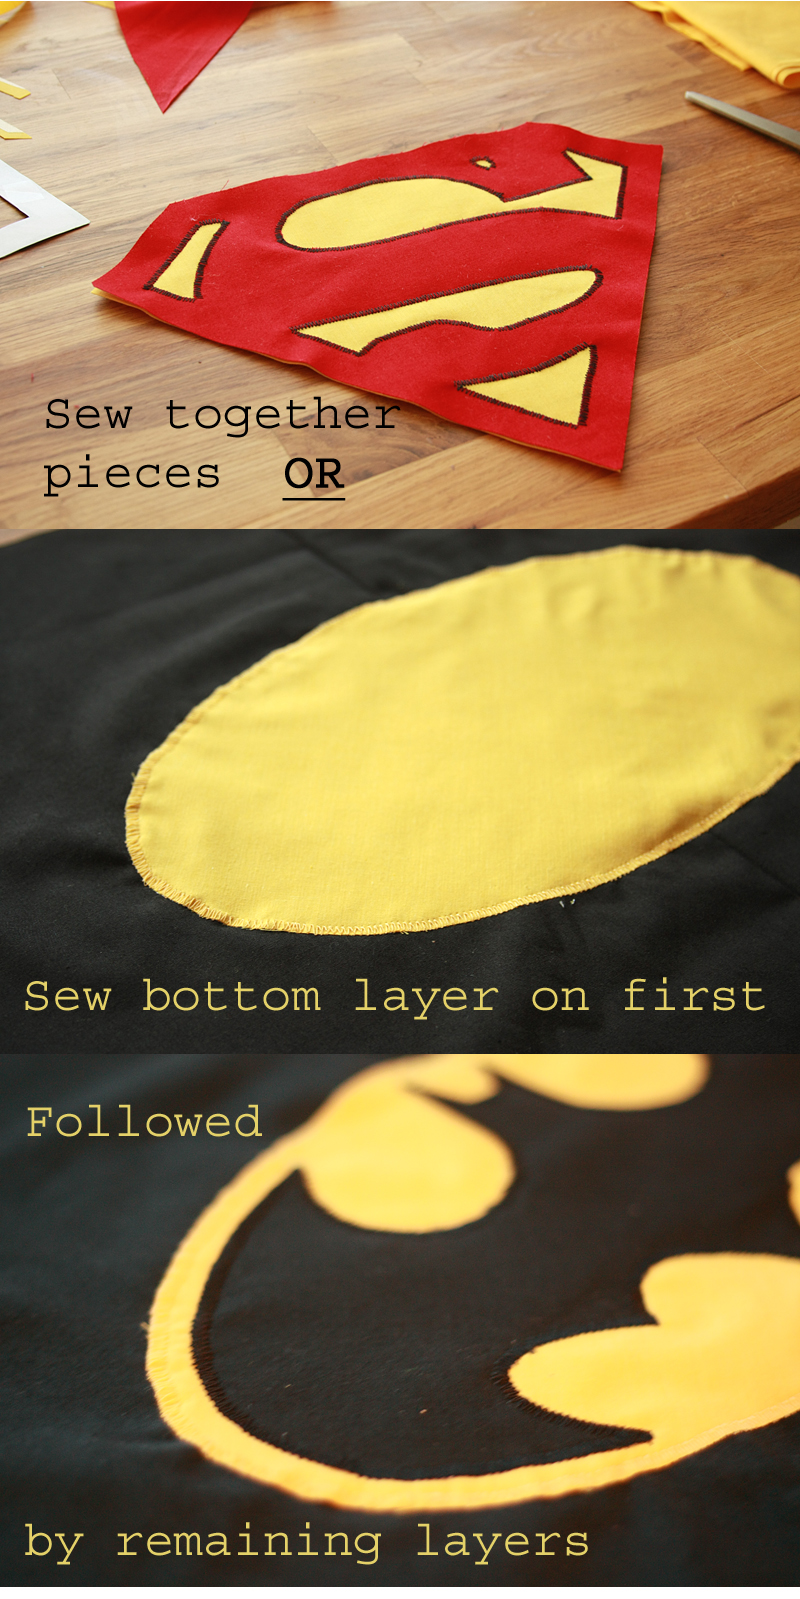
Okay, so we're ready to begin the applique process. Basically, we're just outlining around cut-out shapes with a zig-zag stitch so they don't fray (since we can't really use a hem for this purpose here).
For this project, I went with Iron-On, Sewable, Heat & Bond. There are lots of options out there to use for interfacing, some of which let you remove the backing and stick the shape to the fabric like a sticker (which I wish I had gotten). The key things to look for, however, is that it can be ironed-on (to prevent it from sliding around when you're ready to start sewing), and sewable.
The first logo I made, I cut everything out prior to fusing the interfacing which made everything about 100x harder. So, learn from my errors, and the Superman logo instead.
Lay your emblem right side down on the wrong side of the fabric (if you have one). Cut around each piece with a 1/4" allowance or more. (I cheated here since for this portion my logo worked either way.)
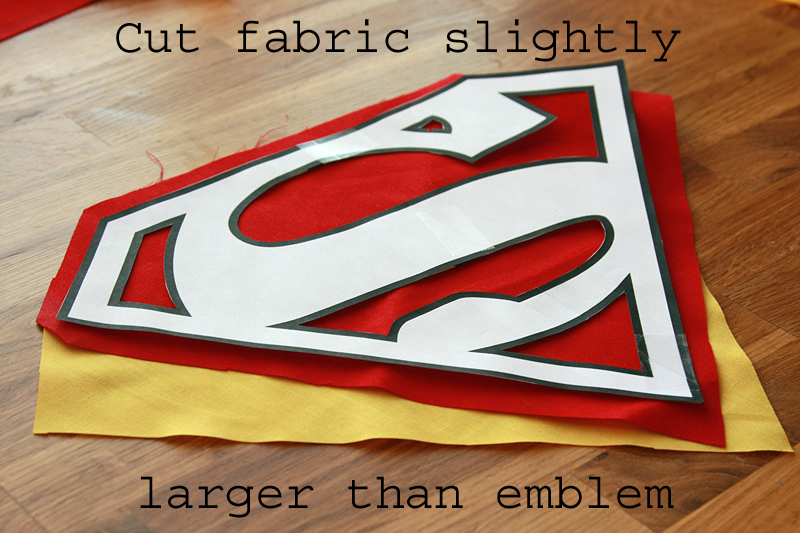
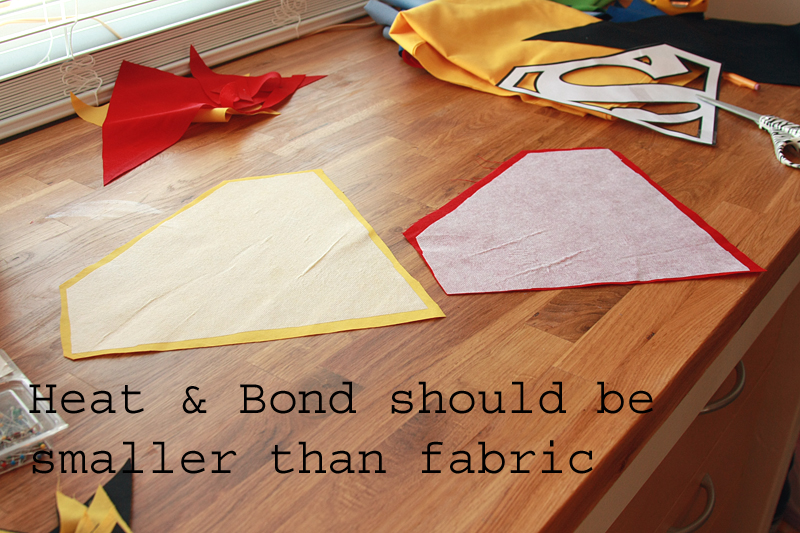
Repeat with the interfacing, but this should be cut just a bit smaller than your fabric. (This helps to prevent it from sticking when you iron it to the fabric.) The interfacing should have the rough side (or which ever will be ironed to the back of the fabric) facing down.
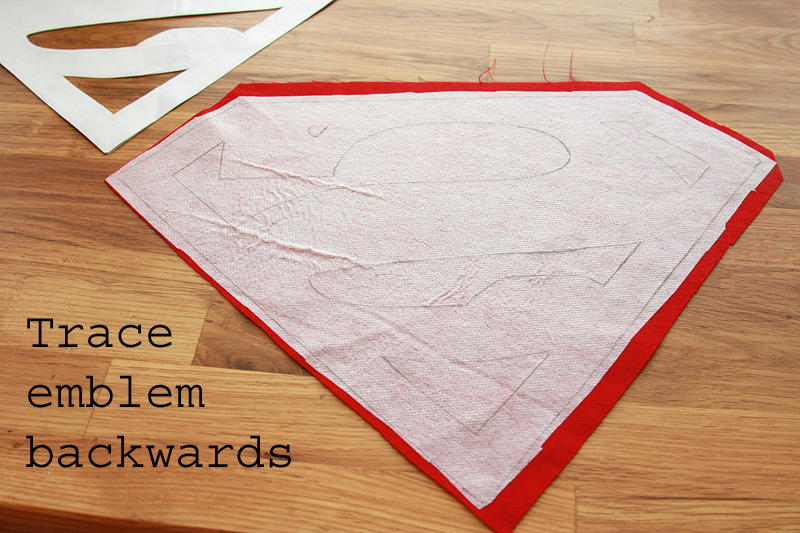
Follow the directions on the back of the package of interfacing to adhere the interfacing to the wrong side of the fabric.
Place your emblem on top of the interfacing, right side down, and trace around it. Cut out the pieces.
Once everything is cut out, lay out your pieces to see if everything matches up.
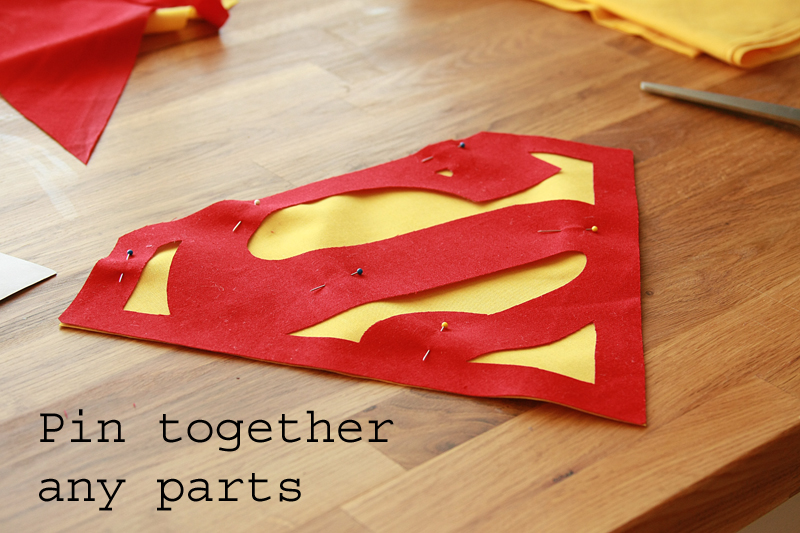
Now, you can attach the pieces in a couple different ways. With the Batman logo, I stitched the bottom layer (the yellow oval) to the fabric, then stitched on the bat. With the Superman logo, I was a little more leery of the fabric shifting as I sewed the top piece, so I stitched together the inside edging first, then attached the emblem as a whole to the red layer of fabric. Either way works.
I set my machine on a zig-zag stitch with a middle-of-the-road width (I just put it under the little needle symbol, which happens to be in the middle). I used a very short stitch length (1, which was equivalent to my buttonhole stitch-length). I didn't back tack my stitching at all, but instead used a regular sewing needle to pull the loose threads on top through to the other side and then just tied them with their bottom counterpart. (You can find an awesome applique tutorial here.)
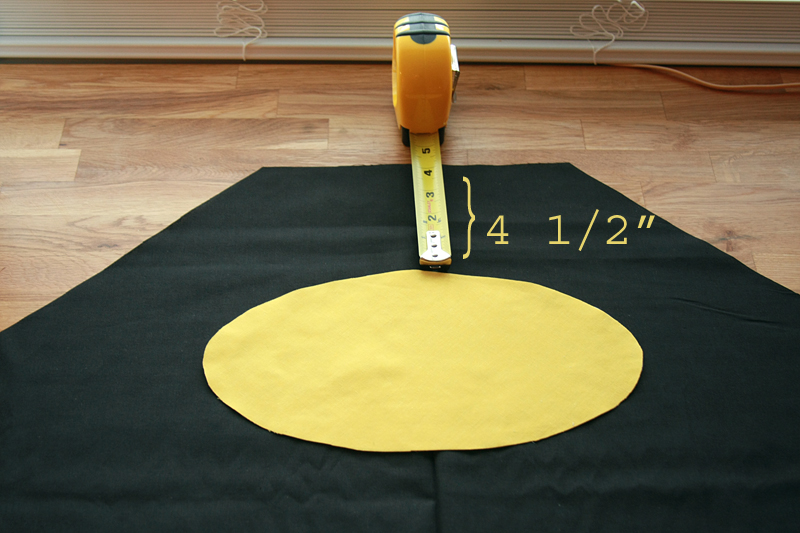
Line up the top of your emblem 4 1/2" from the neckline (this includes the 1/2" seam allowance we'll need for the neckline later) and attach it using the zig-zag stitch.
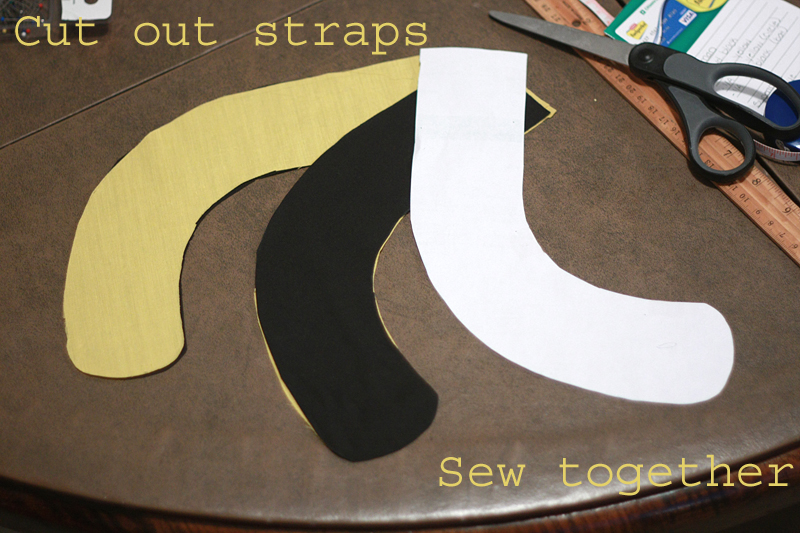
Here comes Tricky Part #2: the straps. Unfortunately, you're going to have to free-hand these, too. I started off with 9" straps on the Batman cape before deciding 7" ones worked much better. I went with a rough "J" shape for my straps, making them 2 1/2" wide to leave room for wide velcro after sewing together with 1/4" seam allowance.
I went with about a 3" piece of 3/4"-wide velcro on each strap, but it may differ for you based on how you cut them. I simply attached the velcro using the same stitch as for the applique, making sure to match the correct color thread for the top thread and bobbin.
* You can also make long skinny straps you have to tie, but I figured a 2 and a 4 year-old weren't that quite up to par with their tying skills yet.
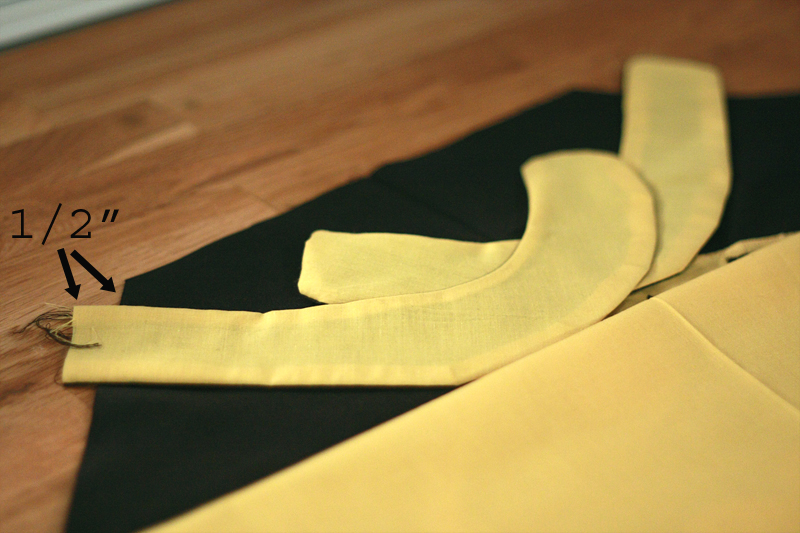
Once you have your straps sewn and they are pressed flat, place them 1/2" from the top of the cape with about 1/2" overlapping the side. Pin straps into place (being careful that you don't place pins where you're going to be sewing).
Lay the fabric for your cape with right sides facing each other. Pin together.
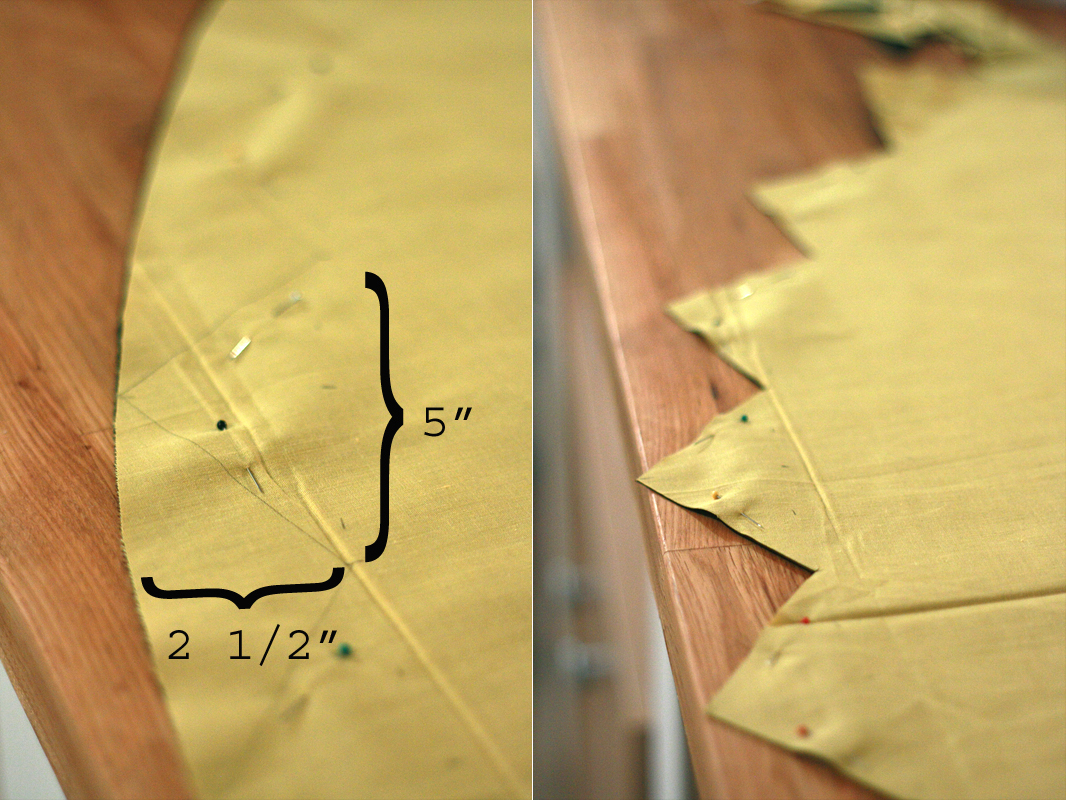
If you're wanting to make the bottom of the cape jagged, simply measure up from the bottom 2 1/2", and make each spike 5" wide.
Stitch around the outside of your cape with a 1/2" seam allowance, leaving a large gap along the neckline so you can turn it right-side out. Once the cape is right-side out, fold the raw edges along the neckline down 1/2" (the fold should come just to the edge of the strap) and sew the opening shut with a 1/4" seam allowance.
Press the cape, making sure to get all the edges, and you're done!
1 yard fabric in 2 colors @ $1.99/yd = $3.98
2 spools of thread @ $2.99/spool = $5.98
1 package Heat & Bond @ $3.49 = $3.49
3/4"-wide velcro = $3.99
Final Price = $17.44
This may seem a little on the steep side for one cape, however, I purchased enough fabric for 4 capes (2 for each boy) and my total came to just over $30. Which is somewhere around $7.50 per cape. Now that isn't too shabby.
Especially compared with what you would get at say a Halloween store or the dress-up aisle at Walmart. We won't even get into comparing the quality between these and those cheap thin polyester ones.
absolutely love the capes and the S for superman...is this available somewhere..you rock
ReplyDeleteAw, thanks! I'm actually in the process of opening my own shop (which includes these!) right now. For now you can find them at Sew Sweet, Sew Adorable on Facebook.
Delete