Last week, when I decided to make Chicken Gnocchi Soup for dinner, I felt like we needed something else to go with it. As the soup is full of veggies, I didn't think a vegetable side was in order (I mean, I can only handle so much green stuff), so where did that leave me? Well, bread of course. Since I was already doing an Olive Garden spin-off soup, why not go the whole 9 yards and throw in some garlicky breadsticks too? Well, maybe not quite like the ones at Olive Garden, as I'm not really a huge fan of those anymore.
Of course, at this point, I was already running a bit short on time for playing with yeast, so I didn't want to spend forever searching for a recipe. I remembered seeing some garlic knots over at Brown Eyed Baker not that long ago, and after a quick scan of the recipe I decided it was a go. Adam was going to love the fact that he finally had some bread to dip in his soup.


5 1/2 cups all-purpose flour
1 3/4 cups warm water (110-115 degrees F)
1/4 cup olive oil
1 1/2 tablespoons active dry yeast
1 tablespoon granulated sugar
1 teaspoon kosher salt
2 tablespoons olive oil
2 tablespoons butter
4 cloves of garlic, finely minced
2 teaspoons dried parsley
Place the flour in a large bowl and set aside.
In a small bowl, add the water, olive oil, yeast, sugar and salt. Stir to dissolve the yeast. Pour the water mixture over the flour and stir with a wooden spoon until the water is fully incorporated and all of the flour is moistened.
Transfer the dough out to a lightly floured surface and knead for a minute or two, until the dough is soft and slightly tacky. Add more flour if the dough is too sticky, and more water if it is too dry. Place the dough in a well-oiled bowl, turning once to coat the top of the dough. Cover with plastic wrap, and place in a draft-free area until doubled in size, about 1 1/2 to 2 hours.
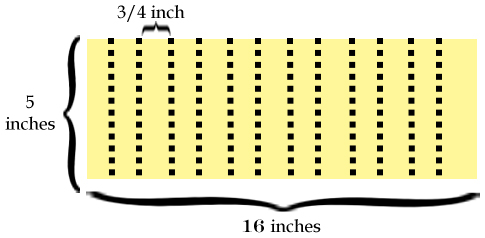
Line up to four baking sheets with parchment paper; set aside. (If you do not have 4 baking sheets, line as many as you have, then lay plastic wrap on the counter for the remaining rolls. You will have to transfer the formed dough knots to the lined, cooled baking sheets later.) Transfer the dough to a lightly floured surface, and divide into two. Take the first half and press down into a rough rectangle to release any trapped gasses. Flip the dough over and press down again. Using a rolling pin, roll the dough into a rectangle measuring 5 inches by 16 inches, and 1/2-inch thick. Using a pizza cutter or a sharp knife, slice the rectangle into 5-inch by 3/4-inch strips.
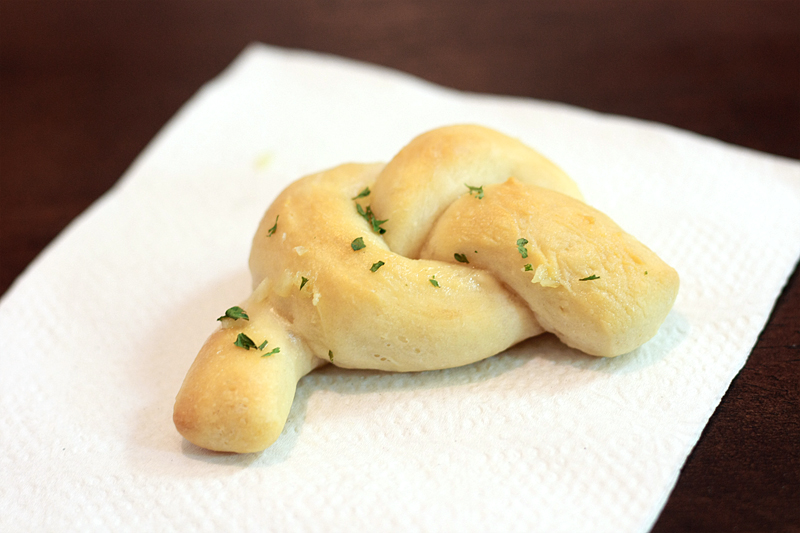
Lightly sprinkle the strips with flour. Gently roll each strip it back and forth (think play-doh snake) to create an even rope, 7-9 inches long. Tie it into a knot and place on a prepared baking sheet, about 1 1/2 inches apart. Repeat with the remaining dough, the again with the second half of the dough. Cover the baking sheets with a dry kitchen towel and place in a warm, draft-free area. Allow knots to rise for 30 minutes to 1 hour, or until doubled in size.
While the knots are rising, preheat the oven to 400 degrees F.
Once the knots have doubled in size, bake uncovered, one pan at a time, for 12 to 15 minutes, or until golden brown.
Meanwhile, prepare the garlic coating. In a small saucepan, warm the olive oil, butter and garlic over low heat. Add the parsley, cover and set aside.
Tranfer the knots from the oven to a cooling rack. While the knots are still warm, using a pastry brush, brush them with the garlic coating. Sprinkle with additional kosher salt to taste. Serve warm or at room temperature. Baked rolls can be individually wrapped and frozen in an airtight freezer bag. Rewarm in a 350 degree F oven for about 5 minutes.
Makes: 40 rolls
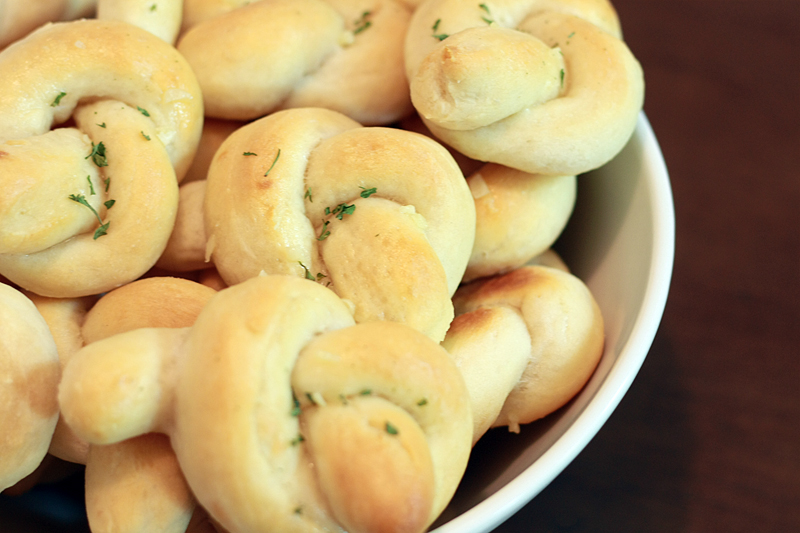
I was very excited to taste these rolls, as my kitchen was starting to smell wonderful. After smothering them with the garlic sauce, I oh-so-impatiently let them sit for another 5 minutes or so, to really soak up that garlic flavor. Finally... one bite in, two bites in... hmmm. Not quite what I expected. The outside crust was much firmer than I was hoping for, although the inside was still nice and chewy. Then I noticed that the garlic sauce hadn't soaked through at all (most likely due to the harder crust) and the inside was really lacking flavor. Bummer. These worked well when it came to dipping and soaking up soup (once bitten into), but on their own they were a bit lackluster in my book. I'm still trying to figure out if I missed something in these as the recipe came with glowing reviews.

| Nutrition Facts | |
| Amount per serving | |
| Calories 89 | Calories from fat 25 |
| % Daily Value | |
| Total Fat 2.8g | 4% |
| Saturated Fat 0.7g | 3% |
| Cholesterol 2mg | 1% |
| Sodium 63mg | 3% |
| Total Carbs 13.7g | 5% |
| Dietary Fiber 0.6g | 2% |
| Protein 2.0g | |
| Vitamin A 0% | Vitamin C 0% |
| Calcium 0% | Iron 5% |


I totally want to go into my kitchen and make these right now! Unfortunately I feel like my head wants to fall off from a head cold so it will probably be a day or two before I'm smelling these in my kitchen, but they look delicious!
ReplyDeleteCreative, they look and sound great. I am wondering whether it would be good to add some garlic to the dough as well to boost the flavours even more.
ReplyDeleteThese sound tasty and look super cute! The perfect companion to soup!
ReplyDeleteOh! I have got to try these. :)
ReplyDeleteThese look amazing! Definitely perfect to dip in some hearty soup. Yum!
ReplyDeleteThese look fabulous!!! And I love your cute diagram :)
ReplyDeleteThose look so good! I should have made these with the soup I had the other day instead of the French bread that was a fail.
ReplyDeleteThese, I've got to try!! My family could eat rolls like this every day. Copied and printed!!!
ReplyDeleteI can only imagine how lovely these smelled baking up in your kitchen!! Yum! - Katrina
ReplyDeleteSo pretty. I can't resist the knots. :)
ReplyDeleteToo bad these knots got only a C, they look so pretty! I'm sure you will soon figure out what can be improved...and let us know :)
ReplyDelete