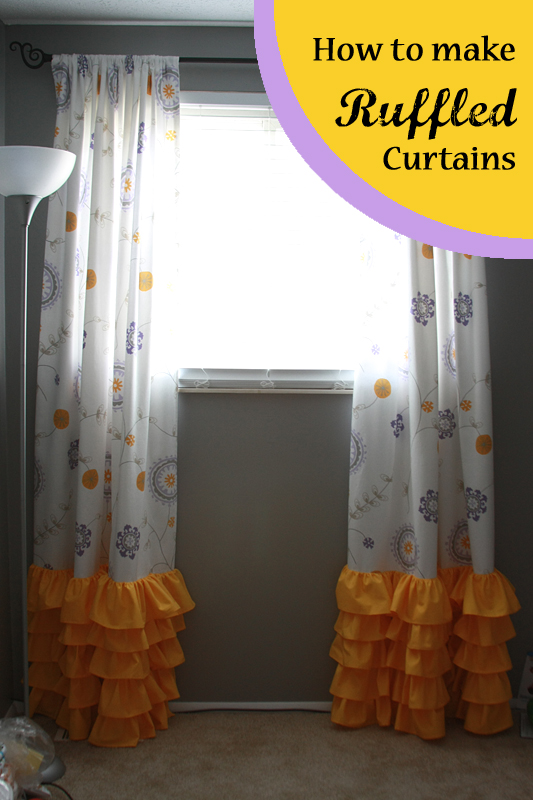
Wait, what? A sewing project on this blog?
I know, I know, a little out of character. BUT I've taken on the massive project of making all the bedding/fabric type stuff for baby girl's room so I figured I would document the process and it may help someone else along the way. (What can I say, I have picky taste and refuse to shell out the big bucks for it.)
So, if you're one of those people who are looking for the "how-to", here we go. Warning: this is long and picture heavy.
First off, if you absolutely hate/can't stand/would do anything but iron, you might as well hire someone to do these for you. I would say close to 75% of the time that goes into making these is spent on ironing hems. Fun times, let me tell you.
Still here? Okay then. Let's get started.
Things you need
~6 yards of fabric for the main curtain panel (I used Premier Prints Emma Twill in Wisteria)
~6 yards of fabric for the ruffles (I used Kona Cotton Solid in Corn Yellow)
2 twin flat sheets (I used white sheets from Walmart since my main panels were white, but they come in lots of different colors)
1 spool of thread that matches the main panel
2 spools of thread that match the ruffles
Good scissors
Seam ripper
Pins
Measuring tape (preferably the long heavy duty kind)
Yardstick or other long straight edge
Dressmaker's pencil
*Amount of fabric will vary by the width of your fabric
Part 1 - How to make lined curtain panels
I found an awesome lined curtain tutorial over at the House of Hepworths and decided to follow that tutorial for the main panel portion of my curtains.
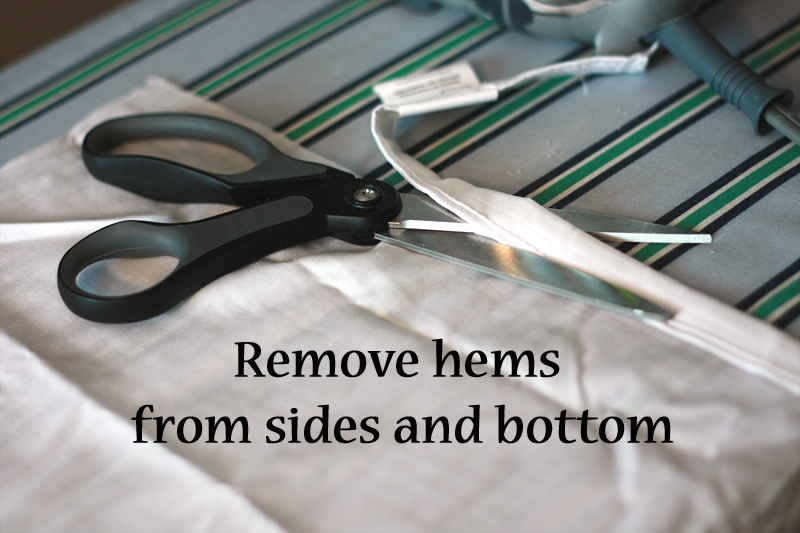
First, open up your flat sheets. I chose not to wash any of my fabrics to ensure that there was no shrinkage and that it stayed as straight cut as possible. Cut off the hems along the sides and bottom of the sheets.
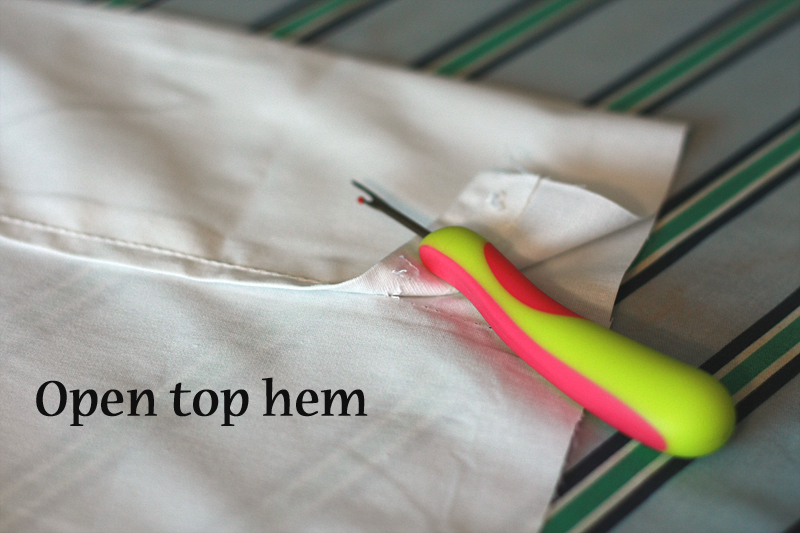
Then, take your seam ripper and open up the large hem at the top of the sheet.
Now it's time to start becoming BFFs with your iron. Iron out all the folds in your sheets and set them aside (laying them out across a bed works great to prevent more wrinkles).
Next, lay out the fabric for your main panels, leaving it folded down the center as it most likely came. I purchased 54" wide twill fabric, and it worked wonderfully for my 49"-wide window. Generally the rule is to aim for 2 to 2.5 times the width of your window. I think 44/45" panels would work just fine here, too.
The side edges should be lined up fairly evenly based on the center crease, but if not, line the edges up. I've noticed that when fabric is cut from the bolt, the cutter usually does it free hand and it ends up somewhat jagged and uneven. Use your long straight edge (I used a long level, but a yardstick would be perfect for this) and another straight edge to form a "T". Line your shorter straight edge up with the selvage side (what will be the long edge of your fabric and is typically frayed) and lay the long straight edge across the fabric near the top. Mark your line, then cut off any uneven portions of the fabric.
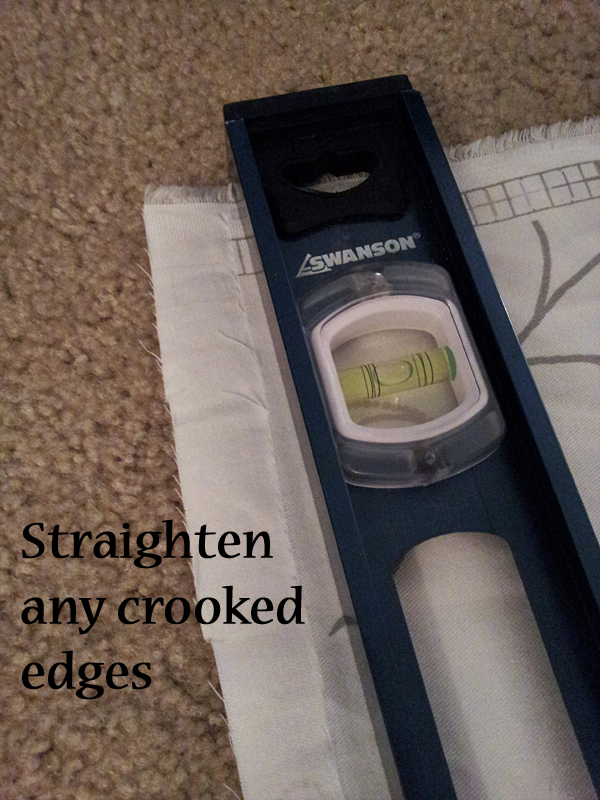
You really want this top line to be straight as all of our future measurements will be based on this edge.
Now, it's time to cut the main panel. Measure out how long you want your curtain, plus an additional 10 inches. Repeat the straight edge cutting procedure. Then repeat it all again for curtain #2. You should now have your two main curtain panels. Open the panels up to their full width and iron out any wrinkles.
Next, we need to create finished edges along 3 sides of our panels. Starting with the long selvage edges, fold over 1/2 inch and iron down to hold in place. (In my case, the selvage itself was 1/2 inch, which made it much quicker to eyeball it rather than measure it.)
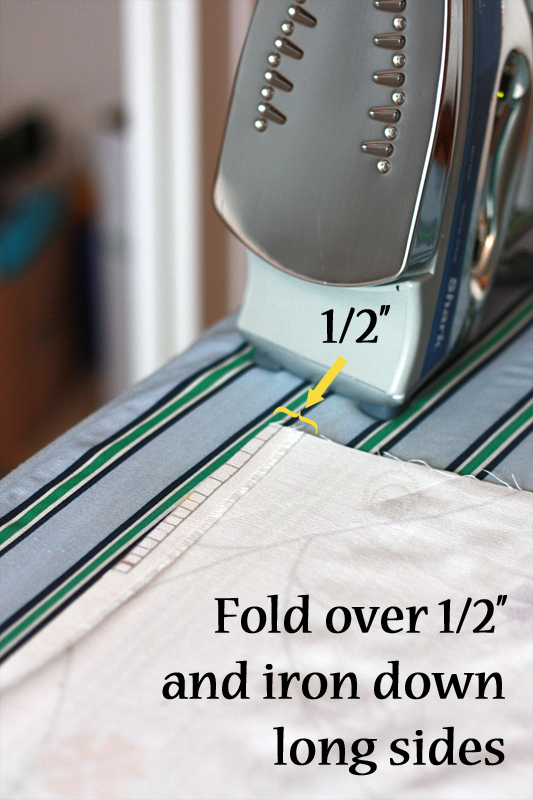
This gives us one finished edge.
We need to fold this ironed hem over one more time to give us a nice finished hem on both sides. Simply fold the edge over the width of the first fold.
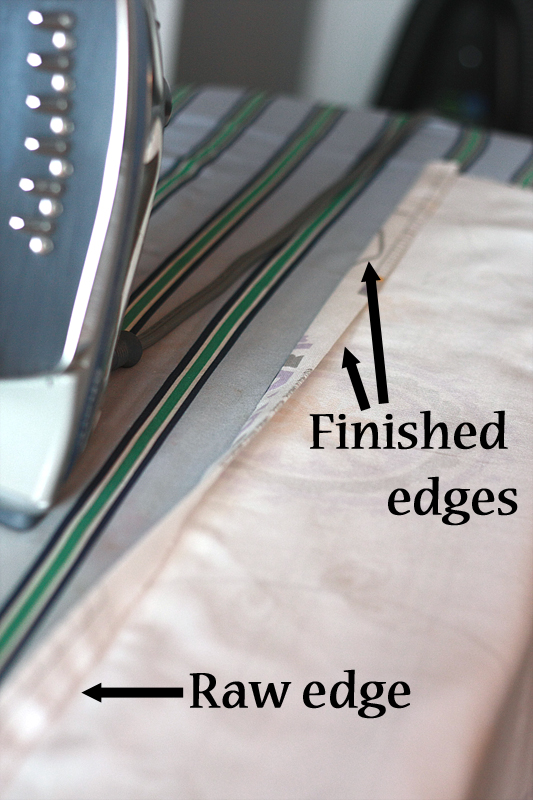
Repeat with the other long side. If you need to use a ruler, feel free. My 1/2-inch eyeballing typically ends up growing to 3/4" or 1" (I had to measure out the folds for the top).
For your top hem, iron a 1/2-inch fold like you did with the first two sides, then iron a 3-inch fold. This gives you the nice pretty wide hem at the top you can use to slide your curtain rod through or to place your curtain clips.
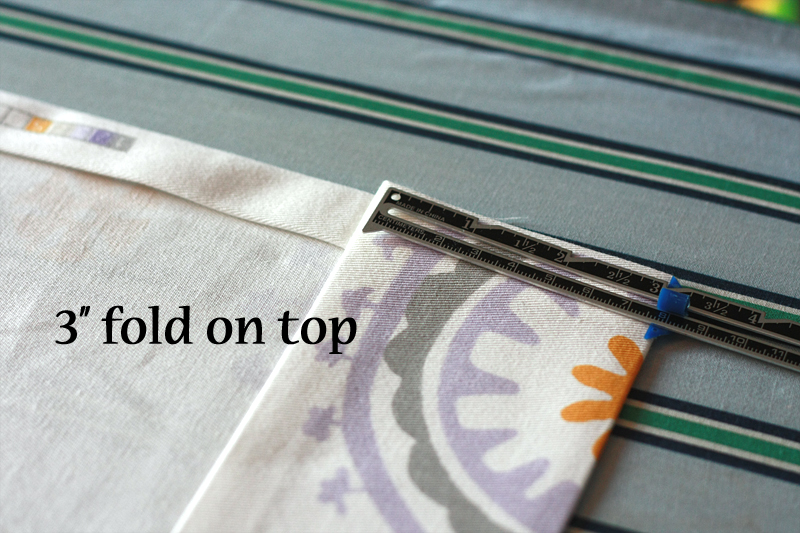
Whew. Let's take a break from ironing for a bit, shall we? You should now have two long sides with finished ironed edges, and a 3-inch top hem with finished edges. Leave the bottom of the panel alone for now.
Spread out one panel with the right-side (side with the pattern) facing down. Try and get out as many of the wrinkles and bumps as you can.
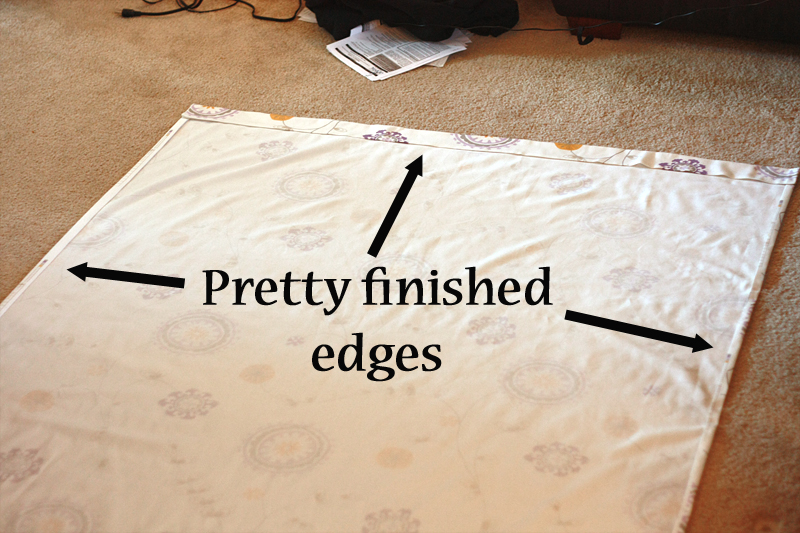
Remember those plain boring sheets we took the hems off and ironed? Time to bring those back out. Lay one of the sheets on top of your panel, lining up the top and left edges (the sheet wasn't cut perfectly so I had to do a little trimming).
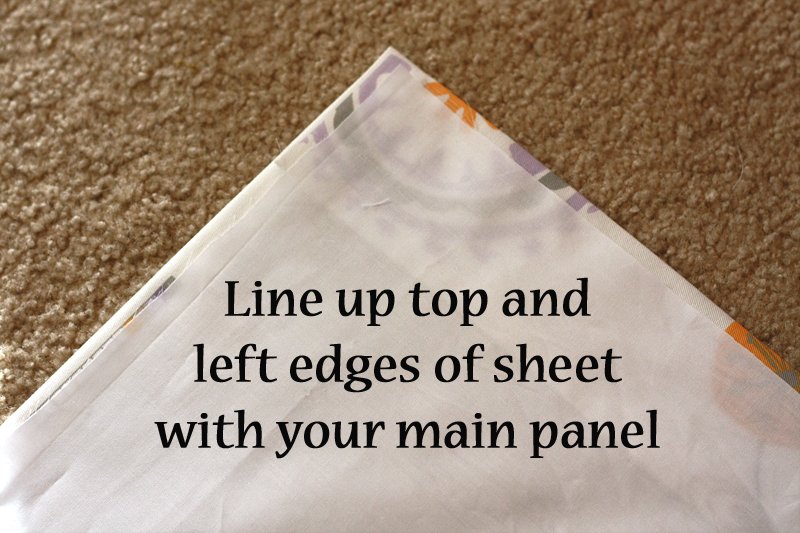
Now tuck the edges of your sheet underneath those pretty ironed folds along the top and left side. Ignore for now the fact that the sheet is hanging over your right edge and bottom.
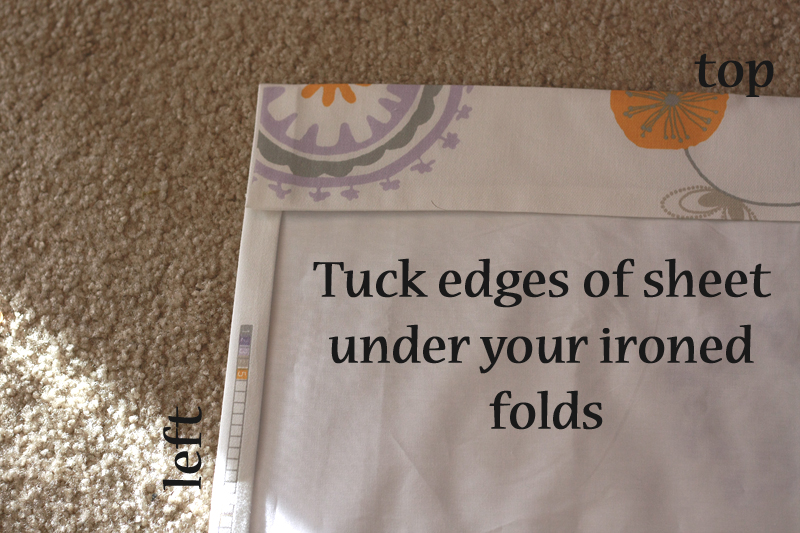
Pin the edges down, making sure your sheet is almost touching the side of the panel under the fold. Smooth out any wrinkles or bumps.
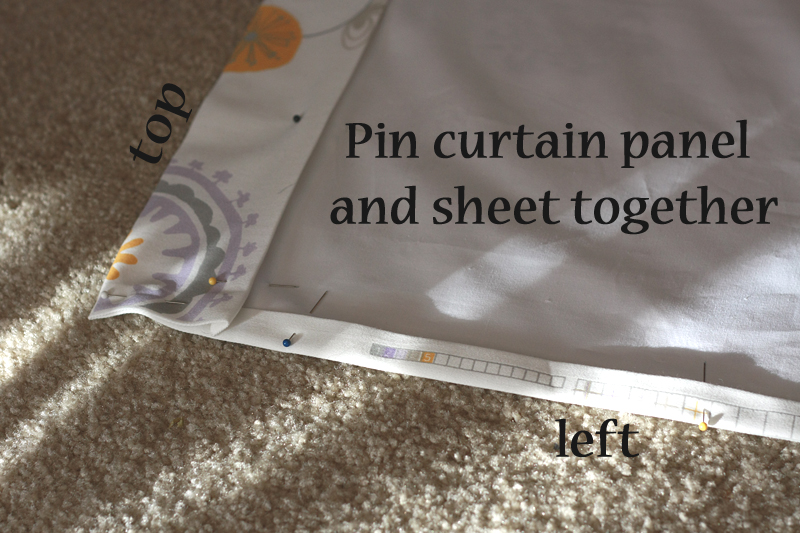
And it's finally time to actually use our sewing machine! Start stitching down either the top or left side with a 1/4" seam allowance (don't forget to backtack!). Begin stitching the left side where the fold intersects the top fold (do NOT start from the top if you plan on using the top hem to slide the curtain rod through). Stitch all the way down to the bottom and backtack at the end. Begin stitching the top fold where it intersects the left fold and end just before the right fold on the main panel starts.
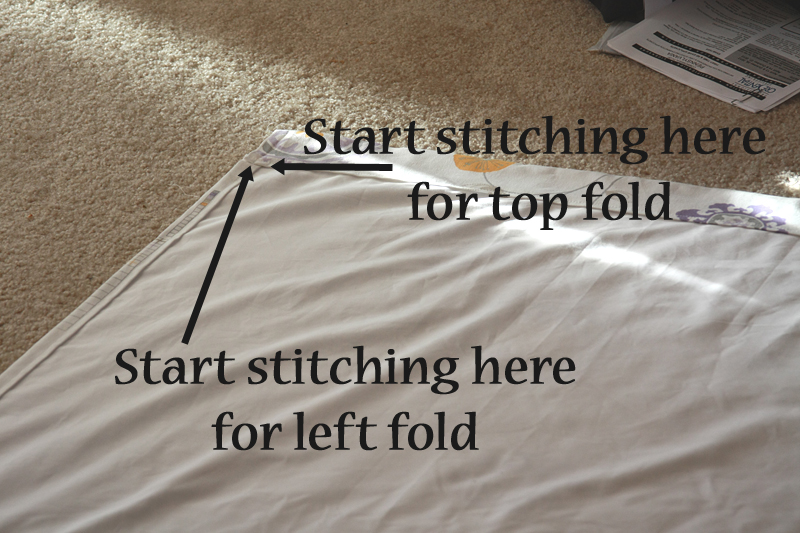
Spread your panel with sheet back out. It should look like this, except with, ahem, more wrinkles and bumps smoothed out:
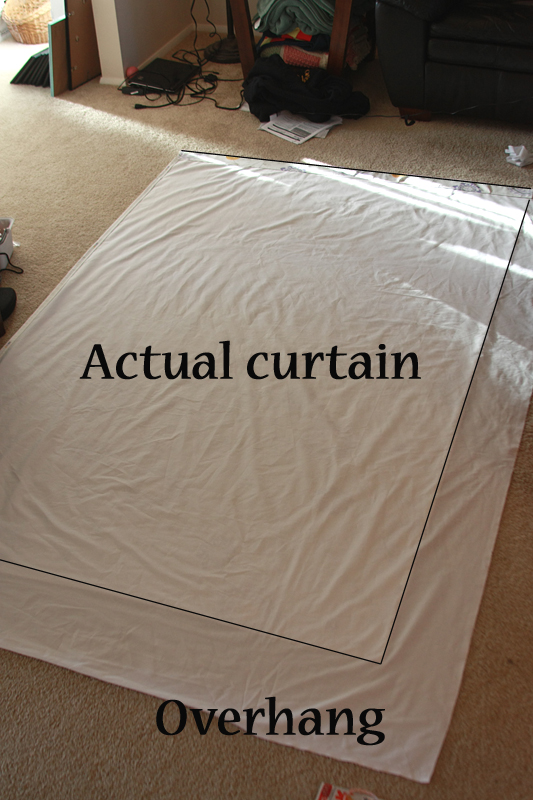
Now it's time to take care of that pesky excess fabric on the right side of the panel. Cut the overhanging fabric off, leaving the sheet about a 1/8" more narrow than the panel.
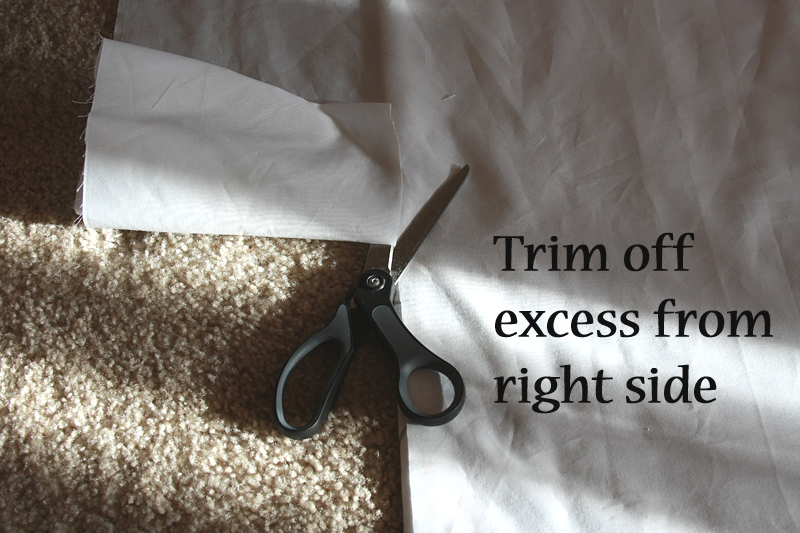
Tuck the sheet under the right fold, then pin into place (make sure you get as many bumps out as possible). Sew down the length of the fold with a 1/4" seam allowance starting from where the right fold intersects the top.
Yay, now we have 3 finished sides! Hang in there, we're almost done making our lined panels.
Cut off that extra fabric hanging out past the bottom edge of your panel. It really doesn't matter how much, this just makes it easier to work with.
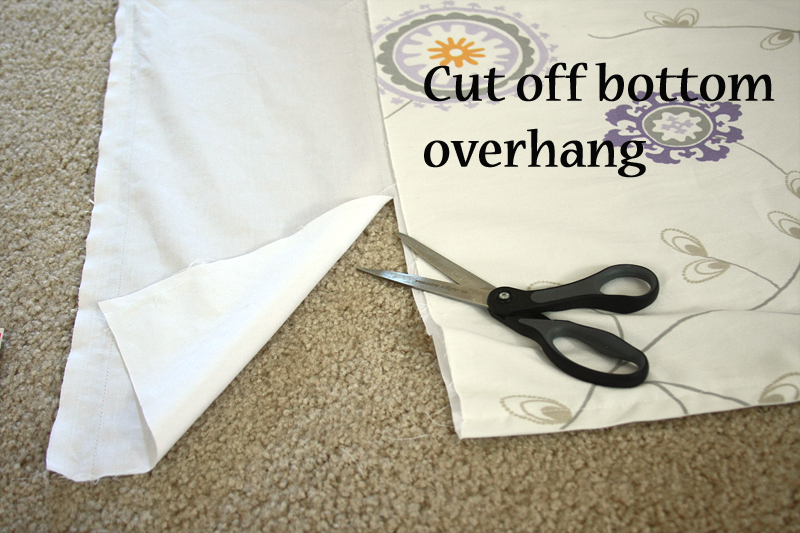
Hang your almost finished curtain up on the curtain rod. Pin the bottom of the curtain up so a folded edge is touching the ground. Take the curtain back down and spread it out in your work space again. Measure from the top of the curtain to the bottom (mine was 86"). Pin in place, slide the measure tape over a few inches, and measure again. Continue to measure and pin the entire width of your curtain.
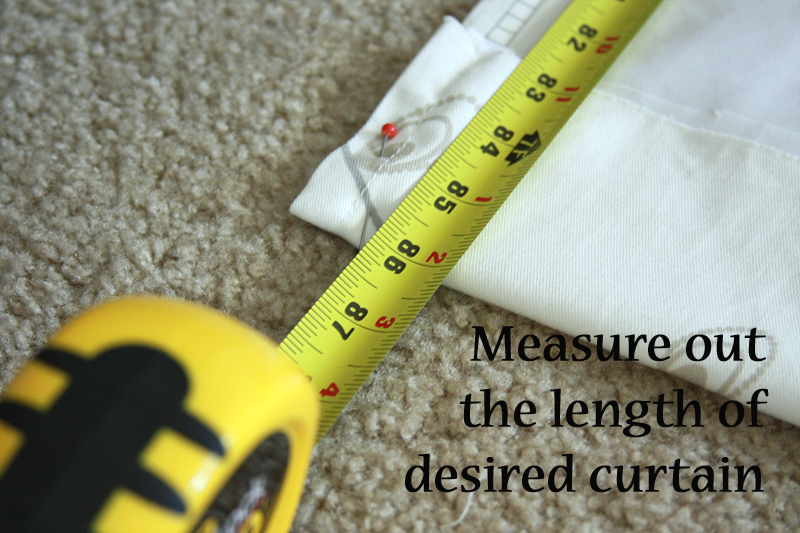
While you can totally pin up the hem by eyeballing, I am not capable of that and getting it very straight, so I prefer to go by actual measurements.
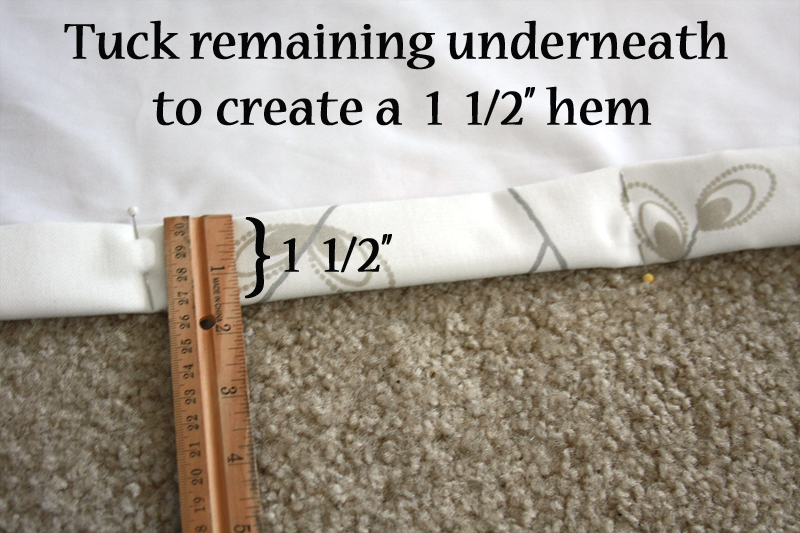
Now if you were just going for simple lined panels, here is where you would measure out your hem (however big you want it), stitch across, and call it a day. Since we're adding ruffles, I didn't want a huge hem that I would have to sew over. I decided to go with a small, 1 1/2" hem. However, there was way more than than 2" folded over, so I cut off a couple inches of the extra fabric (making sure to leave enough for an additional 1/2" to be tucked under).
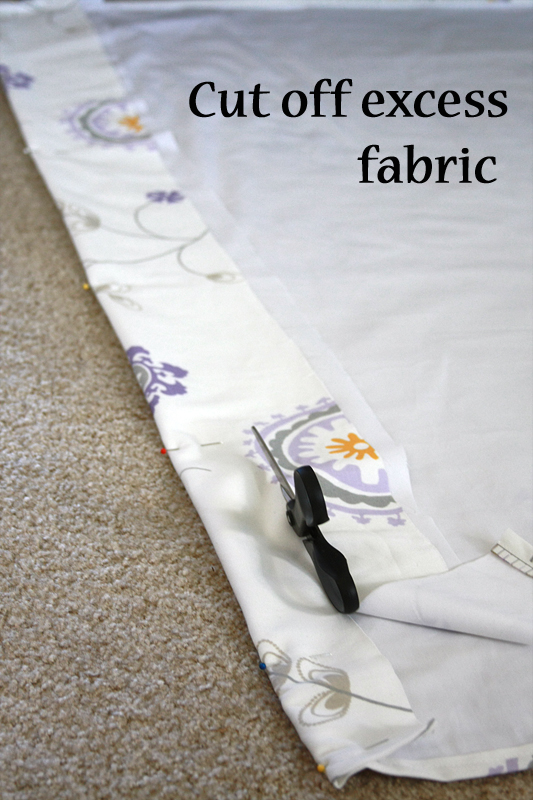
Tuck the remaining raw edge underneath to create two finished edges.
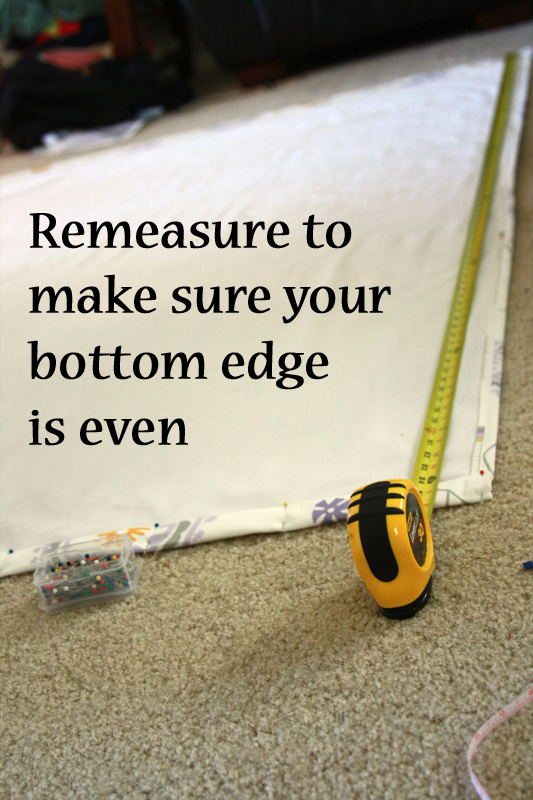
Remeasure one more time from the top of your curtain to the bottom (at multiple points) to make sure your curtain is the same length all the way across.
Stitch across your fold, making sure to backtack both at the beginning and end.
And huzzah! You are now done with your lined curtain panels. Hang them up and pat yourself on the back (and check to make sure those bottom hems are straight).
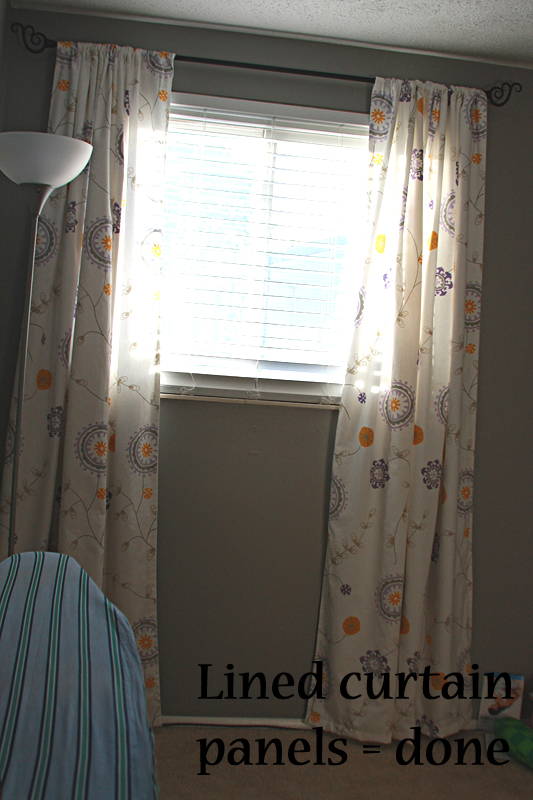
Take a break, watch some TV, regroup, do something, anything else, then come back for part 2.
Part 2 - How to the make the ruffles
Figuring out just how much fabric you are going to need for the ruffles can be kind of bothersome. Most people claim that for a "good" ruffle, you need about 2.5 times the width of whatever you're adding it to. In this case, I went with 2.25x, although I really think you could get away with only 2x. My ruffles were plenty fluffy.
So, how do we figure out how much fabric to get? Here's the money saver method, which involves piecing together a few ruffle strips. This way saves you about a yard of fabric, but if you're lucky and found some super cheap fabric, you might just want to save yourself an extra step or 2.
First, my main curtain panel fabric was 54" wide. Thus, I needed 121.5" long ruffles (for 2.25x the width). I decided to go with 5 (per panel) 7" wide ruffles, which will shrink to roughly 6.5" after we hem them. 6 strips will fit across a 44/45" wide piece of fabric which leaves us with 4 more strips to account for. If you go horizontally across the fabric with the strips instead of down the length, you will need two 44" pieces and a 34.5" piece to make one long strip (I added an inch to account for 1/4" seam allowances). This equals slightly less than 6 yards.
It looks like this:
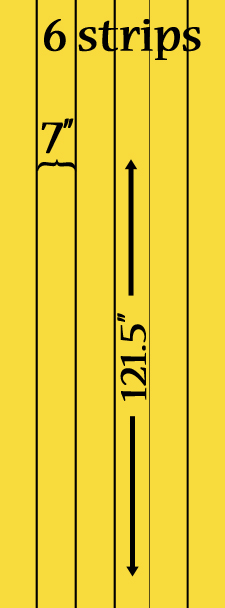
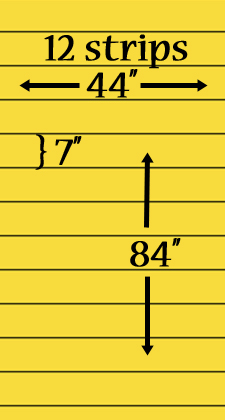
Or just add on another yard and you'll have extra material the width of 2 strips for the full length on the second piece.
SO. Now that the math is done, let's get started. Leaving the fabric folded, trim the top short edge until it is straight (like you did with the curtain panel material way back at the beginning). Then measure and cut a 121.5" piece and a 84" section.
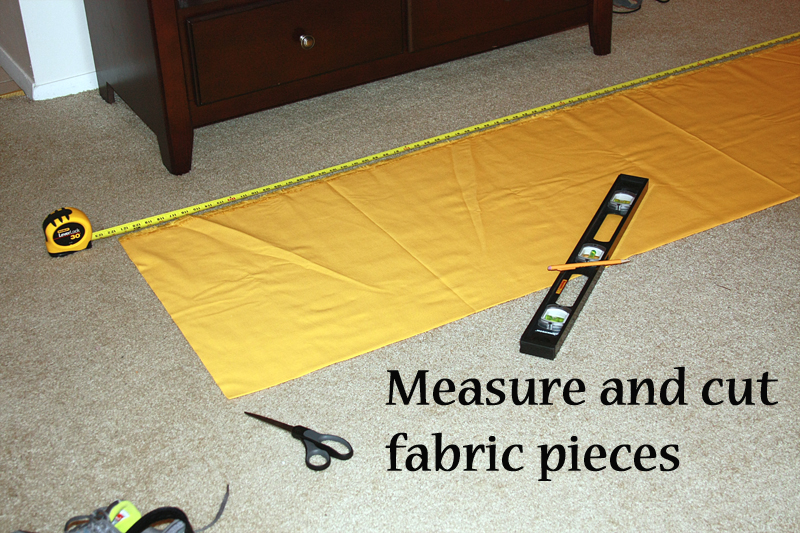
Measure your fabric width from inside the selvage to inside the selvage. Mine was 44".
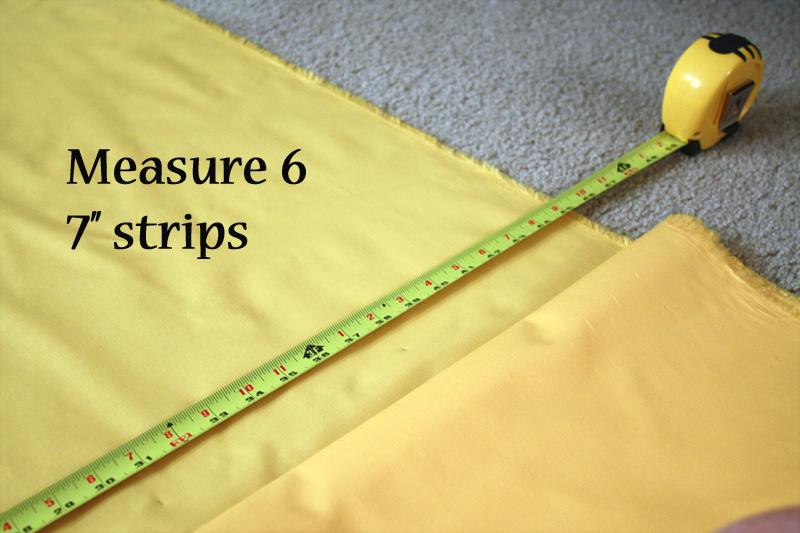
Place the beginning of your measuring tape even with the inside edge of the selvage and mark off the fabric horizontally in 7" increments. Move the tape down a few inches and repeat for the length of the fabric.
Using your straight edge and pencil, connect the marks to form lines running the length of the fabric.
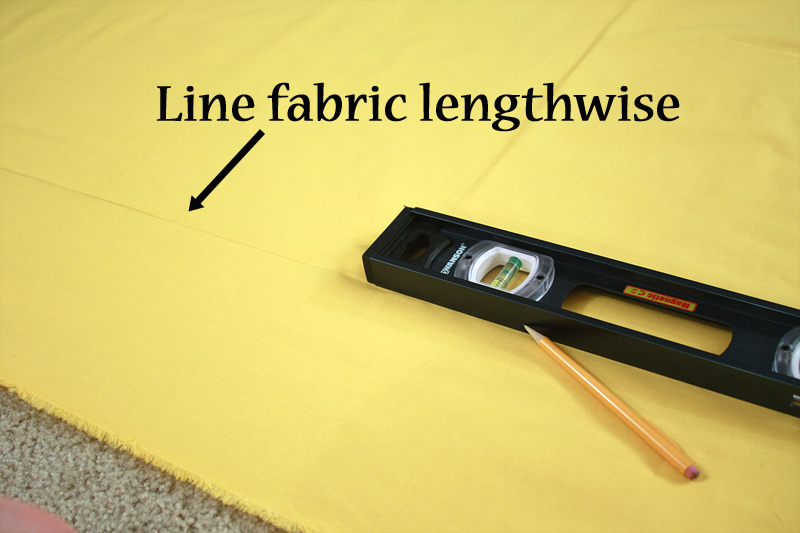
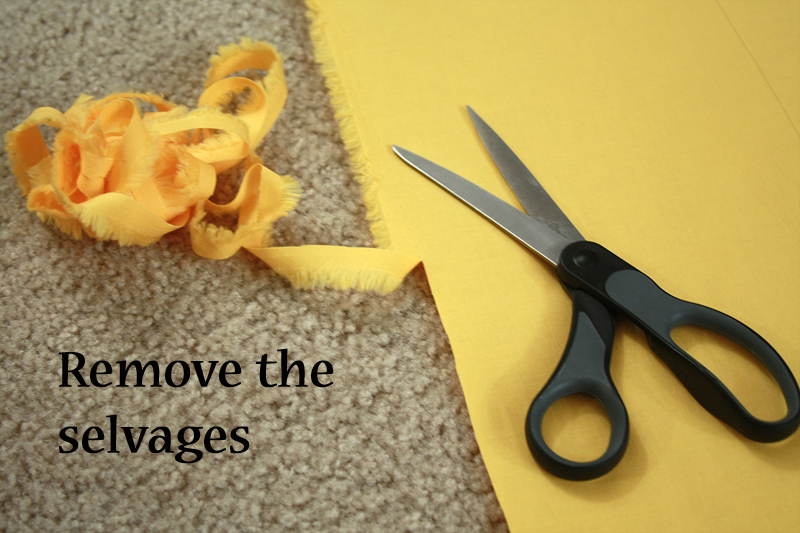
Cut off the selvages (about 1/2" each side).
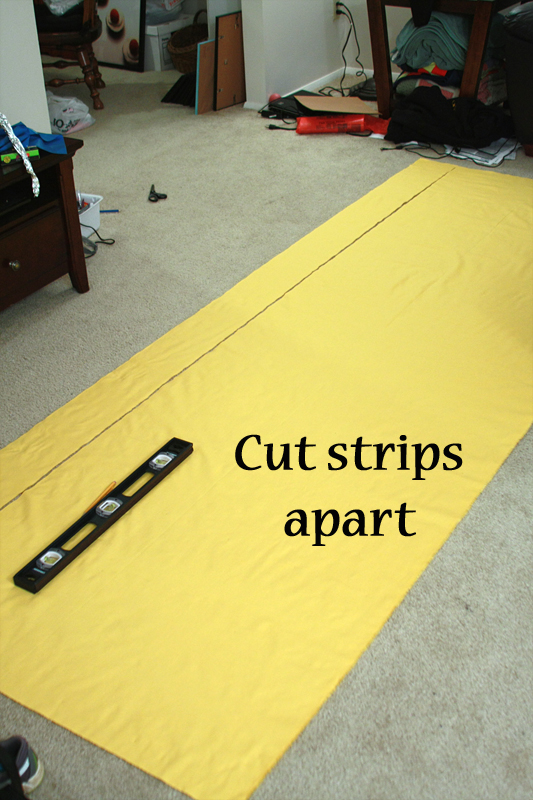
Cut strips apart along the drawn lines. You should now have 6 121.5" strips.
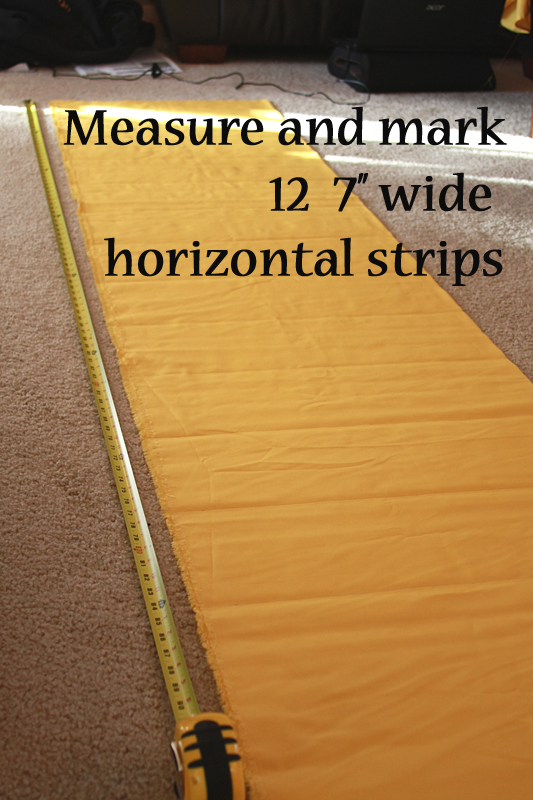
Lay out your 84" piece of fabric. Repeat the same procedures, but instead mark 12 7"-wide strips going horizontally across the fabric (so each strip should be 7"x44").
Cut strips apart along the drawn lines. Cut off the selvages (about 1/2" each side). You should have 12 44" strips.
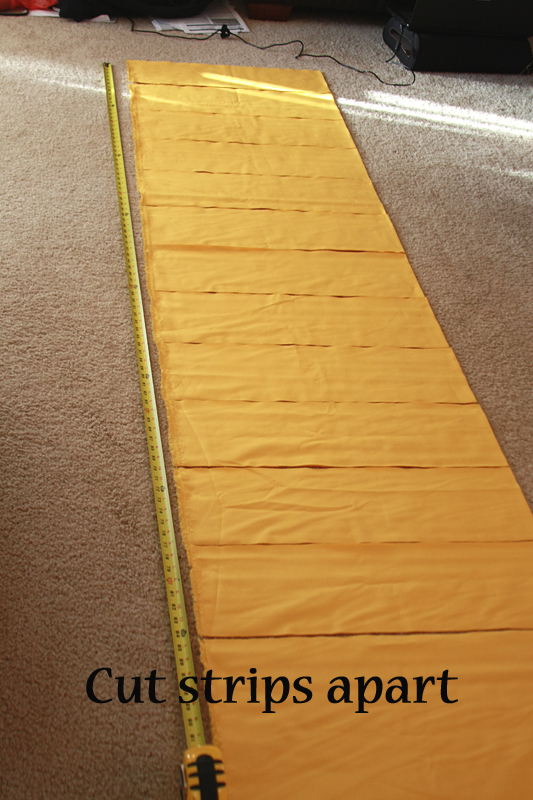
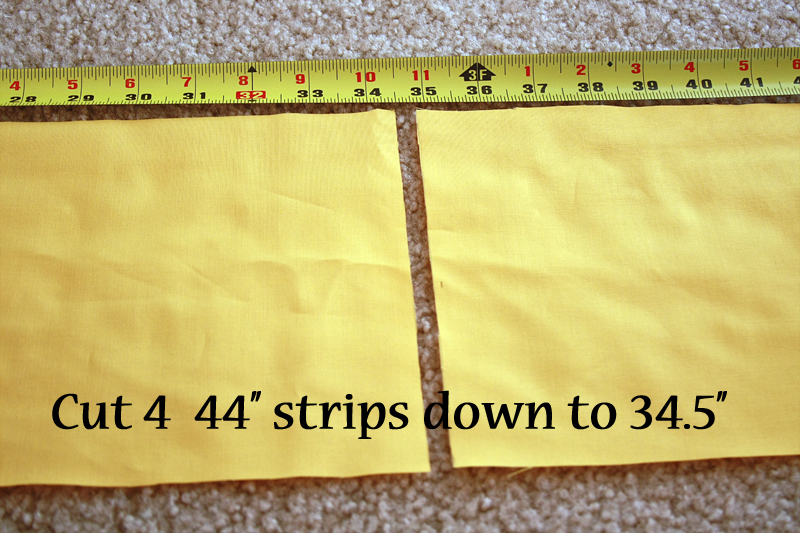
Take 4 of your 44" strips and cut them down to 34.5".
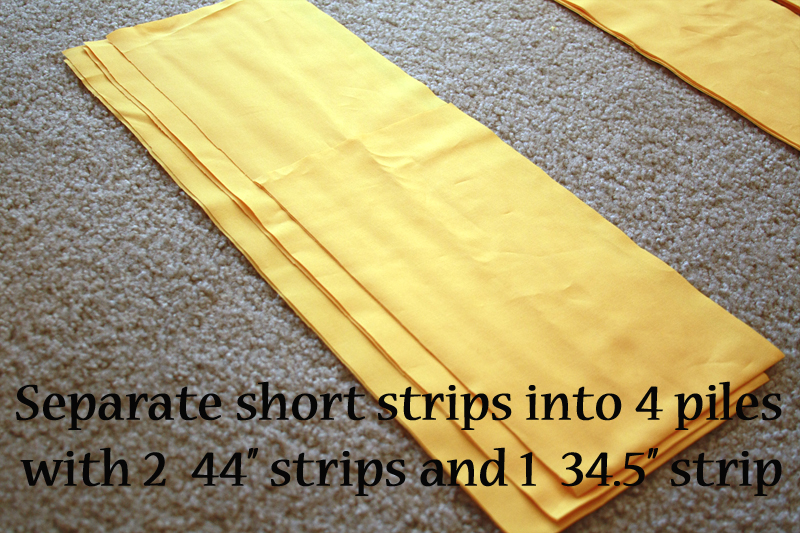
To make things easier, separate your short strips into 4 piles. Each pile should have 2 44" strips and 1 34.5" strip.
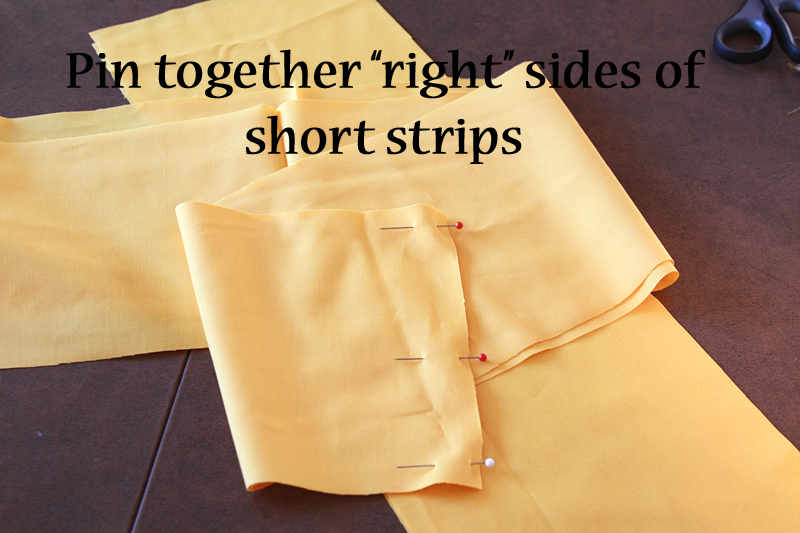
Pin together the "right" sides of one set of short strips facing each other. If you have pencil marks from the lines on one side consider that the "wrong" side. Make sure your seams between the three pieces are facing the same side.
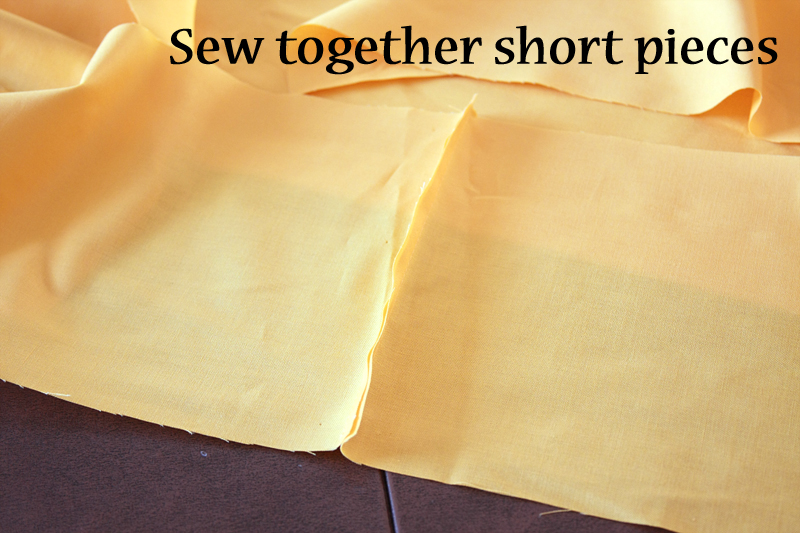
Sew together the three pieces in each pile with a 1/4" seam allowance. You should now have 4 121.5" strips that have been pieced together.
Time to make friends again with your iron. And this time it's for the long haul. (Oh! Make sure you have plenty of distilled water on hand if you use it.)
Starting with a short 7" side, pin down a 1/4" fold. Press with an iron. Repeat along 1 121.5" side and the other 7" side.
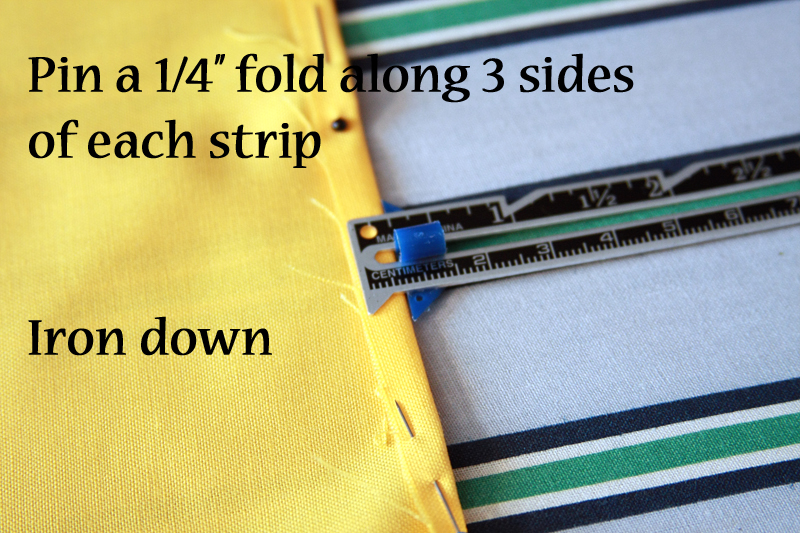
As before, turn your fold over so the raw edge is tucked underneath. Iron. Make sure any wrinkles in the strips are ironed out and the seams in the pieced together strips are ironed flat.
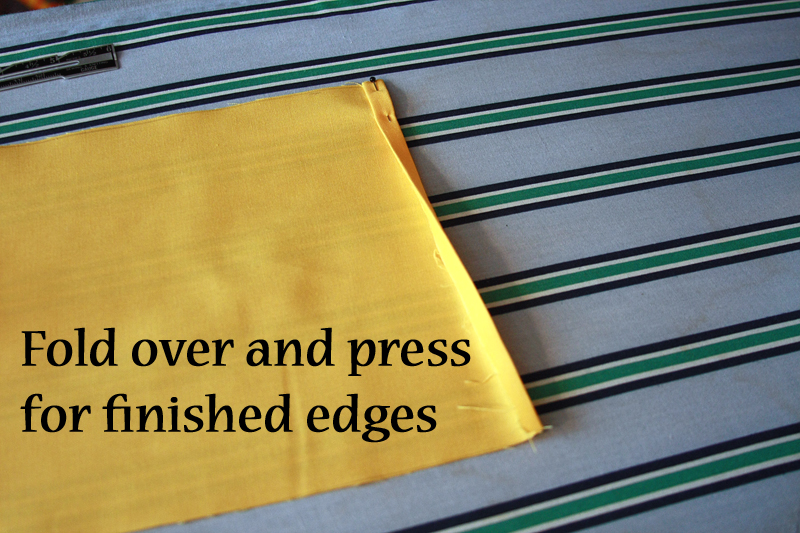
Repeat 20 bajillion times. Okay, more like 9. Once finished, stitch along folds creating a hem on 3 sides of each strip. Don't forget to backtack here.
Now, along the raw unfinished side, you will be adding 2 rows of basting stitches. Start stitching along one side about 1/4" from the edge with the machine set to the longest stitch length (DO NOT BACKTACK). Stitch the entire length of the strip until the end, then leave long tails of thread. Make a second row of basting stitches about 1/8" inside the first row. Make sure you do not cross the rows. (Note: check the bobbin before starting each basting row -- if you run out in the middle of a strip you will have to pull the entire row out and start again, these must be one long piece of thread.)
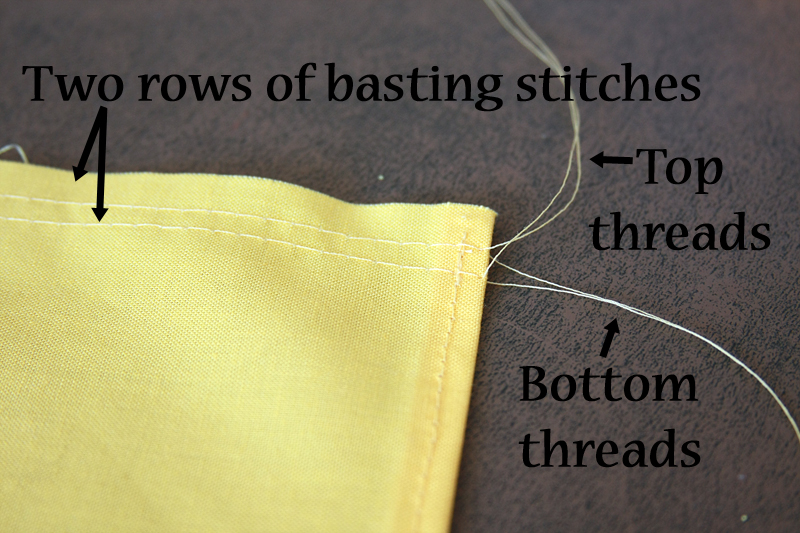
Separate the top two threads from the bottom two threads. Pick one set of threads (either the top ones or the bottom ones) and pull gently, scooting the fabric down as you go.
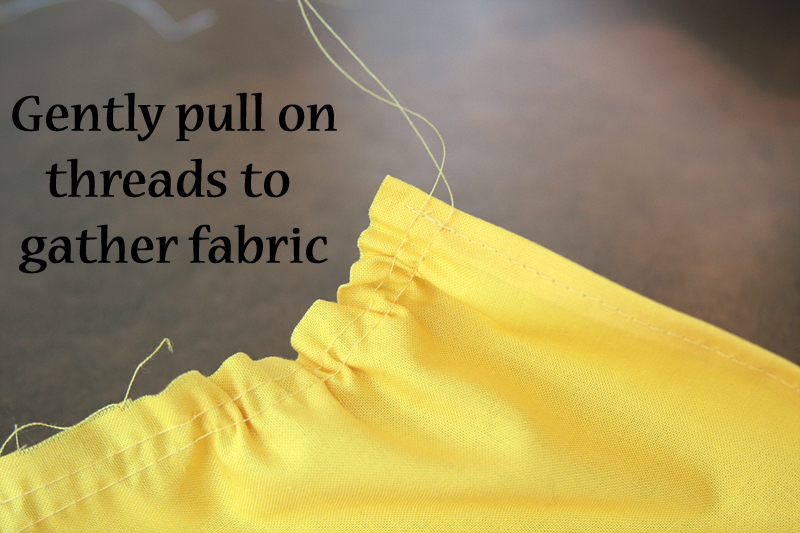
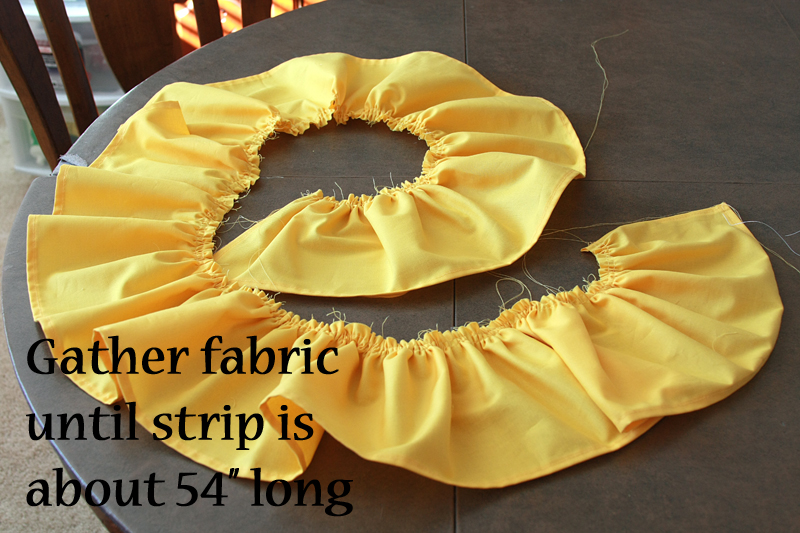
Continue gathering fabric until the strip shrinks to 54" long. Repeat with remaining 9 strips.
Now it's time to get a good look at what the finished product will look like! Lay one of your finished curtain panels out, right side up. Take 5 gathered strips and lay them out width-wise along the bottom of the curtain, one on top of the other.
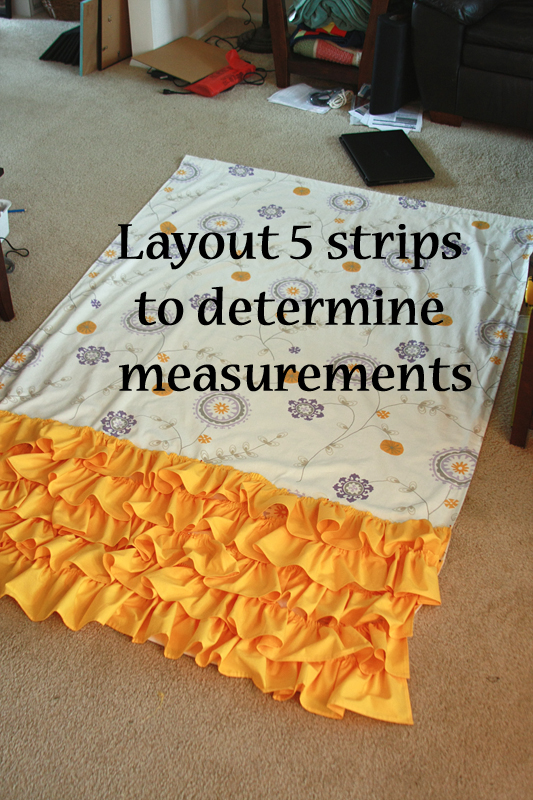
Adjust the overlap of the ruffles to what looks good to you. I decided on 4" between the top of each ruffle, giving me about 2.5" of overlap.
I also wanted just a little overhang from the bottom strip, so I decided to place it 5.5" from the bottom. Remember how I was such a stickler for making sure the curtain top was super straight earlier? This is where it comes in handy. Measure down the length of your curtain and mark it 5.5" shy of the bottom. For my 86" curtain, I placed a mark at 80.5".
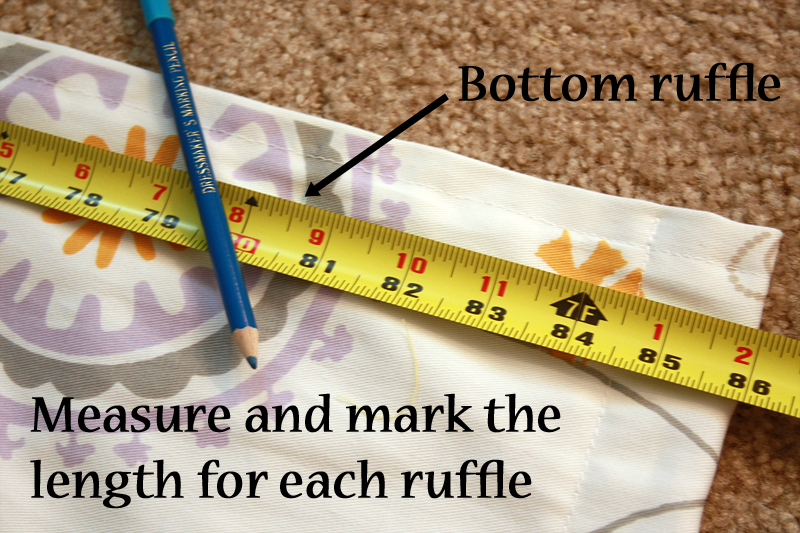
For the next 3 ruffles, I placed a marks 4" apart (so 76.5", 72.5", and 68.5"). For the final top ruffle, you will be sewing it on upside down (so it folds over and you don't see the stitching). I placed the mark for the top ruffle 2.5" above the previous one, but I think 3" might be better. So my final mark was at 66".
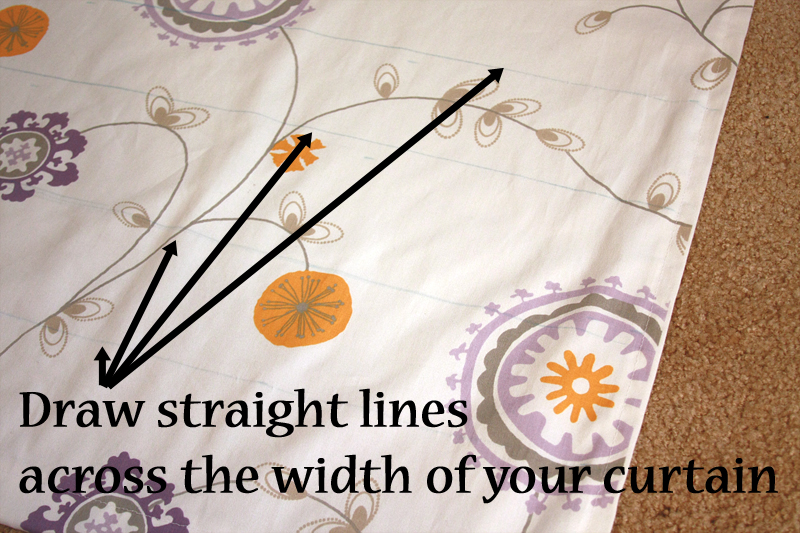
Shift the measure tape over a few inches and repeat the marks all the way across the width of the curtain. Use your straight edge to connect the marks and draw lines the full width of the curtain.
Place your first ruffle right-side up along the bottom-most line, lining up the very top edge with the line. Pin in place, making sure the gathers are evenly spaced and the ruffle fits perfectly from side to side without pulling on the opposite end (bunching up the curtain underneath).
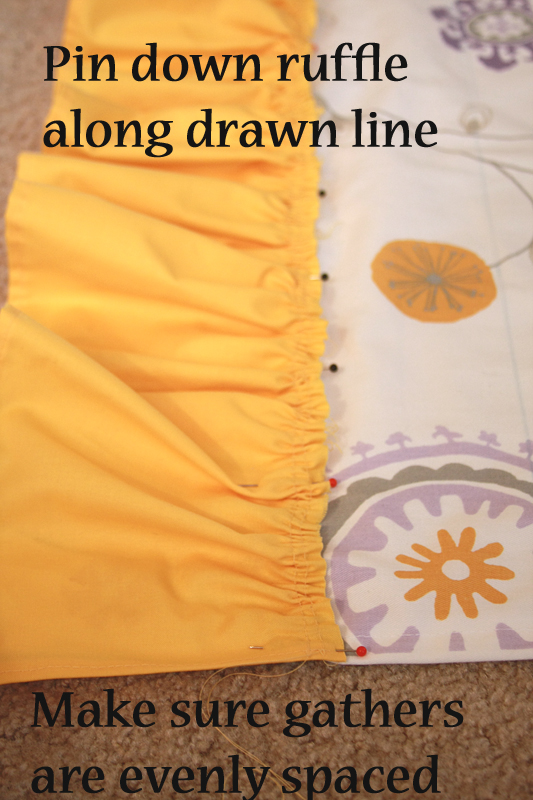
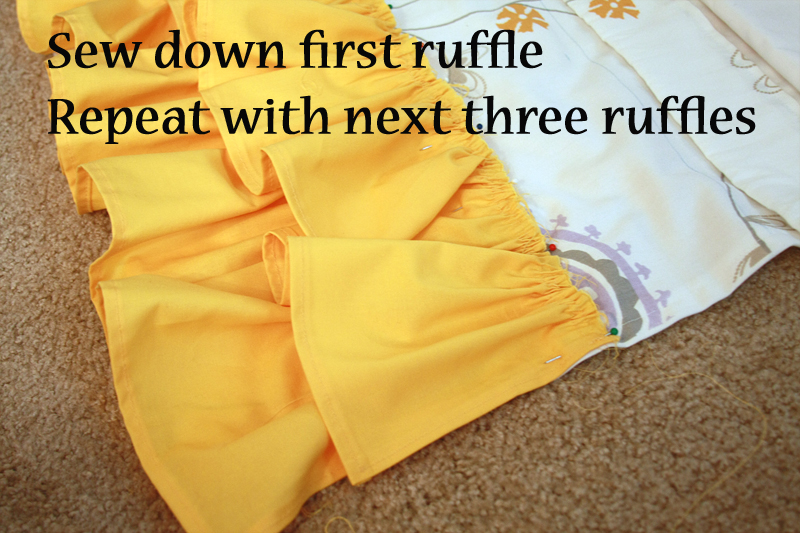
Sew down the length of the ruffle with about a 1/4" seam allowance, backtacking at both the beginning and end. Take care to keep the top of the ruffle against the line. Repeat with the next 3 ruffles.
Place the final top ruffle wrong side up, upside down (hem is exposed and pointing to the top of the curtain). Line up the top of the ruffle with the final line. Pin into place.
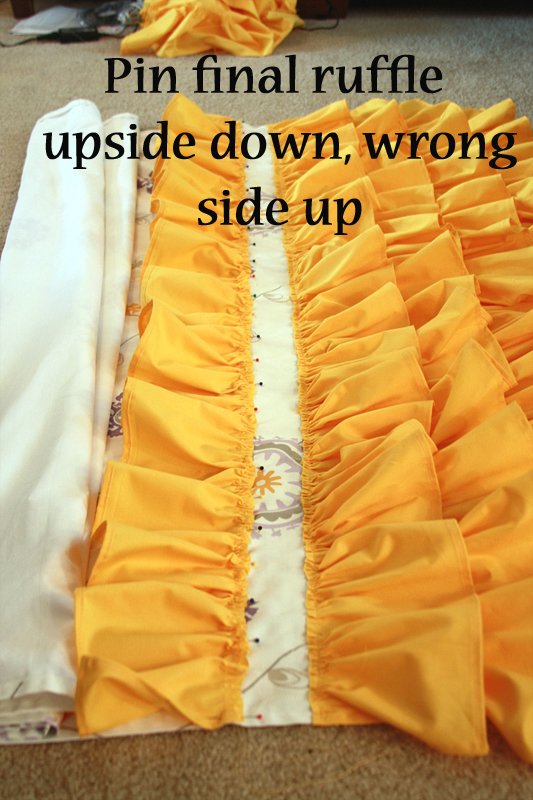
Sew the final ruffle down. Flip the ruffle over -- you shouldn't be able to see any unfinished edges, just a clean seam. Iron out any remaining wrinkles in your curtain panel, and lightly press the top ruffle downwards (I did this by slightly pulling down on the ruffle and lightly ironing the top 1/4" of the ruffle).
Hang up your curtain and ooo and ahhh. Then repeat with panel #2 and remaining 5 ruffles.
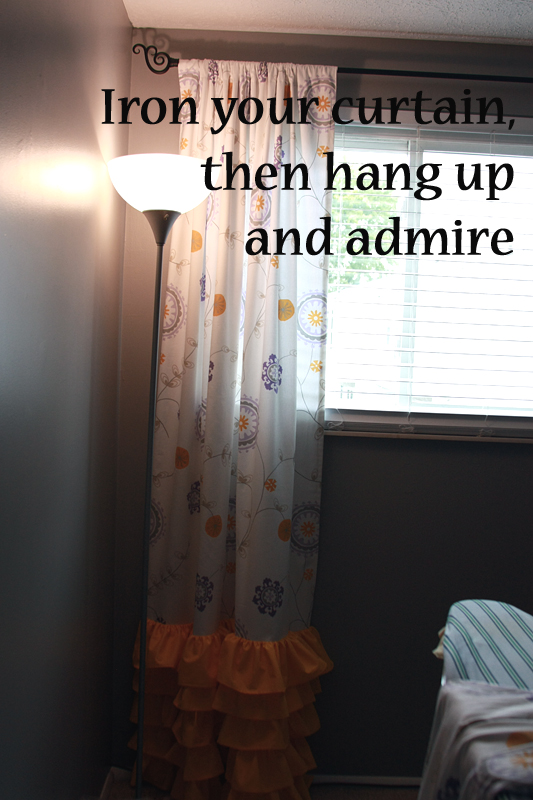
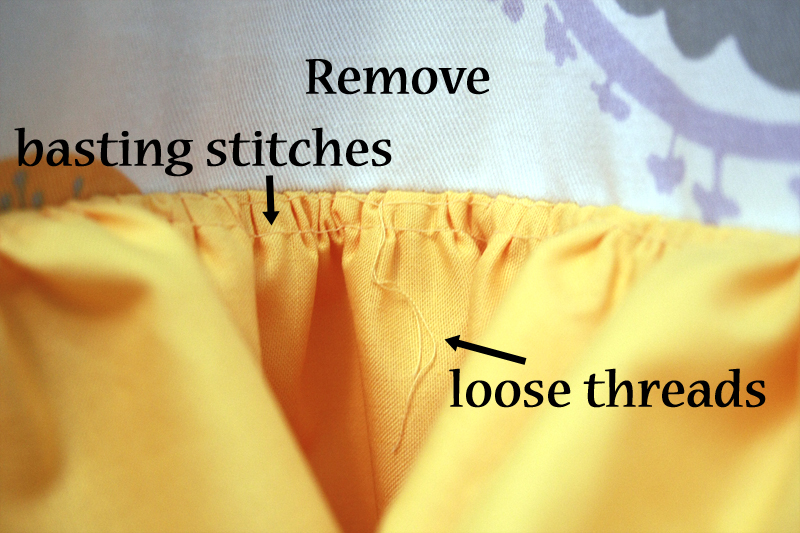
Once your curtains are up and you decide they look awesome (i.e. you don't have to move and fix any ruffles), remove any basting stitches that are showing on the top ruffle and any loose hanging threads.
Now. Step back and check out those fabulous curtains. Then round up your husband for a back rub.
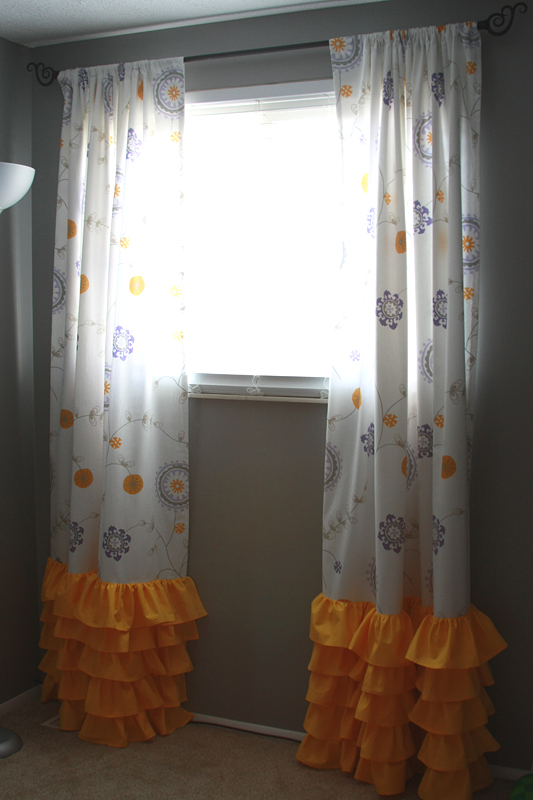
Final tab for these homemade beauties?
6 yards twill fabric @ $5.61/yd (on sale) = $33.66
6 yards cotton fabric @ $4.79/yd (40% off) = $33.53
2 flat sheets @ $4.87/sheet = $9.74
3 spools of thread @ $1.26/spool = $3.78
Final Price = $80.71
Not too shabby considering one unlined panel like this would go for at least $50. And you can totally pull this off for cheaper if you don't end up using the most expensive broadcloth in the store (because, of course, that's the only one that matches). Best part? You get exactly what you want. No compromises here!