
Oh man, it's been awhile since I've done a Recipe Re-Do. As in *cough* almost a year ago. Almost to the day. Obviously I didn't do so hot this past year with keeping up with my re-dos. Therefore I'm still pulling from February 2008. That's right. 2008.
Which on the bright side, means this little ol' blog has been hanging around for 5 years. Barely, this past year, but here we are, still carrying on. I'll take it.
5 years ago, I was in the middle of planning Adam and I's wedding while living in DC. Today, we've been in Pittsburgh for almost 5 years and are expecting our first child any day now. It's crazy how things change.
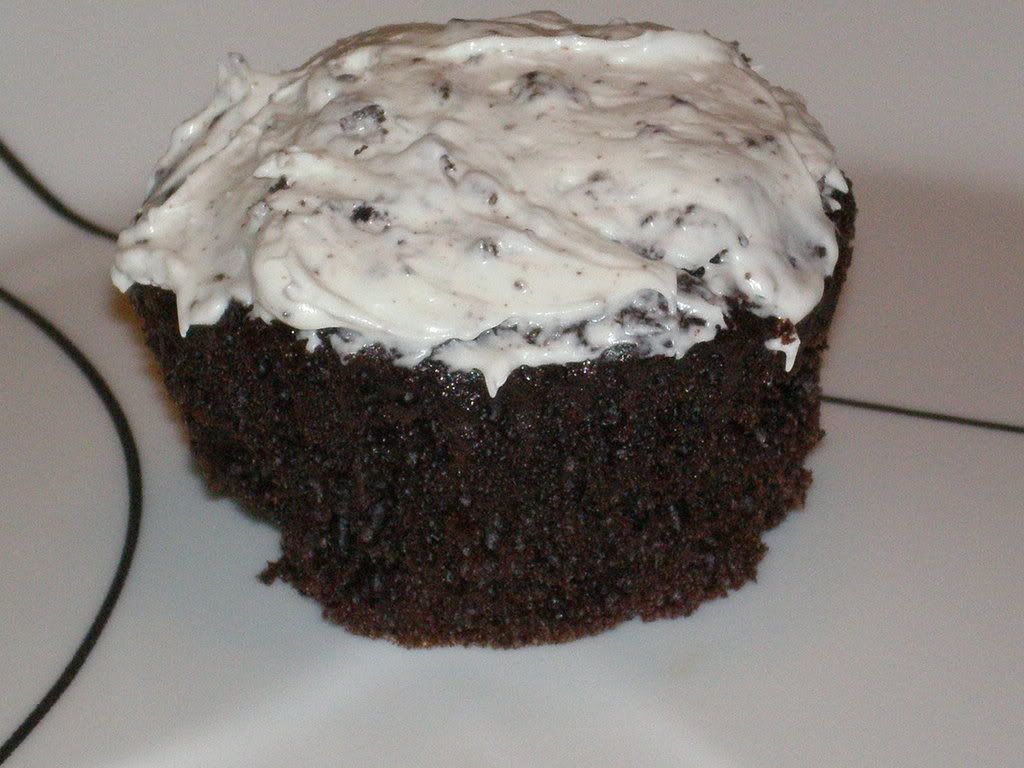
But that's not what we're here for, is it? Nope. We're here for the cupcakes. And you're lucky, because they're totally worth it. Back in 2008, I used a boxed cake mix and canned frosting. Smashed up a bunch of Girl Scout cookies, threw them in the batter and frosting and called it a day.
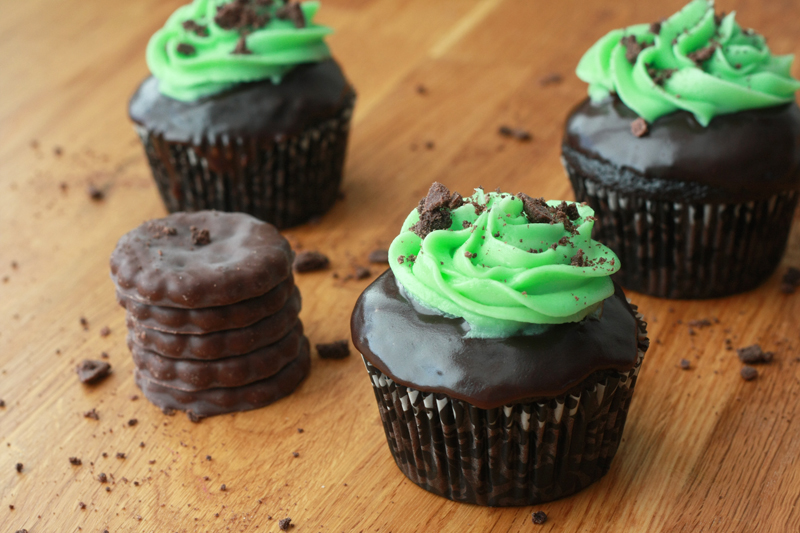
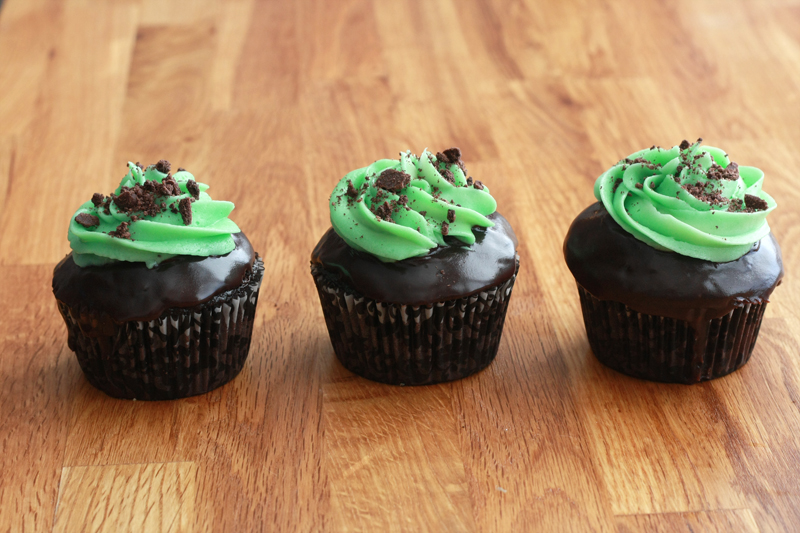
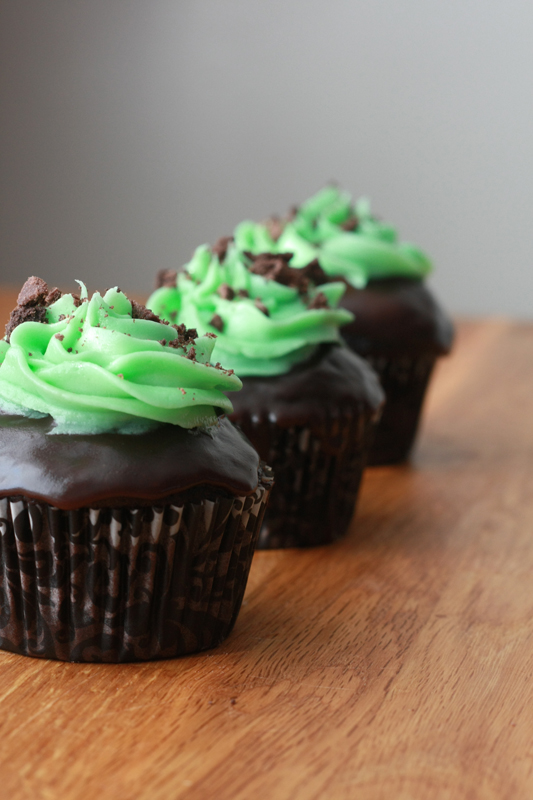
While that certainly isn't a bad way to make cupcakes, I decided it was time to give them a little update. A face lift if you will. I kept true to the flavors from those Dark Chocolate Thin Mint Cupcakes, but I altered how I infused the "mint" flavor into them. Instead of smashing up Girl Scout cookies (which, who wastes Girl Scout cookies like that?), I used dark chocolate mint candy melts to make a ganache instead. After dipping the cupcakes in the ganache, I topped them with a simple vanilla buttercream dusted with a few crushed up Keebler Grasshoppers. Thin Mints? No, but they do come pretty darn close. Much like the original cupcakes, the mint flavor isn't overpowering, but it's definitely there.
Now, who's going to take these away from me?
Dark Chocolate Mint Cupcakes
Original Recipe2 cups boiling water

1 cup Hershey's Special Dark cocoa (or other dutch-processed cocoa)
2 3/4 cup cake flour
2 teaspoons baking soda
1/2 teaspoon baking powder
1/2 teaspoon salt
1 cup butter, softened
2 1/4 cups granulated sugar
4 eggs
1 1/2 teaspoons vanilla extract
1/2 cup heavy cream
4 ounces Wilton's Dark Chocolate Mint candy melts
2 tablespoons butter
1 cup butter, at room temperature
1 pound powdered sugar
1 teaspoon vanilla extract
5-6 drops green food coloring (optional)
5-6 Keebler Grasshopper cookies or Girl Scout Thin Mints, crushed
Preheat oven to 350 degrees F. Line two muffin tins with baking cups.
In a medium bowl, pour boiling water over cocoa; whisk until smooth. Let mixture cool.
In another medium bowl, sift together flour, baking soda, baking powder, and salt.
In the work bowl of a mixer, cream together butter and sugar until light and fluffy. Beat eggs in, one at a time, making sure each is fully incorporated before adding the next. Stir in vanilla. Add the flour mixture alternately with the cocoa mixture until all ingredients are fully incorporated. (Note: batter will be very thin and runny.)
Fill baking cups about 2/3 full, and bake at 350 for 18-22 minutes, or until a toothpick inserted in the center comes out clean. Allow to cool for 5-10 minutes in pan before removing to wire racks. Allow to cool completely.
To make the ganache, in a small bowl, heat the chocolate and butter in the microwave, 20-30 seconds at a time. Stir between each heating until melted. Slowly stir in the cream.
In a large mixing bowl, cream the butter. Add in the vanilla. Slowly add in 1 pound of powdered sugar and mix until smooth and creamy. Beat in food coloring if desired.
Once the cupcakes and ganache have cooled, turn the cupcake upside down and dip the top in the ganache. Slowly rotate so that the entire top of cupcake is covered, making sure ganache does not get on the cupcake liner. Shake cupcake slightly to remove any excess ganache. Flip right-side up, and allow the ganache to set. Pipe or spread on frosting. Sprinkle crushed mint cookies over frosting.
Makes: 30 cupcakes
Dark chocolate cupcakes dipped in dark chocolate mint ganache topped with buttercream? Yes please. Although it is an additional step, I love the extra flavor and moisture the layer of ganache brings.
Alright, I will admit, I pretty much ripped off my own Chocolate Dipped Chocolate Raspberry Cupcakes making these. For some reason, I'm alright with it. :) Especially now that I don't have to wait until Girl Scout cookie season to make these.

Interested in my previous Recipe Re-Dos?
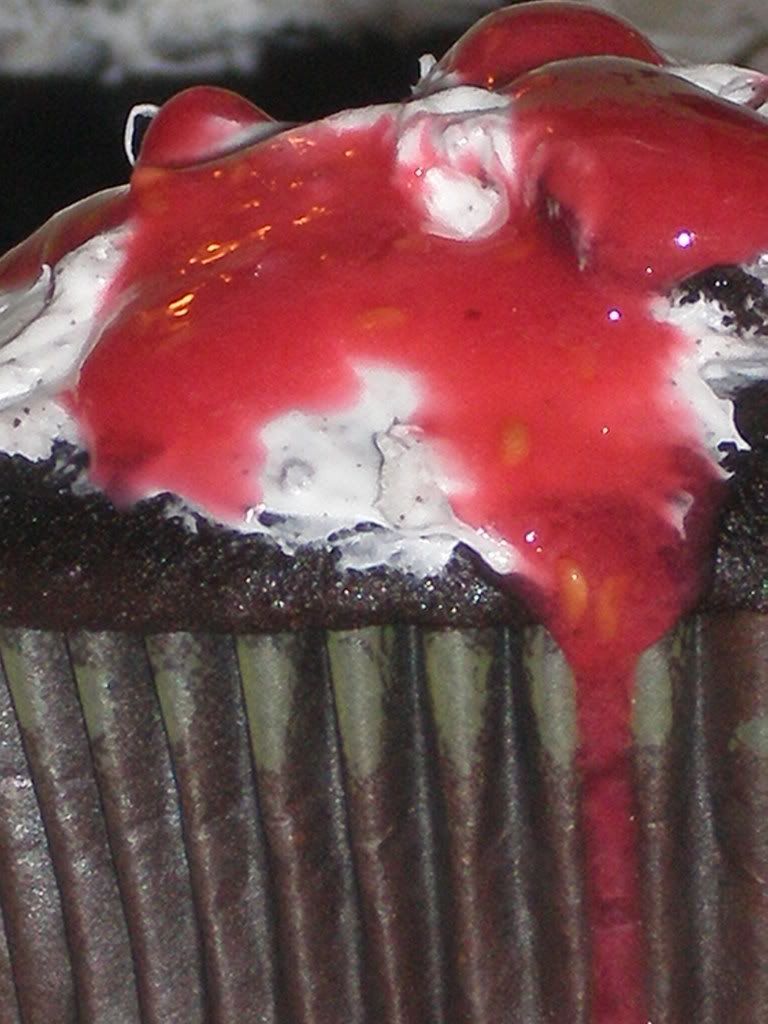
Dark Chocolate Cupcakes with Oreo Raspberry Glaze changed to Chocolate Dipped Chocolate Raspberry Cupcakes
Penne Alla Vodka remade into Creamy Penne Alla Vodka
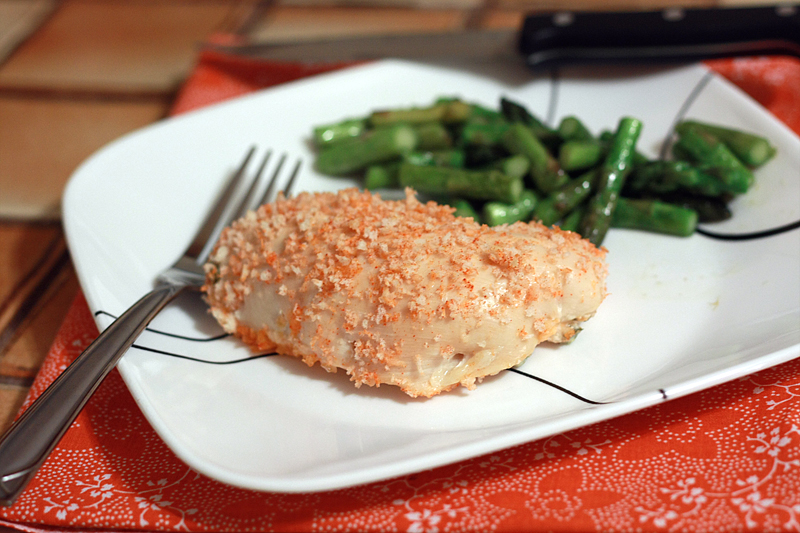
Spicy Garlic Lime Chicken into Spicy Garlic Lime Chicken Handpies
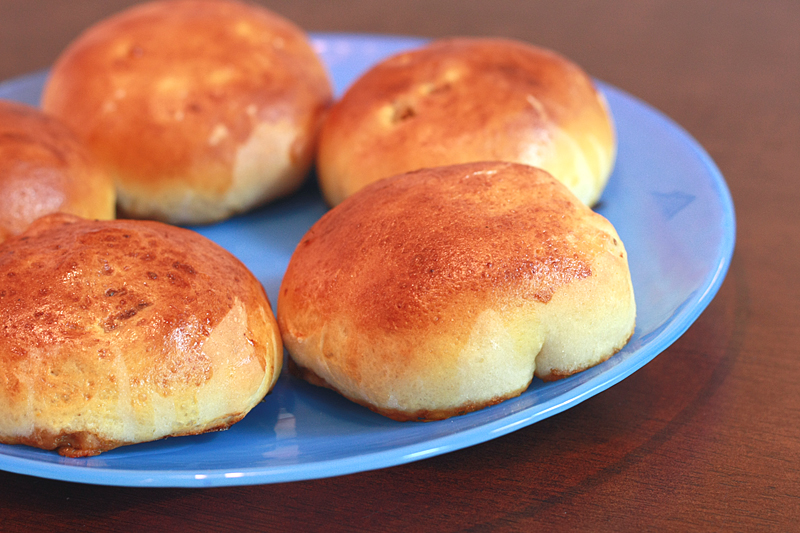
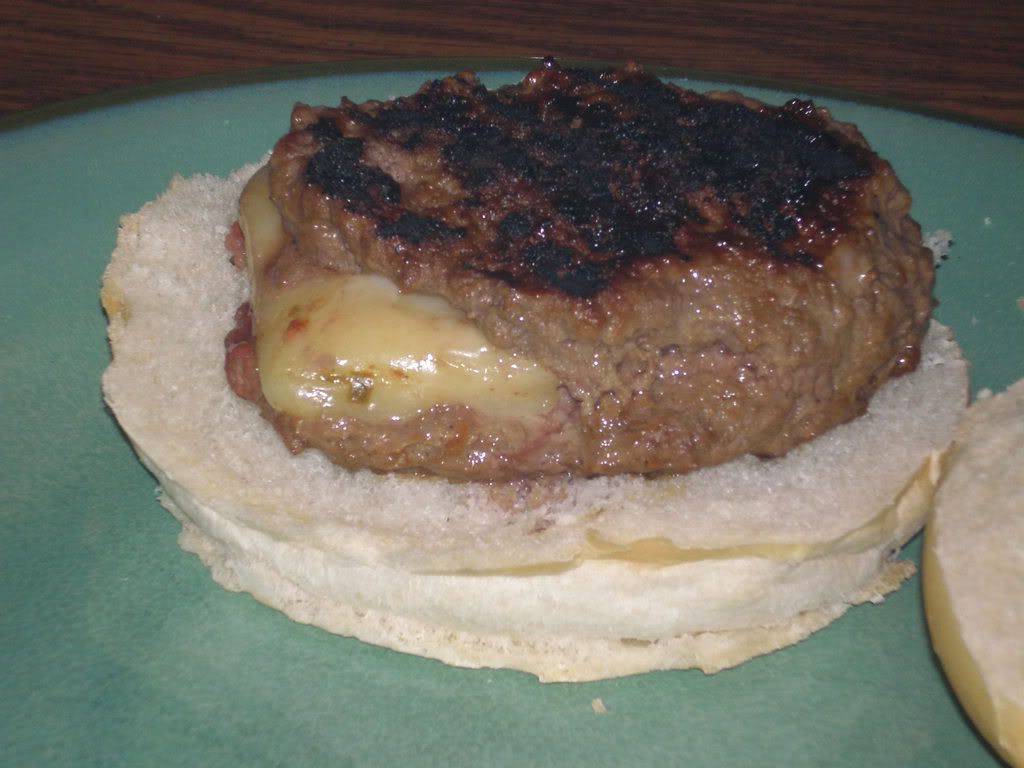
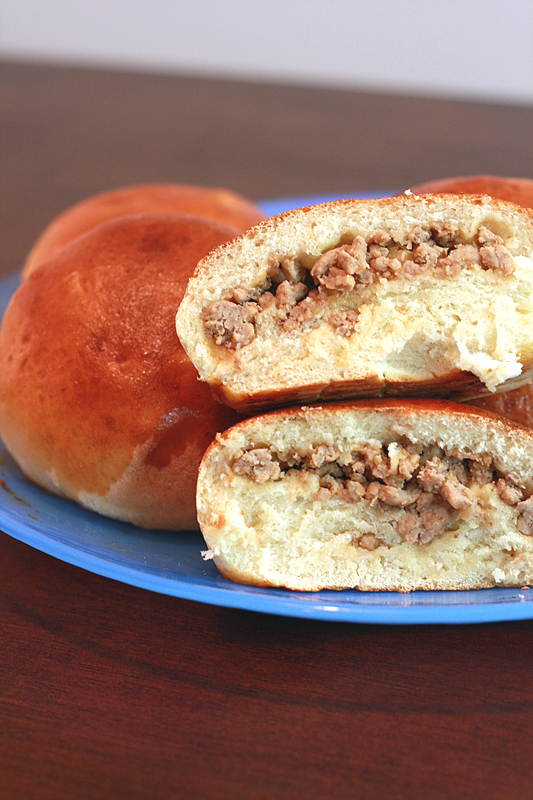
Ginger Teriyaki Burgers remade into Ginger Teriyaki Turkey Buns
Easy Baked Chicken and Brie to Chicken and Brie with Candied Walnuts and Apples
Garlic Lemon Double-Stuffed Chicken into Cheesy Jalapeno Chicken
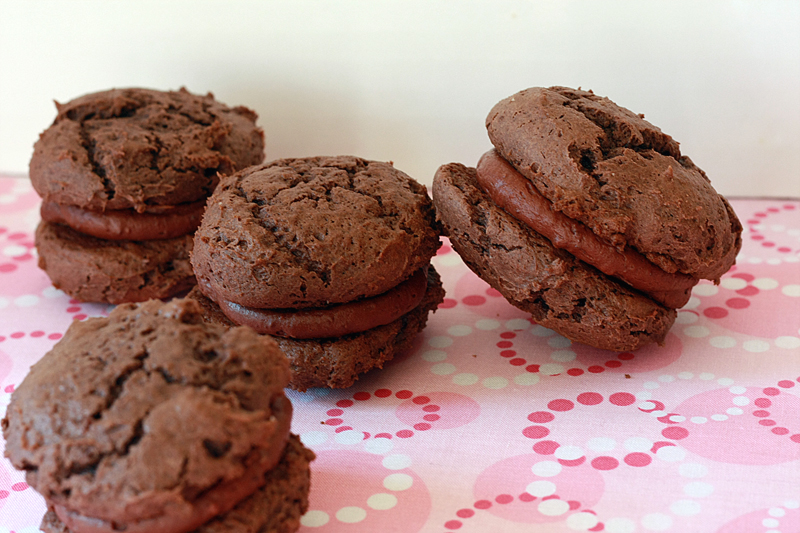
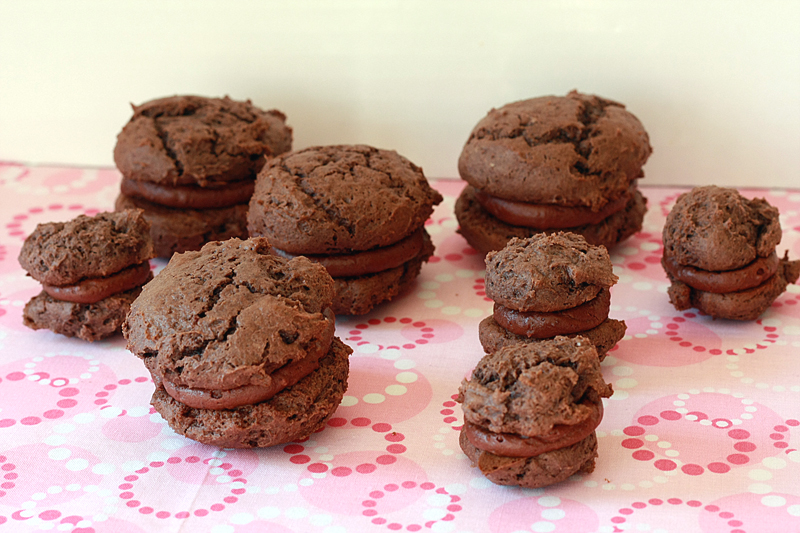
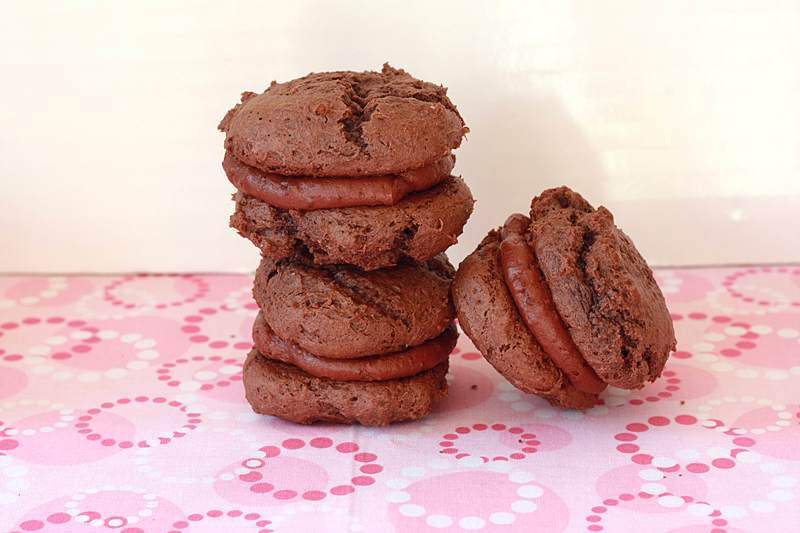
Mini Mint Chocolate Cheesecakes changed into Chocolate Peppermint Whoopie Pies
Dark Chocolate Cupcakes with Oreo Raspberry Glaze changed to Chocolate Dipped Chocolate Raspberry Cupcakes
Penne Alla Vodka remade into Creamy Penne Alla Vodka
Spicy Garlic Lime Chicken into Spicy Garlic Lime Chicken Handpies
Ginger Teriyaki Burgers remade into Ginger Teriyaki Turkey Buns
Easy Baked Chicken and Brie to Chicken and Brie with Candied Walnuts and Apples
Garlic Lemon Double-Stuffed Chicken into Cheesy Jalapeno Chicken
Mini Mint Chocolate Cheesecakes changed into Chocolate Peppermint Whoopie Pies
| Nutrition Facts | |
| Serving Size 89g | |
| Amount per serving | |
| Calories 323 | Calories from fat 146 |
| % Daily Value | |
| Total Fat 16.2g | 25% |
| Saturated Fat 10.2g | 51% |
| Cholesterol 59mg | 20% |
| Sodium 268mg | 11% |
| Total Carbs 44.0g | 15% |
| Dietary Fiber 1.5g | 6% |
| Sugars 32.8g | |
| Protein 2.7g | |
| Vitamin A 9% | Vitamin C 0% |
| Calcium 1% | Iron 5% |


 I know going in to this I said that weight loss was not going to be our main focus during these 30 days. Which is true. It's not. However, when we start talking about health, increased weight is strongly correlated with things such as cardiovascular disease (CVD), hypertension, Type 2 diabetes, and many more [1]. So for some people, yes, weight loss is a factor in their health.


