Every week I sit down, flip through my recipes and cookbooks and come up with some semblance of a meal plan for the week. Well, I try and do this anyways. Usually this works out really well and I'm not stuck trying to figure something out for dinner at the last minute.
Occasionally this backfires a little when there is an abrupt change of plans. Like oh, inviting friends over to dinner in the middle of the week. Don't get me wrong, I love to have people over for dinner, but I don't typically like to serve first-time meals to them. If it's my family, sure, they can be guinea pigs. Friends, it's a little different. I want to make sure whatever it is I'm feeding them is good, because, you know, I'd like them to come back after all.
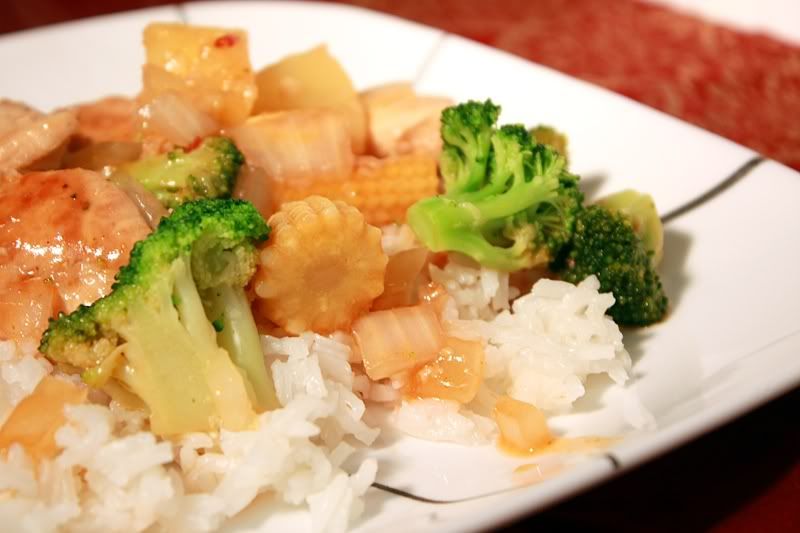
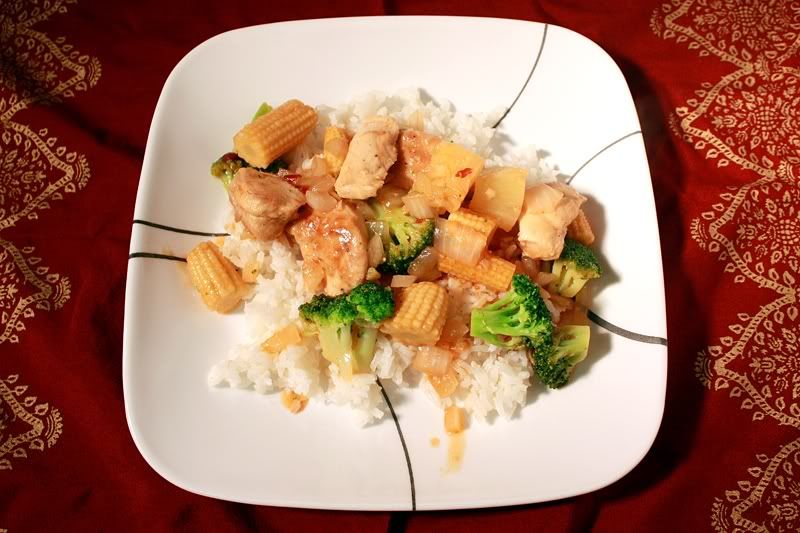
However, I decided to take a chance with this recipe. All the ingredients were familiar and seemed like they should work well together. I guess sometimes risks pay off. It was delicious. Sweet with a little bit of bite from the ginger. Not to mention fairly easy to pull off.
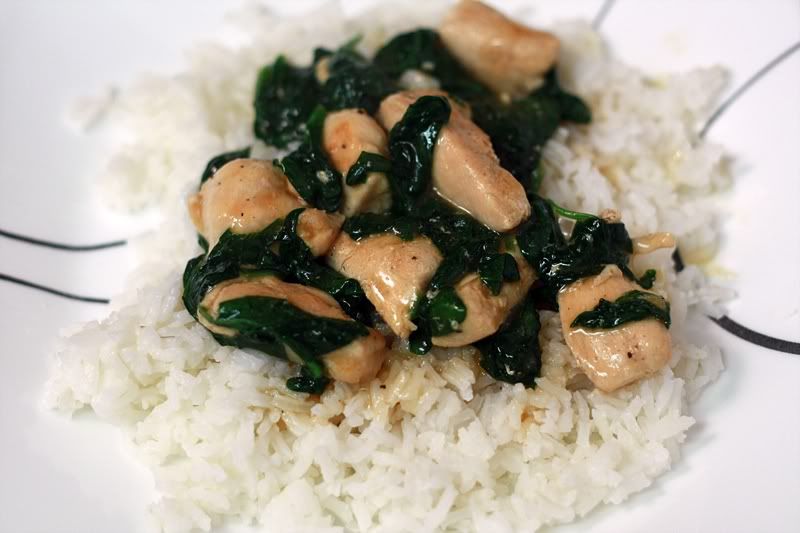


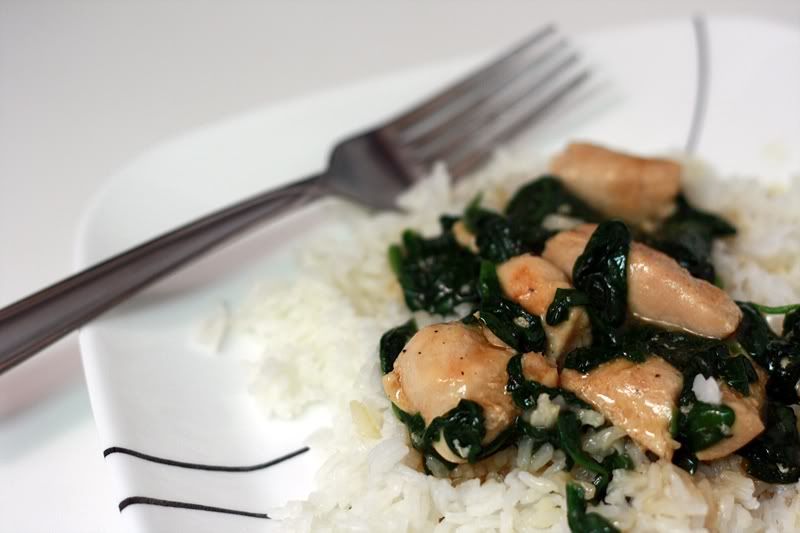
Honey Ginger Chicken Stir Fry
Adapted from: Allrecipes.com
Adapted from: Allrecipes.com
1 pound boneless, skinless chicken breasts, cubed
2 teaspoons garlic powder
2 tablespoons soy sauce, divided
1/2 teaspoon salt
1/4 teaspoon ground black pepper
3 cups fat-free, low sodium chicken broth, divided
1 tablespoon + 1 teaspoon cornstarch
2 tablespoons honey
1 teaspoon ground ginger
1 cup long-grain white rice
1 tablespoon oil
4 cups washed baby spinach
Place chicken in a medium bowl. Season chicken with garlic powder, 1 tablespoon soy sauce, salt and pepper. Set aside.
In a small bowl, combine remaining tablespoon soy sauce, 1 cup broth, cornstarch, honey, and ginger; set aside.
In a small saucepan, bring the rice and remaining 2 cups broth to a boil. Cover and lower heat to medium-low for 20 minutes. Remove from heat, fluff with a fork, recover and let sit for 5 minutes.
Heat oil in a large skillet over medium-high heat. Cook chicken for 5 minutes, or until cooked through. Stir in baby spinach; cook 1 minute, or until wilted. Stir broth/cornstarch mixture, then add to skillet. Cook, stirring constantly until sauce is thickened and translucent. Serve chicken and spinach over rice.
Serves: 4
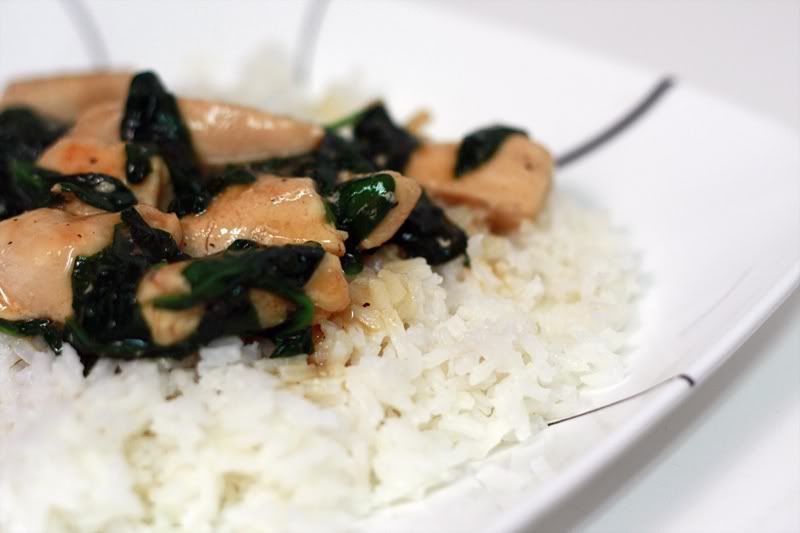
After our success with the meal the first time around, I decided to make this again a couple weeks later to get some pictures. And I promptly forgot to make the rice with chicken broth. I think that one little step makes a huge difference in the overall flavor of the dish. So don't miss it! Other than that this meal is quick and easy and makes a nice light weekday dinner.

We served this with Sichuan Green Beans, which complemented the meal quite nicely.
| Nutrition Facts | |
| Amount per serving | |
| Calories 478 | Calories from fat 110 |
| % Daily Value | |
| Total Fat 12.3g | 19% |
| Saturated Fat 2.9g | 14% |
| Trans Fat 0.0g | |
| Cholesterol 101mg | 34% |
| Sodium 1204mg | 50% |
| Total Carbs 51.2g | 17% |
| Dietary Fiber 1.6g | 6% |
| Sugars 9.3g | |
| Protein 38.6g | |
| Vitamin A 57% | Vitamin C 15% |
| Calcium 6% | Iron 25% |