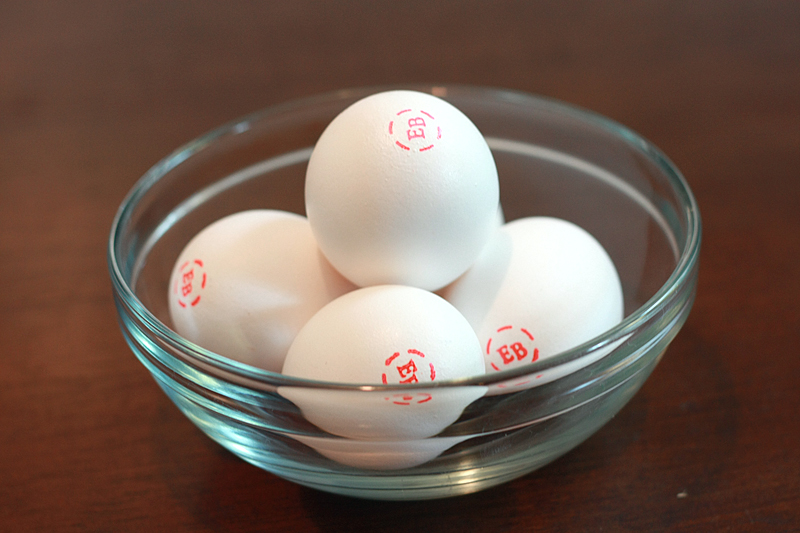
May must have been my lucky month with the Foodbuzz Tastemakers program. Not only did I get to try out Eggland's Best eggs, but I was also sent a full-sized bottle of KC Masterpiece's new Southern Style barbecue sauce. Adam is from Kansas City and a die-hard KC-style barbecue fan. So, signing up for this opportunity was a no-brainer.
Yet, even though I knew Adam would be thrilled we were having barbecue, I really wasn't sure what I wanted to make with it. Go for straight barbecued ribs or other kind of pork, or try to incorporate it in a recipe of some sort? Seeing as this was one of their new flavors, I opted go for the pure "barbecue sauce only" approach. I wanted the flavors of the sauce to really sing.
Not to mention I like easy. See, meat and I don't always get along in the kitchen when I'm trying to cook it, thus the easiest preparation is usually the best for me. And what could be easier than throwing some pork in a crockpot, smothering and covering it with barbecue sauce and just walking away? Nothing. That's what.
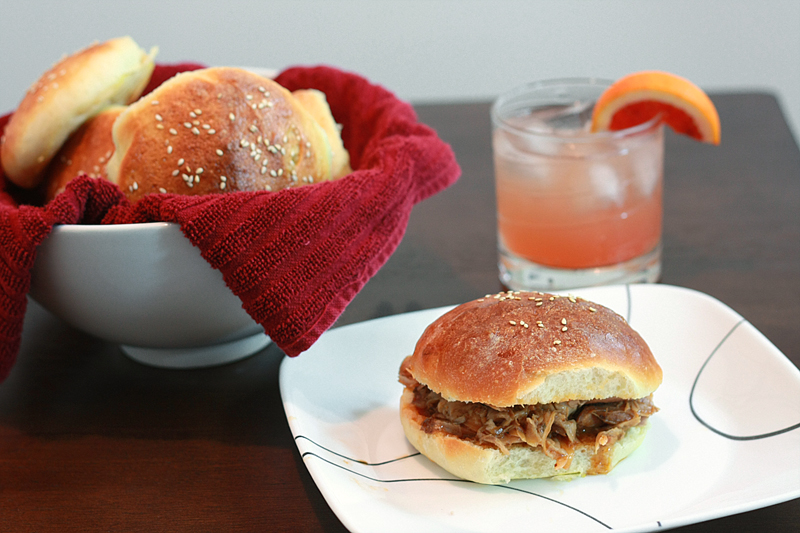

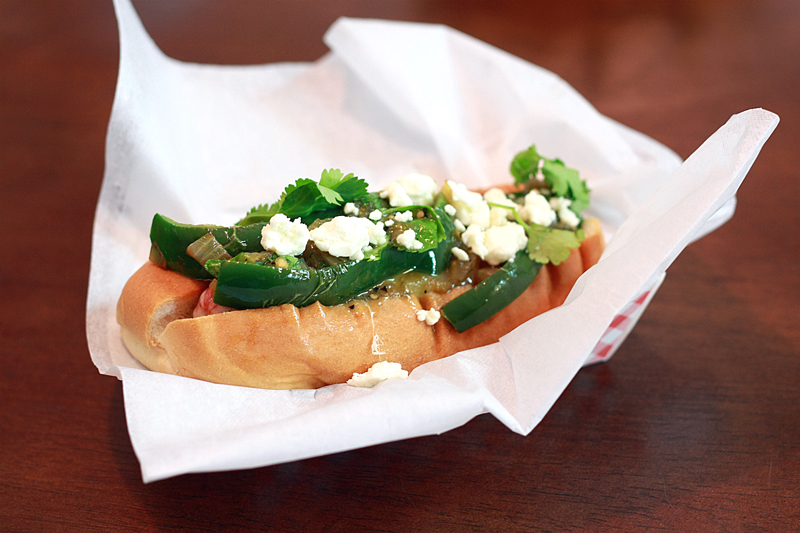
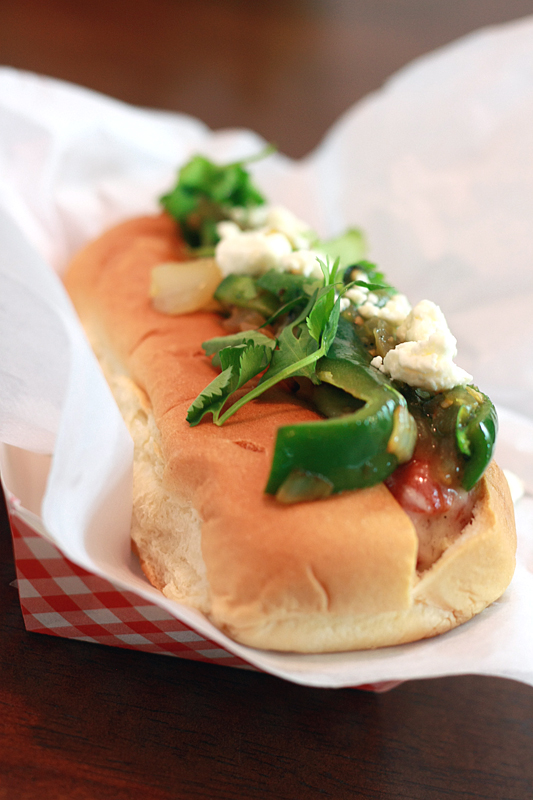
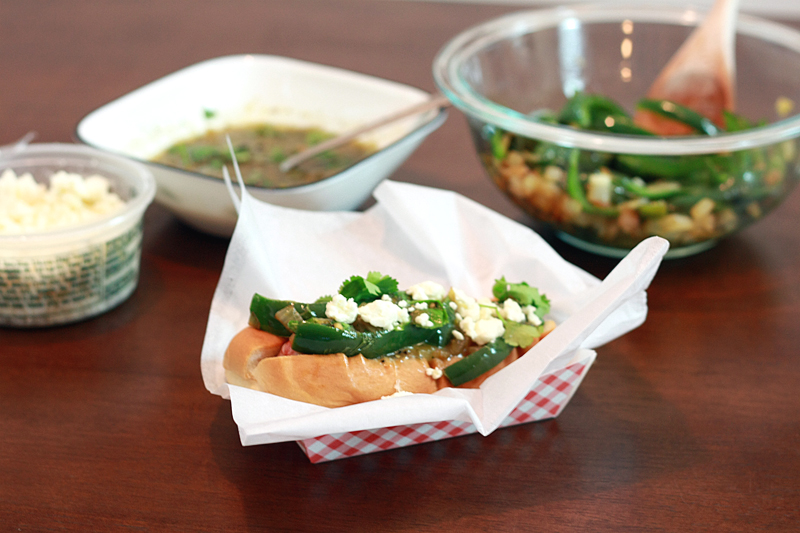
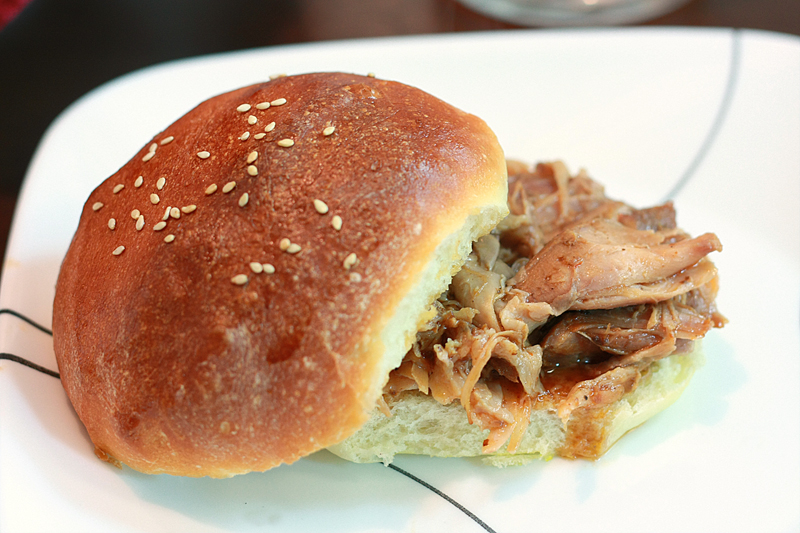
KC Masterpiece Pulled Pork Sandwiches
2 pounds pork butt (pork shoulder)
1/2 cup club soda
1 (17 ounce) bottle KC Masterpiece barbecue sauce
6 hamburger buns
Slice the pork lengthwise and place both halves in a large crockpot. Add the club soda. Pour the barbecue sauce into the crockpot, flipping the pork to ensure it is covered in sauce. Cook on low for 4-6 hours. Using two forks, pull the pork apart, breaking up any large chunks. Serve on top of hamburger buns.
Serves: 6
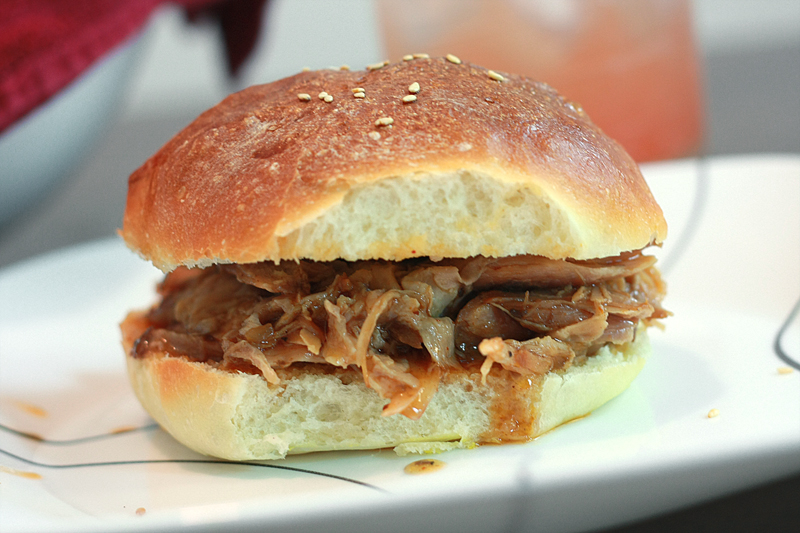
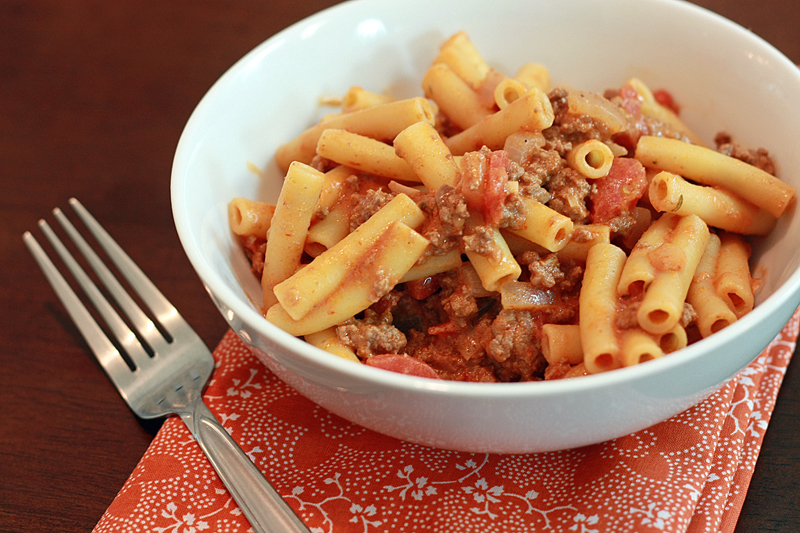
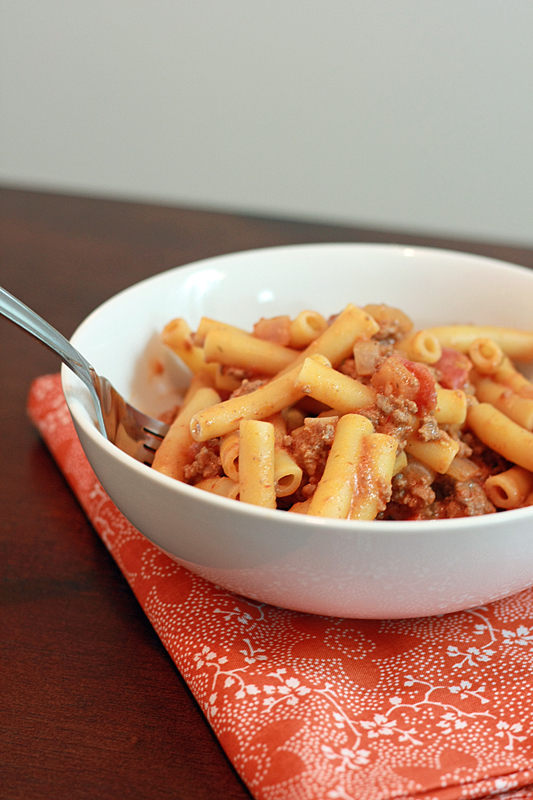
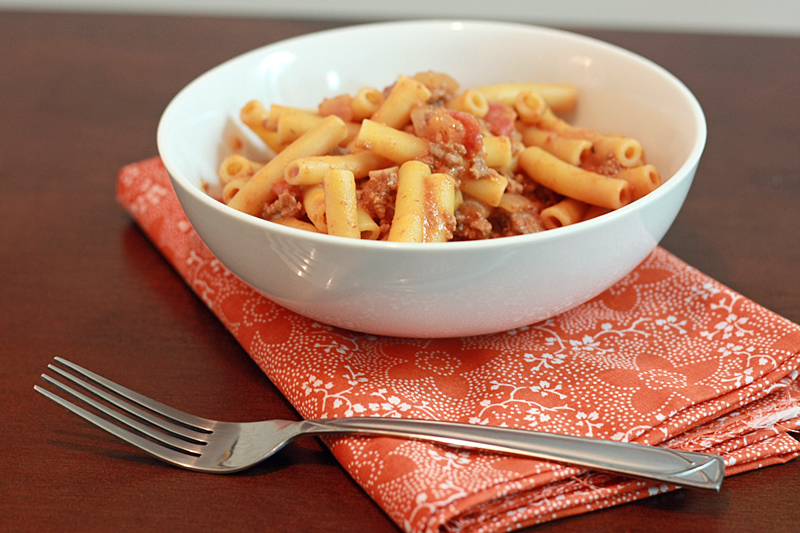
Despite such a simple and hands-free recipe, it really turned out so good. The pork was just falling apart and juicy. The KC Masterpiece Southern Style sauce is a little thinner-bodied than I'm used to, as it has more of a vinegar base flavored with red and black pepper (which is typical of a southern BBQ sauce). I'm not sure it was our favorite sauce ever, but like I said, Adam is more partial to a true KC-style sauce rather than one that's more Carolina-style.
You could easily use any type of barbecue sauce you want for this cooking method, or even make your own. You can also substitute the club soda for regular soda (such as Coke/Pepsi) or root beer to give it that extra layer of flavor. I simply chose not to do so this go around as I was primarily focused on the flavor of the sauce.

Note: As part of the Foodbuzz Tastemaker Program, I received one bottle of KC Masterpiece Southern Style sauce.
| Nutrition Facts | |
| Amount per serving | |
| Calories 546 | Calories from fat 108 |
| % Daily Value | |
| Total Fat 11.9g | 18% |
| Saturated Fat 3.8g | 19% |
| Cholesterol 139mg | 46% |
| Sodium 830mg | 35% |
| Total Carbs 54.7g | 18% |
| Fiber 0.9g | 4% |
| Sugars 29.5g | |
| Protein 51.2g | |
| Vitamin A 0% | Vitamin C 1% |
| Calcium 9% | Iron 18% |