Alright ladies and gents, grab your suitcase and Spanish-English Dictionary -- we are headed south of the border. No, not Mexico; think east. Project Food Blog Challenge #2 has given us the boot, sending outside the country in search of
"an ethnic classic that is outside your comfort zone or are not as familiar with". Well for me, that could be a lot dishes from a lot of places. Or at least that's what I first thought.
Ever since I started this blog, I have frequently tested myself and stepped outside my comfort zone. I try new cuisines and new techniques on a regular basis. Where many home cooks shy away from certain dishes containing strange ingredients or a process they haven't used before, I jump in feet first. Usually into the ignorant-kid pool. But that's how you learn.
So where do I even begin? Obviously a simple hop across the pond to classic dishes from Western Europe isn't really a stretch outside my comfort zone. I'm not even sure it's out of my comfort zone at all. I wanted to find a dish that not only is something I've never made before, but also is so far outside my comfort zone I've never even worked with most of the ingredients. However, the other stipulation of the challenge is to
"keep the dish as authentic as the real deal", which means you have to know what you're eating to know if it's authentic or not.
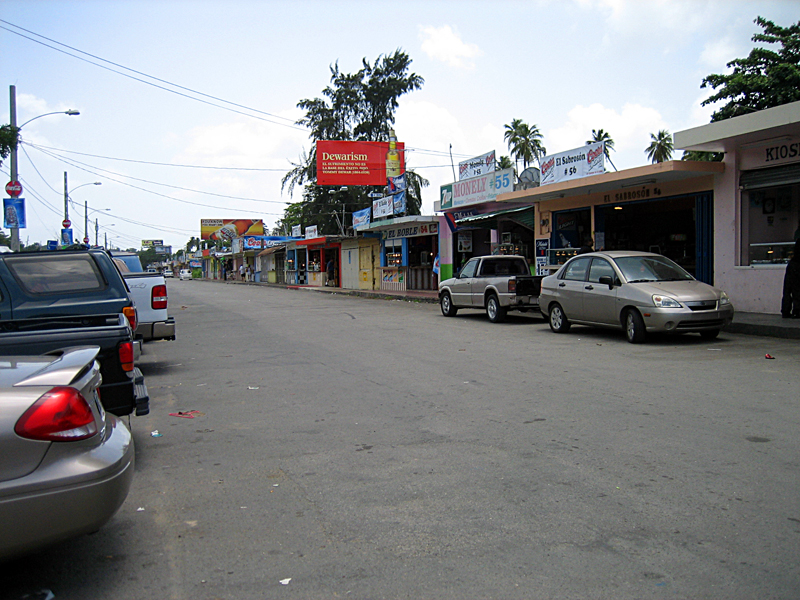
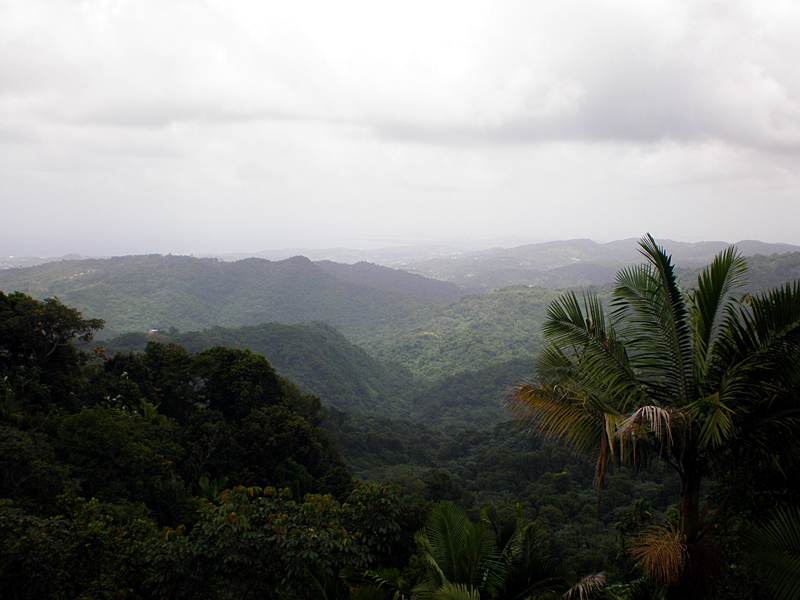
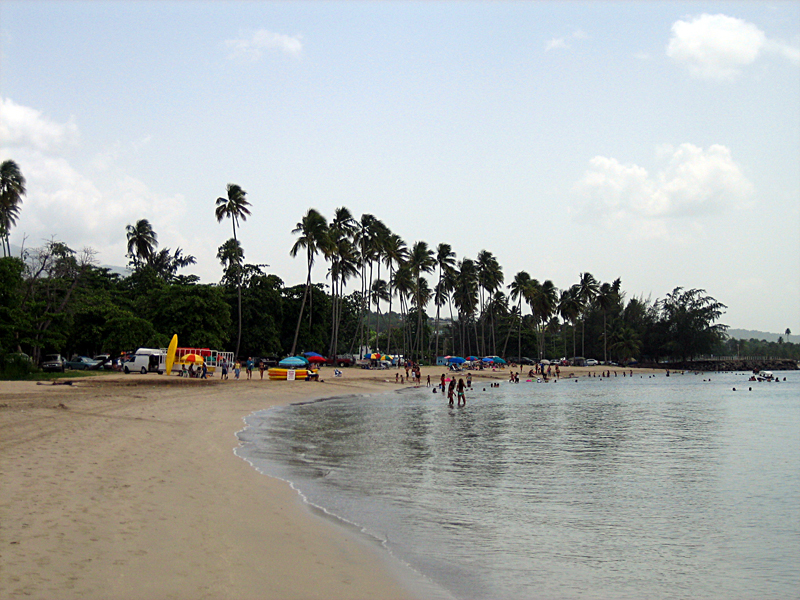
I was over thinking it. What food do I LOVE to eat, but NEVER make? Oh. That's easy. Puerto Rican food. The summer after I moved out to DC, my mom, sister and I went down to Puerto Rico to visit our roommate, Laura and her family. It's one thing to travel places armed with your Frommer's and tour guides, but a completely different ball game to know someone that actually lives there. Of course we did some touristy things, but we also got a behind-the-scenes tour. We went to La Bombonera, a restaurant in Old San Juan with to-die-for sweet rolls and a ham and cheese sandwich with a kiss of powdered sugar, we explored the kiosks at El Luquillo (which is not something we would have ever been brave enough to attempt on our own), and the best part -- Laura's mom made us a Puerto Rican feast full of authentic local foods. Including mofongo. Mmmm mofongo.
Mo-what-o? Mofongo. A quintessential Puerto Rican dish found in few other places, consisting of mashed plantains and chicharrón, sometimes stuffed with various meats, or if not, served as a side dish. (Don't feel bad if you don't know what it is...
Guy Fieri didn't either.) In my quest to find the "classic dish" that was outside of my comfort zone, this one fit the bill. I had happily smashed plantains for tostones while Jennifer or Laura fried and poked and prodded them (the actual work), yet I had never made tostones on my own. And chicharrón? Did I even want to know what that is? Not really, but I had to. Chicharrón is also known in the States as pork rinds, yeah, those golden brown crispy bits found on the snack shelves next to the chips. Fried pork skin. Erm...
But I was committed.
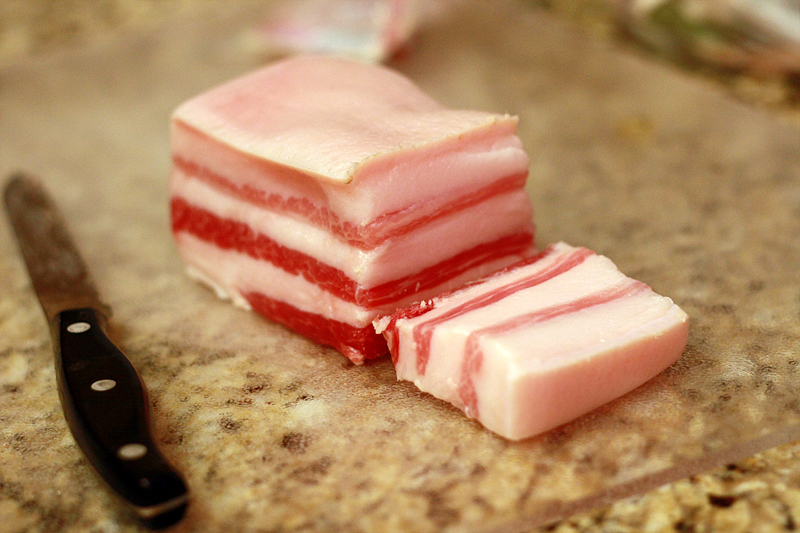
Puerto Rican recipes are like any other recipes handed down generation to generation. Measurements and timing are lacking, and depending on who is making it depends on what exact ingredients are found in mofongo. Every recipe I came across (including the ones from Laura's and her husband's mothers) called for 3 green plantains, garlic, and oil. What exactly to use for pork, though, was all over the board. I saw everything from pork skin, to salt pork, to bagged chicharrón, to bacon. Bacon? Yeah, that one doesn't qualify as authentic, sorry. (Not to mention it would completely change the flavor of this dish.) After much searching, and not finding pork skin, I went with the next best option -- salt pork. Salt pork does contain actual pork skin, as well as a layer of fat, meat, fat, meat, fat. Kind of like bacon. But was it authentic? A quick phone call to Laura and I was in the clear, good to go. It qualified.
So mofongo. Let's get started.
The ingredient list is simple: 3 green plantains, 1/2 pound of salt pork, a couple cloves of garlic, and oil.
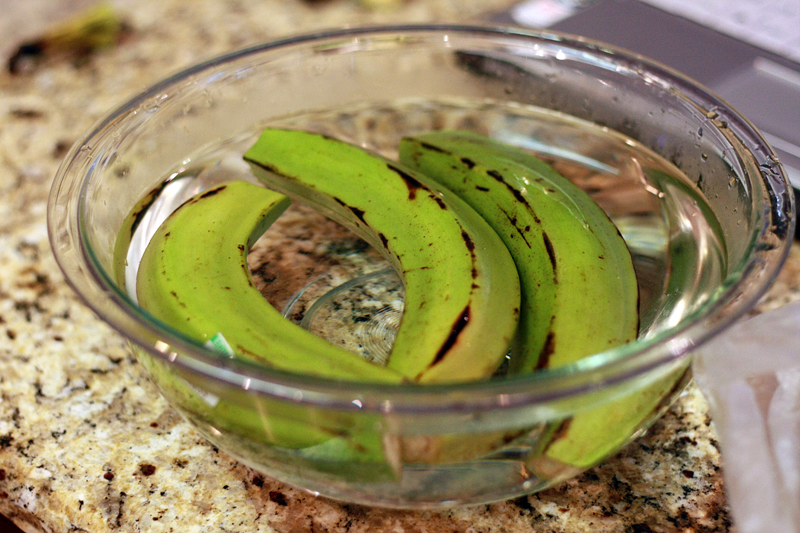
Cut the ends off the plantains, slice the skin lenthwise, and submerge in a bowl of hot water for a few minutes. This will make peeling these bad boys MUCH easier.
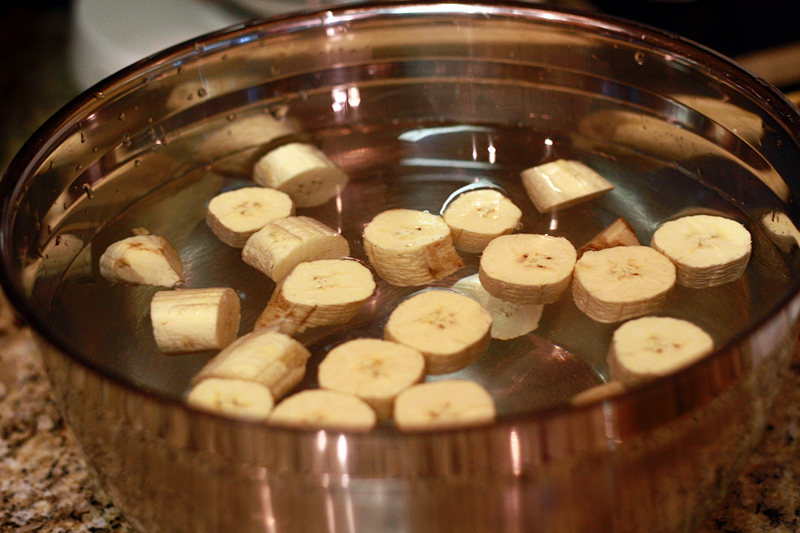
Slice the plantains into 1" pieces, then soak in a bowl of salted water for about 15 minutes.
Cut the salt pork into 1/4" - 1/2" strips, then divide those into thirds. Careful, the skin is very tough to cut through -- we ended up using a kitchen shears.
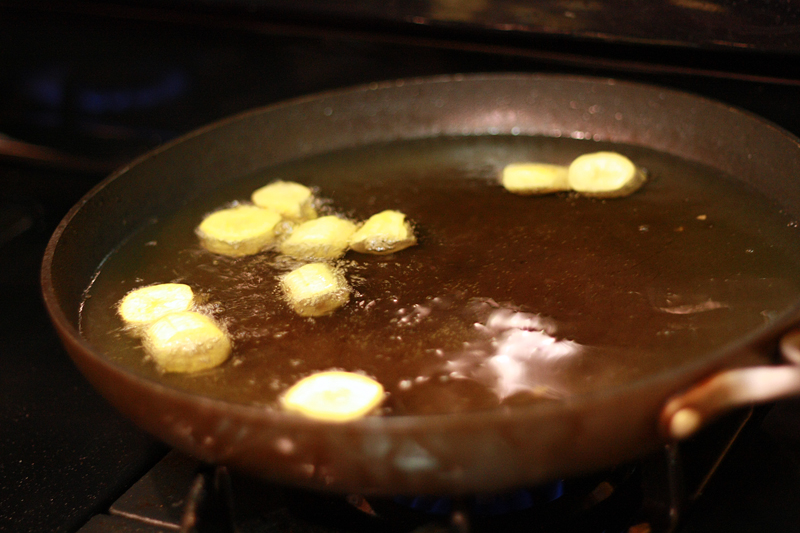
Meanwhile, bring a pan of oil to 375 degrees F. Once at temperature, add in 1/4 to 1/2 of the plaintain pieces. You want bubbles, kind of like a fizzy drink to come up around the plaintains. We're not going for the jacuzzi on super high jets here -- that means the oil is too hot.
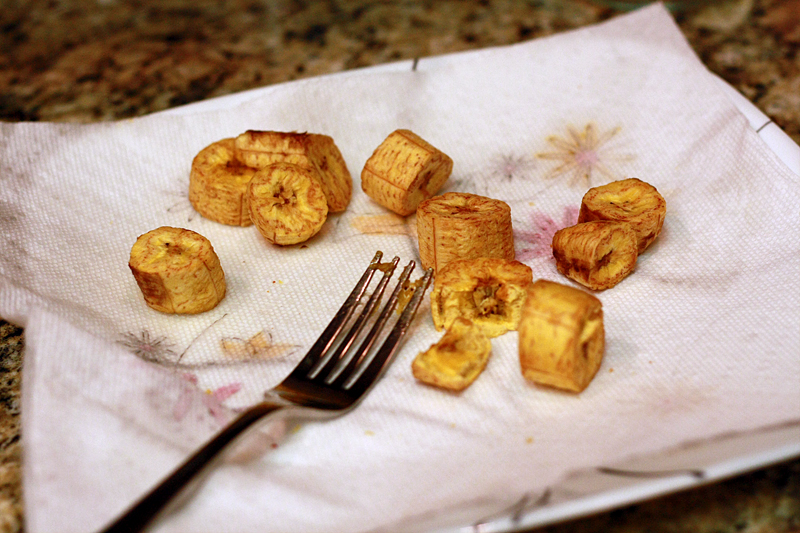
The plaintains are cooked when the top is crisp, but the insides are still mushy. You should be able to tap the top and the fork doesn't sink in, about 5 minutes. Repeat with the remaining plantains.
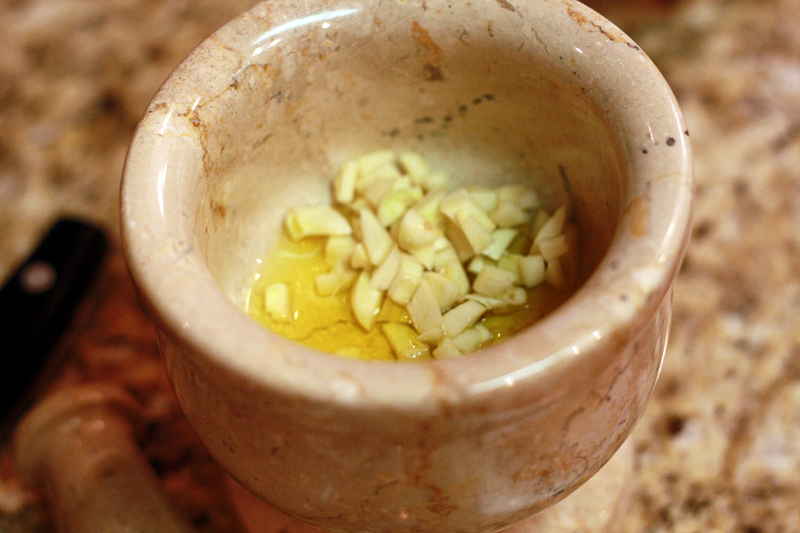
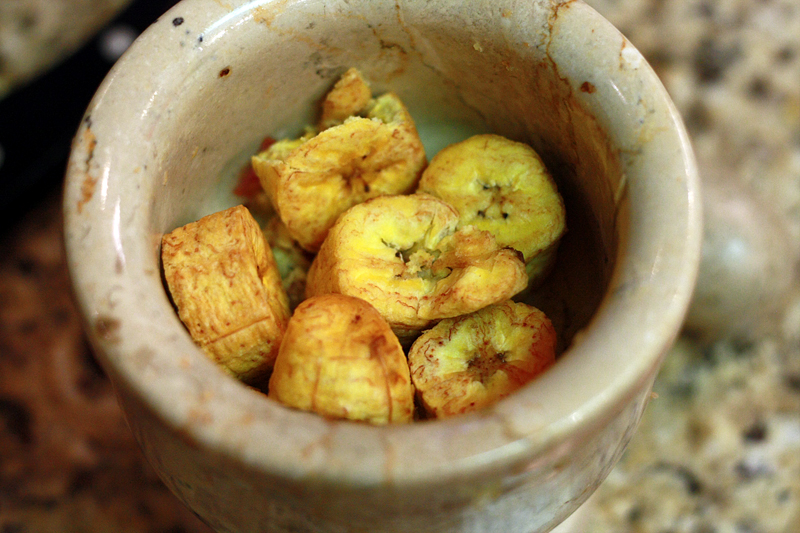
While the plantains are frying, mash together the garlic and oil in a pilón (you can also use a mortar and pestle). Remove to another bowl when finished.
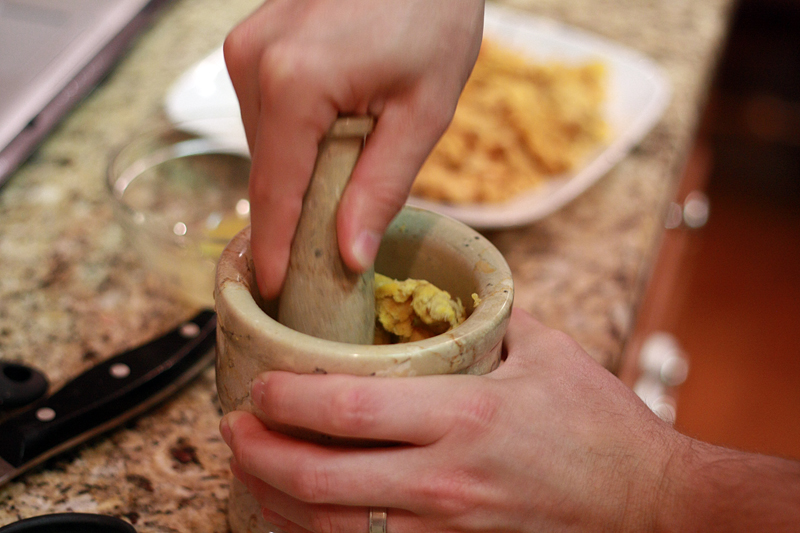
Place the cooled plaintains in the pilón and start mashing. In the meantime, bring the oil back to temperature and start frying the salt pork. Fry for 5-7 minutes -- it will resemble bacon when it is done. Remove with a slotted spoon to a paper-towel lined plate and allow to cool.
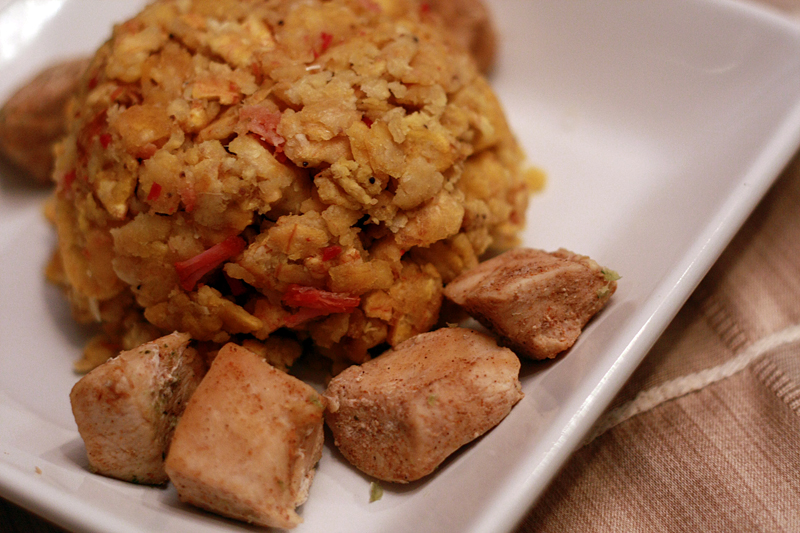
Remove the plantains from the pilón and replace it with the salt pork. Mash it well. Take out those anger issues. Once the salt pork is mashed, you are ready to begin combining. If you have room in your pilón, add in all the plantains and salt pork and mash together, adding in the garlic mixture to taste. If you are like me and simply have a small mortar and pestle, add in a healthy amount of plantains, followed by mashed salt pork. (This dish highlights plantains, not the salt pork, so keep that in mind with how much you add of each.)
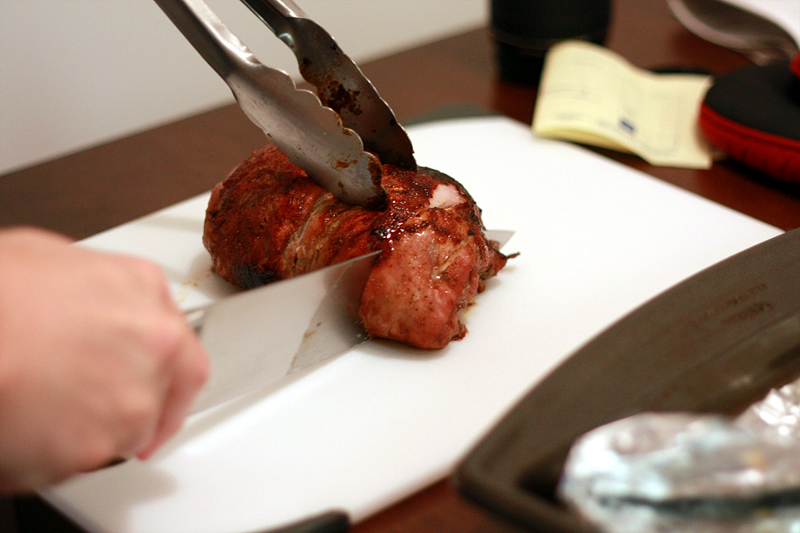
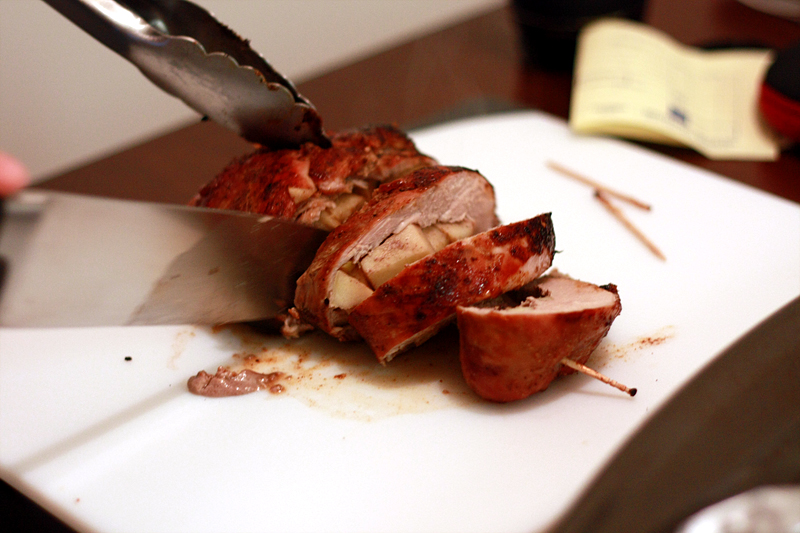
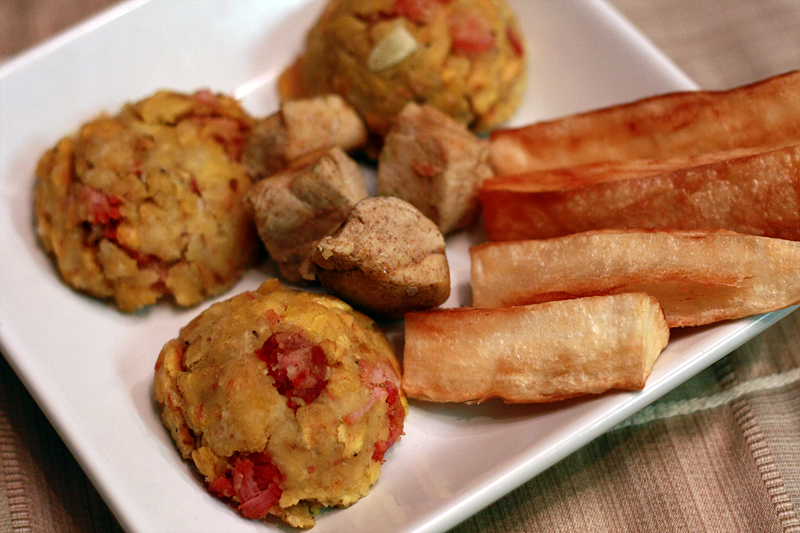
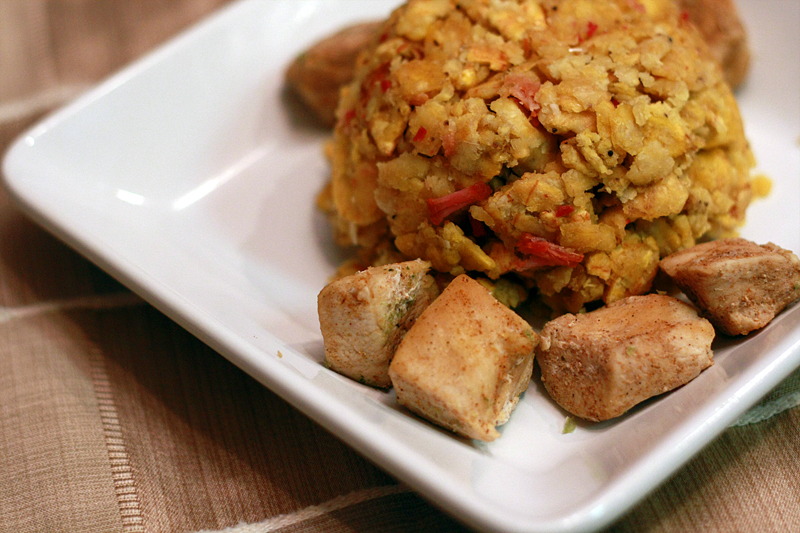
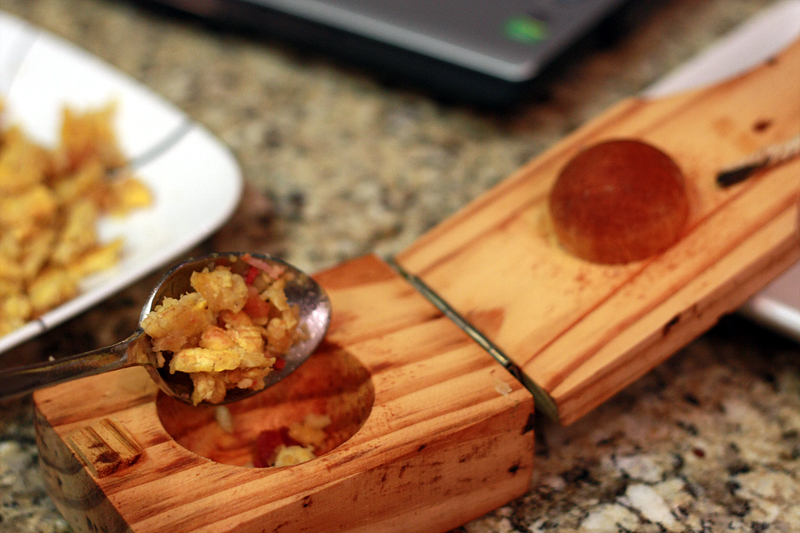
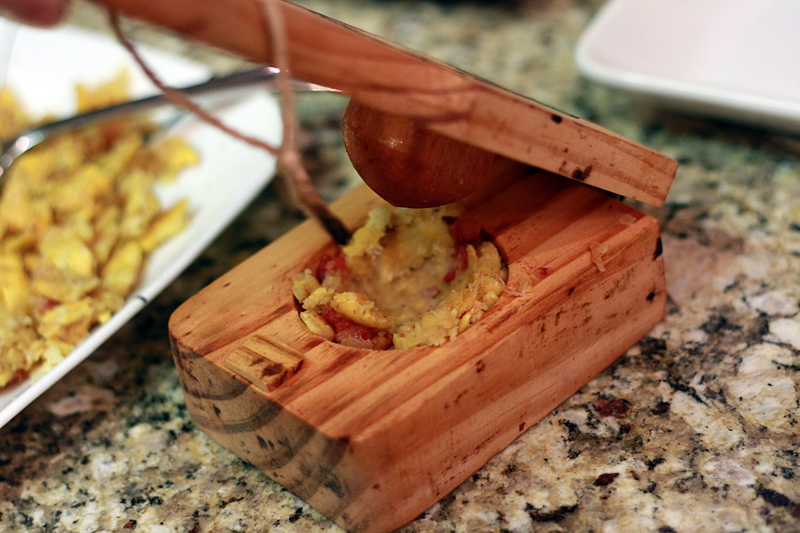
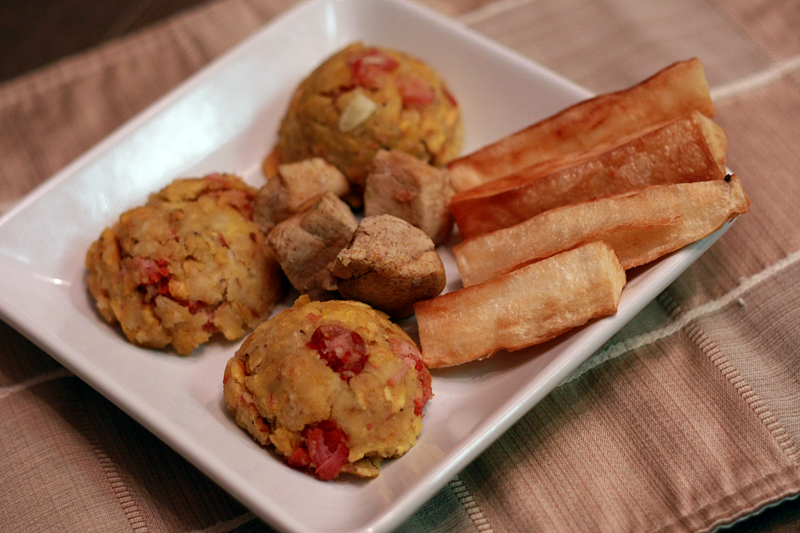
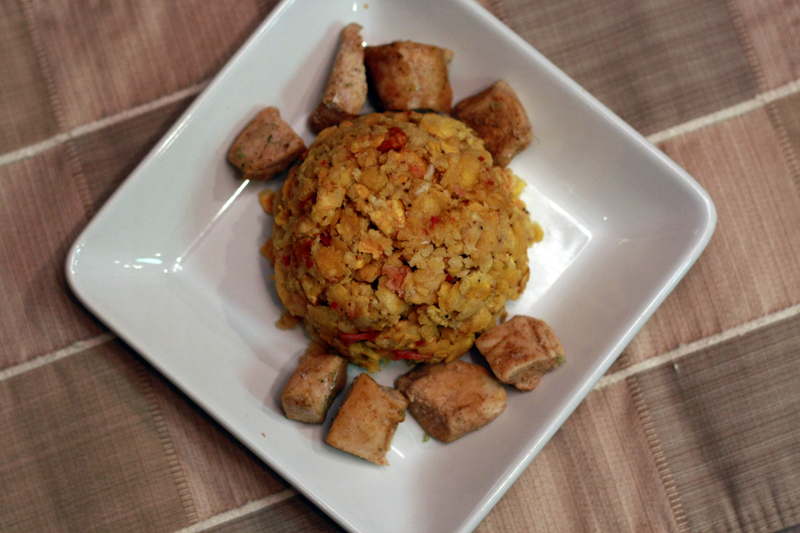
Form mofongo into a ball and serve. Or, you can use a fancy mofongo maker (thank you for buying random souvenirs Jen) to hollow out the center to stuff with meat.
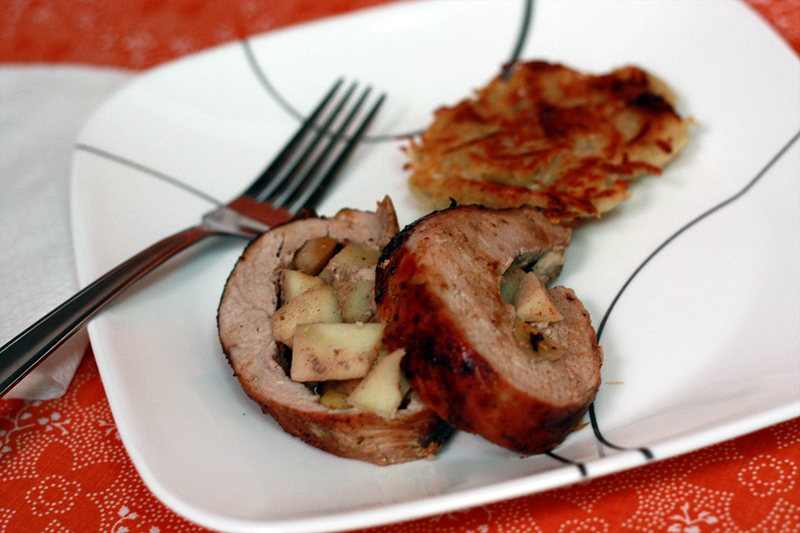
Serve with your other favorite Puerto Rican dishes -- I went with adobo chicken and yuca fries. Yum.
Mofongo
Adapted from: Laura's mom, Juan's mom, and Cocina Criolla
3 green plantains
12 ounces salt pork with skin
3 cloves garlic
1 tablespoon oil (can use the oil from the frying pan)
In a large skillet bring vegetable oil to 375 degrees F.
Cut the ends off the plantains, and slice the skin lengthwise once. Place in a bowl of hot water for several minutes. Peel plantains and cut them into 1" slices. Place in a bowl with salted water (4 cups water to 1 tablespoon salt) for 15 minutes. Fry plantains in the oil for about 5 minutes, or until the outsides are crispy and the insides are still soft, allowing the oil to return to temperature between batches. Remove the plantains from the oil with a slotted spoon or strainer to a paper towel-lined plate.
Cut the salt pork into 1/4" to 1/2" slices. Cut the slices into thirds. Fry the salt pork in the oil (at 375 dgrees) for 5-7 minutes. It will look like bacon does when it is finished cooking. Remove with the strainer to the paper-towel lined plate.
In a pilón or mortar and pestle, add a tablespoon of oil from the frying pan and the garlic. Mash well. Remove to a small bowl.
Add the plantains to the mortar, mash well. Remove and repeat with the salt pork. Once everything is mashed, place all the plantains in the mortar and some of the meat. Add a little bit of garlic and mash everything together. Taste the mix and add in more garlic or meat if necessary.
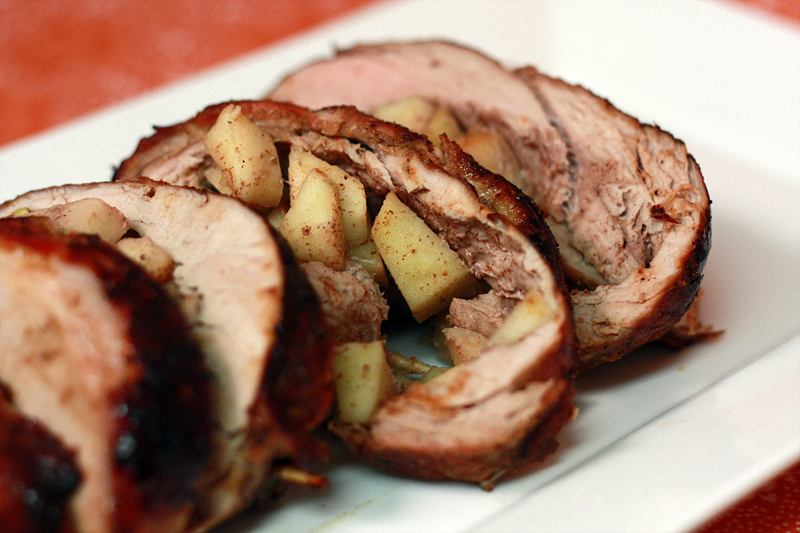
Form small balls from the mix and serve. Or make slightly larger balls, form a well in the center and stuff with your favorite kind of seasoned meat. Cover meat with extra mofongo mix to finish forming a ball.
Makes: about 9 2" balls
I just love the salty/sweet combination of this dish. But I will admit, this did take me a while to make. Amateur. So totally worth it though. And I definitely appreciated the challenge to finally force myself to make this.
| Nutrition Facts |
| Amount per serving |
| Calories 328 | Calories from fat 241 |
| % Daily Value |
| Total Fat 26.8g | 41% |
| Saturated Fat 9.1g | 46% |
| Trans Fat 0.3g | |
| Cholesterol 31mg | 10% |
| Sodium 273mg | 11% |
| Total Carbs 19.4g | 6% |
| Dietary Fiber 1.4g | 6% |
| Sugars 9.0g | |
| Protein 4.2g | |
| Vitamin A 14% | Vitamin C 19% |
| Calcium 2% | Iron 3% |


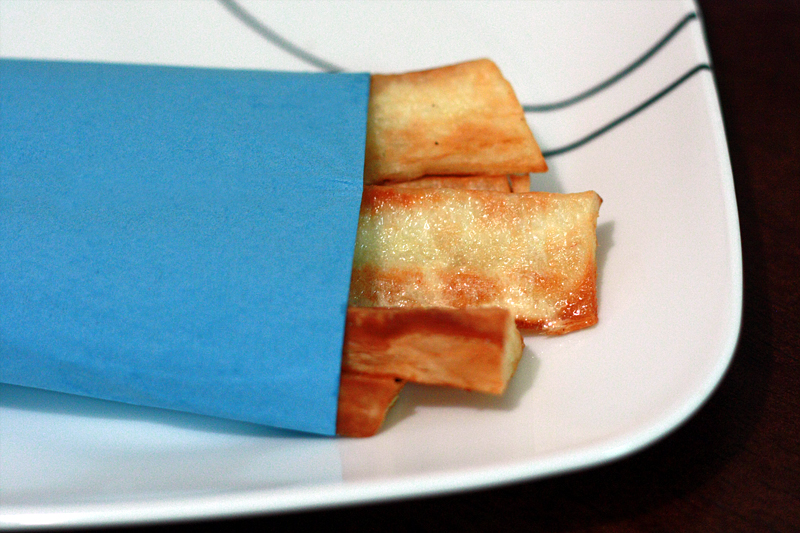
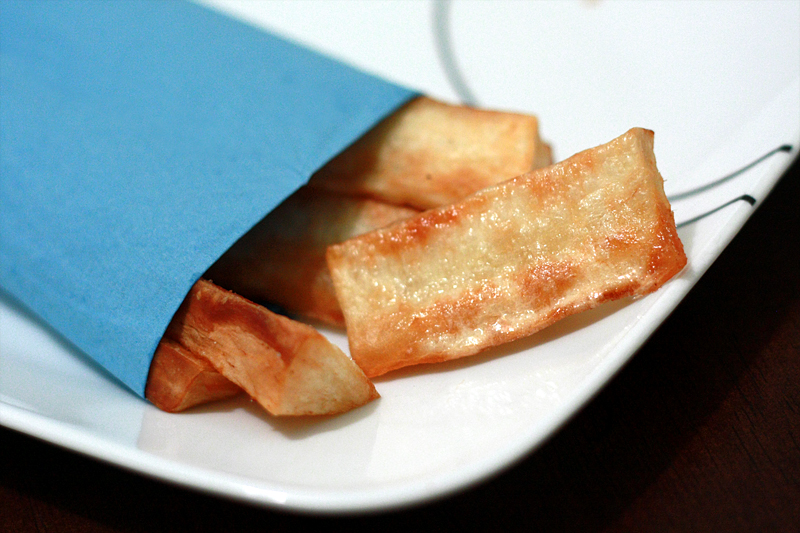
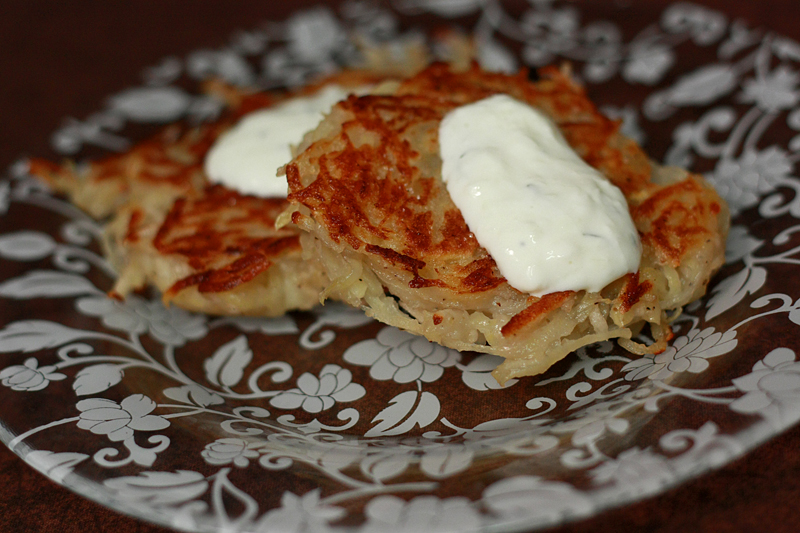
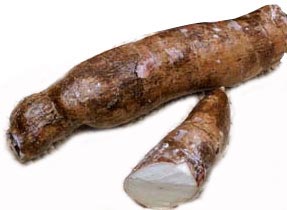 Yuca is simple, plain, unassuming brown tuber. Easy enough to walk on by it in the grocery store. If you are lucky enough to have a grocery store that carries it. Which I am not. Oh no, I had to drive half and hour each way out to a Market District just to find these. The first time I made them anyways.
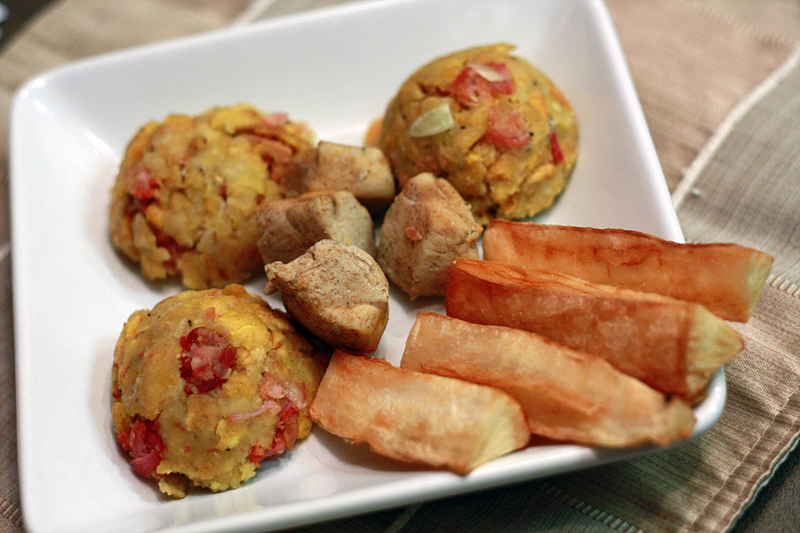


 Happy First Day of Fall! Doesn't really feel like, does it? I know many people are still suffering through 90+ degree temps and as for us, well, we get to welcome fall with a great big thunderstorm (with a high of 88). Blah. So far fall is simply teasing, dropping the temperature down into the mid-50s at night, only rising to the 60s maybe low 70s through the morning. Then all of a sudden, it's right back up in the 80s.