Do you ever have those recipes that you just always happen to screw up? It doesn't matter how much you prep beforehand, something always goes wrong. Such is the case with these brownies and me.
Of course I was lured in to the recipe, as like so many others, by the cover of the February issue of Bon Appétit. My first attempt at these decadent beauties was for the super bowl. Taking the advice of someone who had already made these, I doubled the recipe to make the brownies nice and thick, because let's face it, a thin skimpy little brownie is just sad. The genius that I am decided to simply double the amounts in my head as I went along. Which worked out fine until I forgot to double the eggs and didn't realize it until 5 minutes after they had already been in the oven. Luckily the batter hadn't even begun to set yet, so after a quick add-in and stir they were fixed, although all my peanut butter chips ended up melting into the batter.
The second time around I thought I was on top of things. I wrote down exactly how much of everything I would need and had everything ready to go. Except spraying the foil lining the baking sheet. Which, of course, was not realized until the batter was already in the pan. Sigh. So back into the bowl the batter went and the baking pan was re-lined (and sprayed).
Both times I was lucky enough to catch my mistakes before baking (or at least baking all the way through). Maybe, just maybe, third time's the charm?

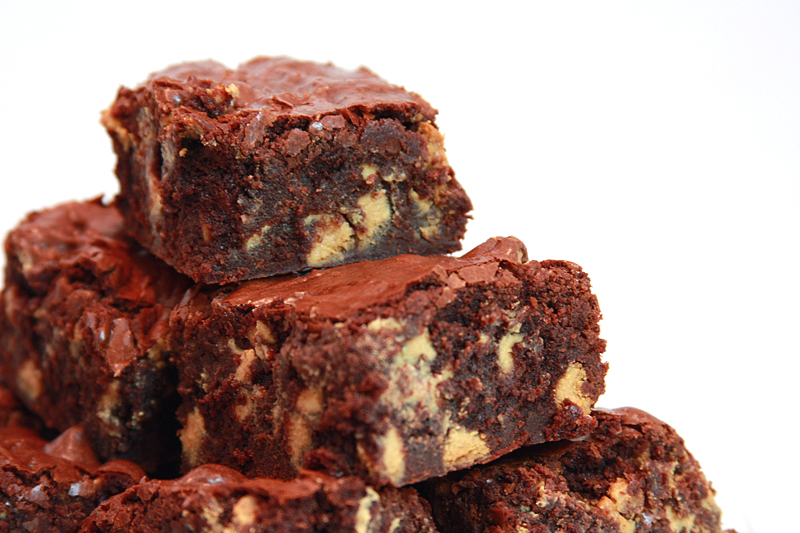
Brown Butter Brownies with Peanut Butter Chips
Adapted from: Bon Appétit, February 2011
Adapted from: Bon Appétit, February 2011
Cooking spray
20 tablespoons (2 1/2 sticks) butter, cut into 1-inch pieces
2 1/2 cups sugar
1 1/2 cups natural unsweetened cocoa powder
1/2 teaspoon salt
4 teaspoons water
2 teaspoons vanilla extract
4 large eggs, chilled
2/3 cup plus 2 tablespoons all-purpose flour
1 1/2 cups peanut butter chips
Preheat oven to 325 degrees F. Prepare a 8x8-inch baking pan by lining the bottom and sides of pan with foil, leaving a 2-inch overhang. Coat the foil with cooking spray.
In a medium saucepan, melt the butter over medium heat. Stirring often, continue to cook the butter until the foaming subsides and browned bits have formed on the bottom of the pan, about 10 minutes. (The butter will also take on a very nutty smell when it is done.)
Meanwhile, combine the sugar, cocoa, and salt in a large bowl. In a small bowl, combine the water and vanilla extract.
Once the butter has finished browning, pour over the sugar and cocoa mixture, and add the water and vanilla extract. Stir until all the ingredients are fully incorporated. Let stand for 5 minutes.
Add eggs, one at a time, beating each egg vigorously into the batter before adding the next. When the batter become thick and shiny, add in the flour until thoroughly mixed. Then beat vigorously for 60 strokes. Fold in the peanut butter chips.
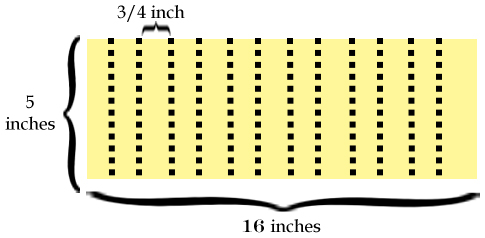
Transfer the batter to the prepared pan. Bake brownies 40-45 minutes, or until a toothpick inserted into the center comes out with only a few moist crumbs. Cool in pan on a cooling rack. Using foil overhang, lift brownies from pan. Slice the brownies into 4 strips by 4 strips.
Makes: 16 brownies
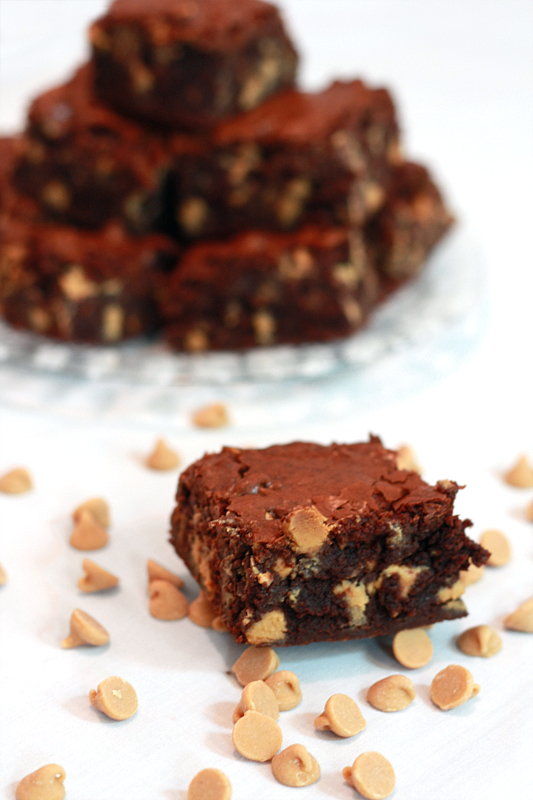
It's a good thing these brownies are pretty fantastic, or all this hassle might make me never want to try them again. But, these are definitely worth it. They are dense and fudgy and oh-so-chocolatey. I love the peanut butter in them, but it does kind of hide the nuance of the brown butter. Still, as of right now, these have taken over my #1 brownie spot. I have to admit, the people over at Bon Appétit might know what they're talking about when they called these some of the best.

| Nutrition Facts | |
| Amount per serving | |
| Calories 413 | Calories from fat 205 |
| % Daily Value | |
| Total Fat 22.8g | 35% |
| Saturated Fat 15.4g | 77% |
| Trans Fat 0.0g | |
| Cholesterol 91mg | 30% |
| Sodium 144mg | 6% |
| Total Carbs 54.1g | 18% |
| Dietary Fiber 2.6g | 10% |
| Sugars 43.6g | |
| Protein 3.8g | |
| Vitamin A 10% | Vitamin C 0% |
| Calcium 2% | Iron 10% |