I absolutely love cheesecake. I swear it runs in my family -- both my sister and my mom are cheesecake fiends as well.
Back in July, the Cheesecake Factory had their big anniversary, selling a slice of cheesecake for only $1.50. Of course, I called my sister starting out with: "I have the best news ever for you." And the quick response was: "You're pregnant?" What? NO! "The Cheesecake Factory is having a sale!"
So okay, I guess the second best thing ever for my sister. Either way, she was just as excited as I was. Well, as fate would have it, neither one of us ended up getting any. She didn't make it out there, and Adam and I went, but the line was ridiculously crazy. So no go.
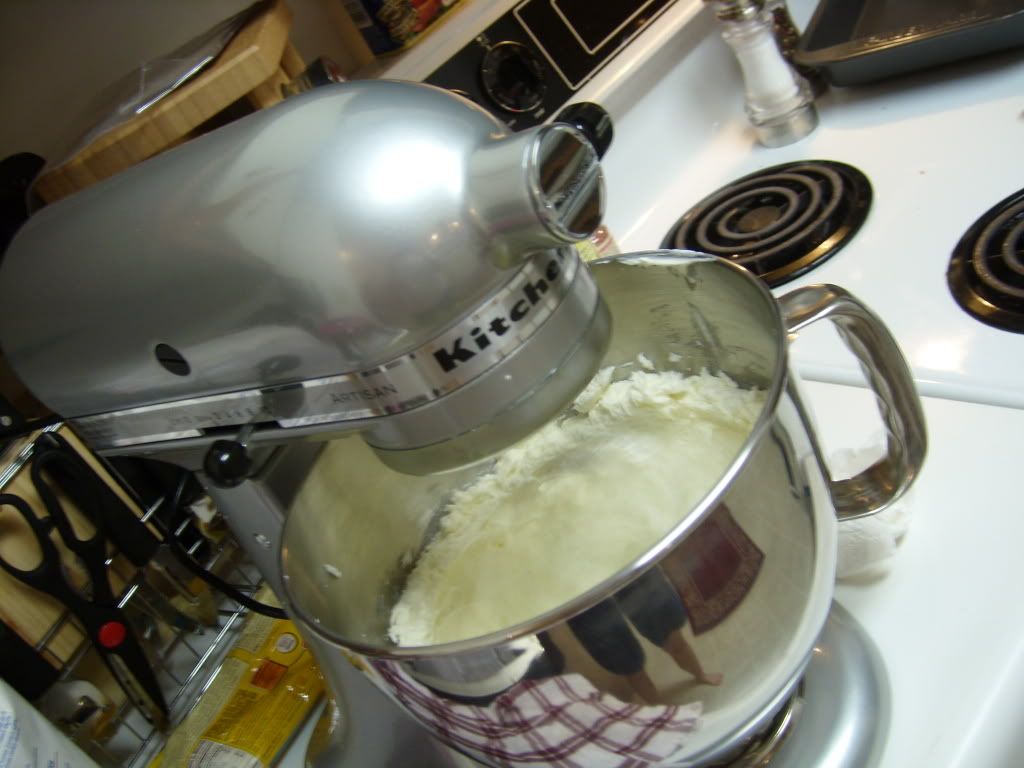
When I saw this recipe in my Reader a while back, it just looked to tasty I had to try it. And when I got a Kitchen Aid Artisan mixer for my birthday, it all became possible!
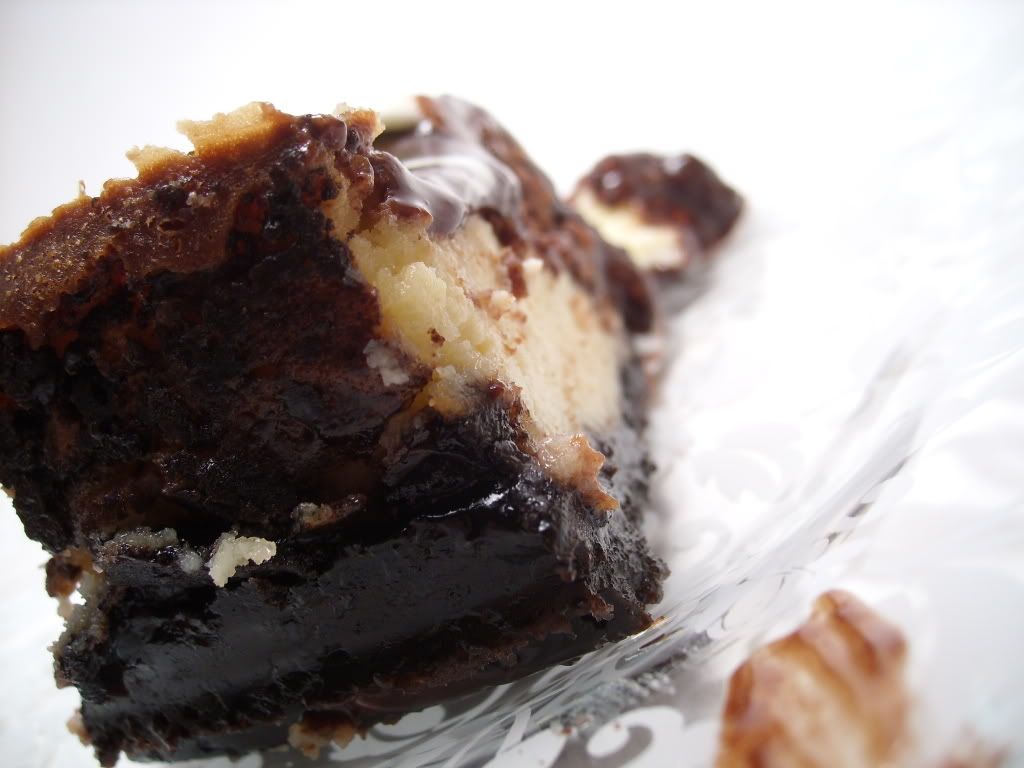
Brownie Mosaic Cheesecake
Part One: Brownies
4 ounces unsweetened chocolate
¾ cup (1½ sticks) unsalted butter
1¾ cups sugar
3 eggs
1 teaspoon vanilla
½ teaspoon salt
1 cup flour
Preheat oven to 350°F. Line 13×9-inch baking pan with foil, with ends of foil extending over sides of pan. Grease foil.
Microwave chocolate and butter in large microwaveable bowl on HIGH 2 min. or until butter is melted. Stir until chocolate is completely melted. Stir in sugar. Blend in eggs and vanilla. Add flour and salt; mix well. Spread into prepared pan.
Bake 30 to 35 minute or until toothpick inserted in center comes out with fudgy crumbs. (Do not overbake.) Cool in pan on wire rack. Remove brownies from pan, using foil handles.
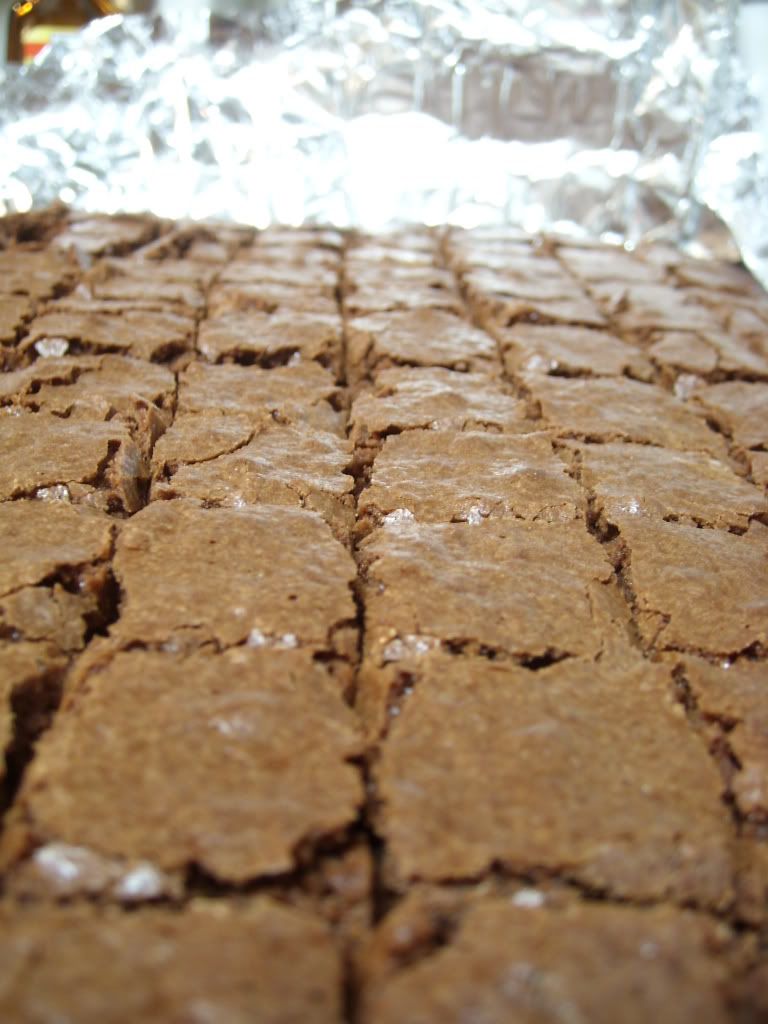
Cool brownies, then cut them into 3/4- to 1-inch squares for use in the cheesecake (I used a pizza cutter, as suggested). Add cubes to cake batter as directed below.
Part Two: Crumb Crust
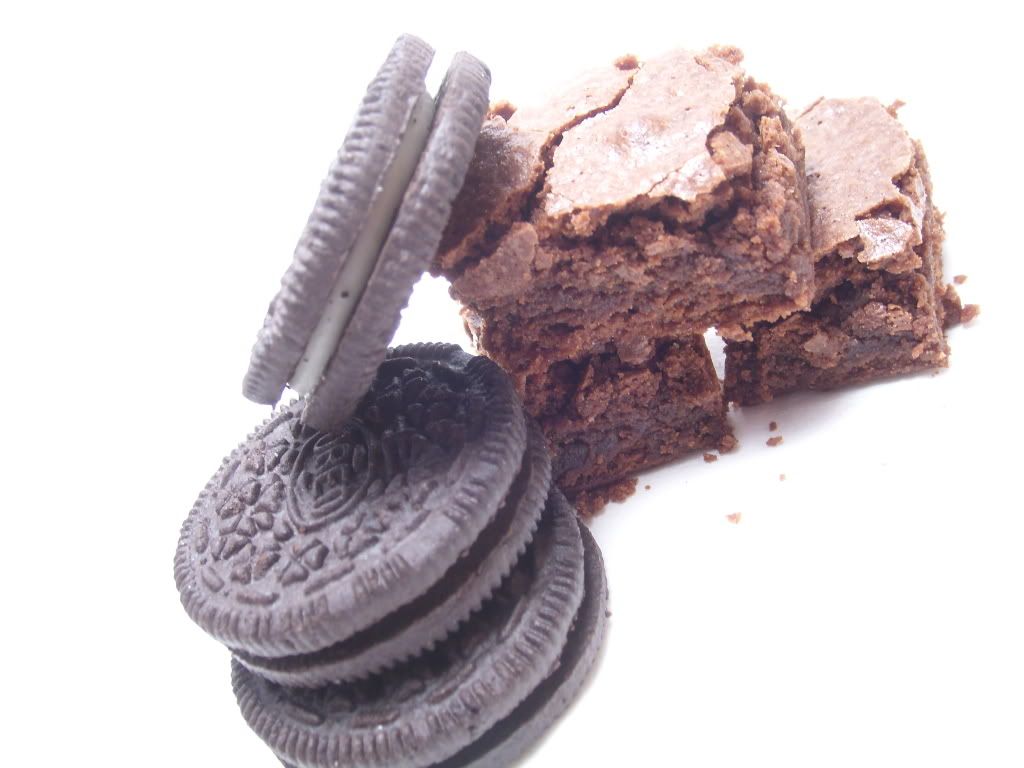
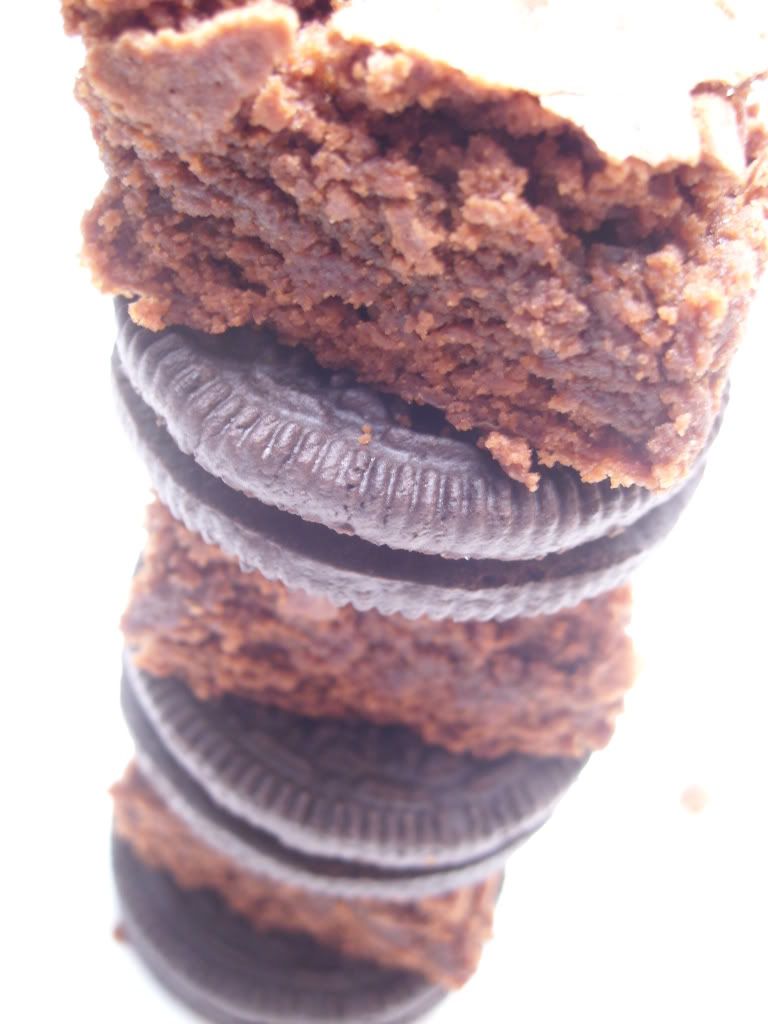
1½ cups or 5 ounces (3 cups or 10 ounces to double) finely ground Oreos, or other chocolate cookie
5 tablespoons (10 tablespoons to double) unsalted butter, melted
1/3 cup (2/3 cup to double) granulated sugar
1/8 teaspooon (¼ teaspoon to double) salt
Stir together ingredients and press into bottom and 1 inch up side of a buttered 10″ springform pan. Fill right away or chill for up to 2 hours.
 Part Three: Cheesecake
3 (8-oz) packages of cream cheese, softened
1 cup granulated sugar
4 large eggs
1 teaspoon vanilla
Make crumb crust as directed above for 10-inch cheesecake. Preheat oven to 350°F.
Beat together cream cheese and sugar with an electric mixer until fluffy. Add eggs, 1 at a time, then vanilla, beating on low speed until each ingredient is incorporated and scraping down bowl between additions.
Fold brownie cubes in very gently and pour mixture into prepared pan. Put springform pan with crust in a shallow baking pan. Pour filling into crust and bake in baking pan (to catch drips) in middle of oven 45 minutes, or until cake is set 3 inches from edge but center is still slightly wobbly when pan is gently shaken.
When completely cool, top with following glaze.
Part Four: Ganache Glaze
3 oz. bittersweet chocolate, finely chopped
4 tablespoons (½ stick) unsalted butter
¼ cup heavy cream
½ teaspoon vanilla
1 tablespoon powdered sugar
Place finely chopped chocolate in a medium size mixing bowl. Scald the butter and cream together in a saucepan (or in the microwave on HIGH for 1 minute). Pour the cream mixture over the chocolate and stir until the chocolate is completely melted. Whisk in vanilla and then whisk in powdered sugar until smooth. Spread over cheesecake while ganache is still warm. Chill until ready to serve.
Serves: 16
So I definitely doubled the crust, as I love me an Oreo crust. Unfortunately, since I've never made one before, the crust got a little thick in the crease, so it was very tough once it was baked. And I kind of feel like there was a bit too much butter in it as well.
This cheesecake was actually for Halloween -- don't you just love the spiderweb top I made? (Yes, I am so proud of myself.) I just wish I could have found those cheap-o plastic spider rings to complete the look.
Overall, there are a few things I would change about the recipe for next time. The brownies and ganache were pretty good, but I think I'd try Tyler Florence's cheesecake in lieu of this one and use a bit less butter in the crust. I'd also bake the cake in a waterbath, as suggested in Tyler's recipe, but not this one.
I'd rate this:
| Nutrition Facts - Crust Not Doubled |
| Amount per serving |
| Calories 663 | Calories from fat 379 |
| % Daily Value |
| Total Fat 42.1g | 65% |
| Saturated Fat 24.2g | 121% |
| Trans Fat 1.1g | |
| Cholesterol 178mg | 59% |
| Sodium 465mg | 19% |
| Total Carbs 67.0g | 22% |
| Dietary Fiber 2.2g | 9% |
| Sugars 50.8g | |
| Protein 9.3g | |
| Vitamin A 24% | Vitamin C 0% |
| Calcium 7% | Iron 19% |