Showing posts with label Snacks. Show all posts

Tuesday, February 21, 2012

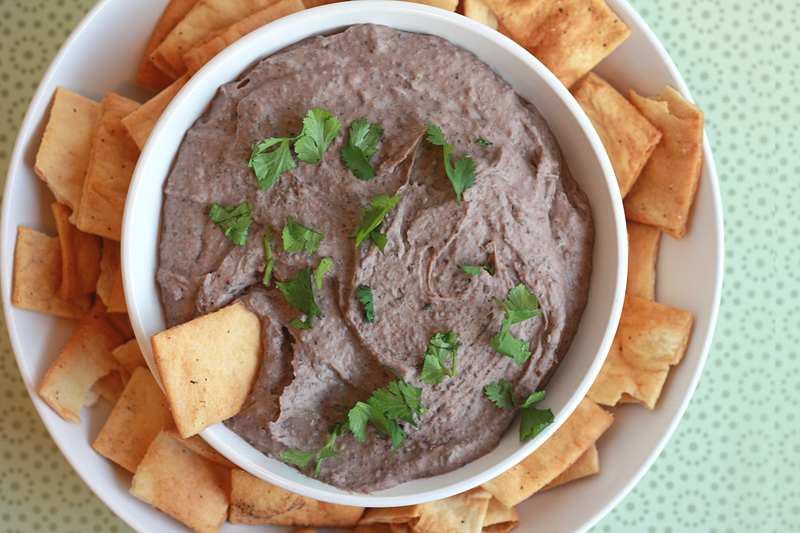
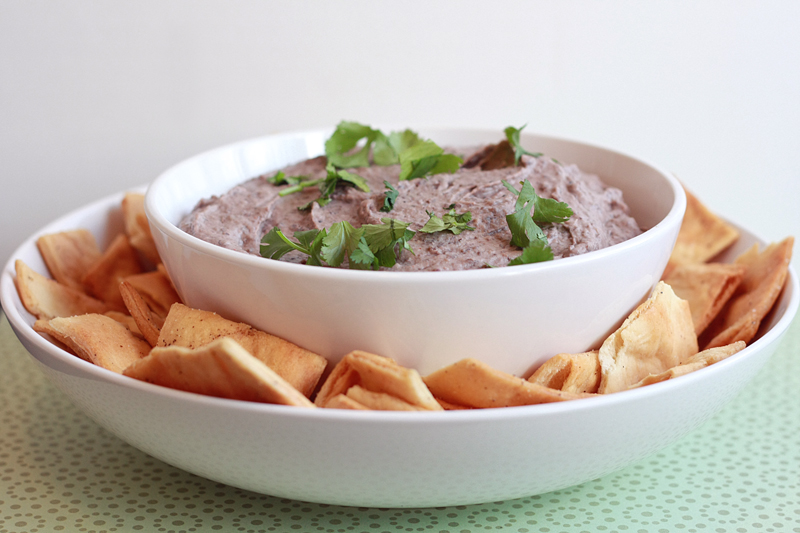
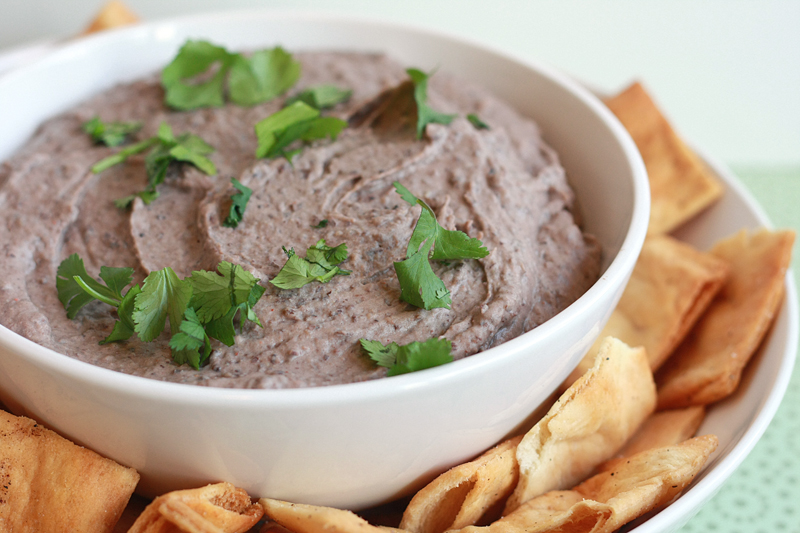
Roasted Garlic Black Bean Dip


As I mentioned last week, Jalapeno Cheddar Hummus wasn't the only thing on my mind when it came to making something for the Superbowl. I have seen countless recipes floating around for a black bean dip, which intrigued me, but for some reason I decided to go off on my own for this one.

I knew going in that I wanted to somehow incorporate roasted garlic into the dip because I love it so. Originally, I was only going to use one head of garlic, but I made up a second just.in.case. Definitely the right move. It may seem like a ton of garlic, but since it's roasted, it becomes much more subtle and doesn't come through in an "in your face" sort of way. Which is a good thing when we're talking 2 heads of garlic.

I simply topped the dip off with a few seasonings (cumin and cayenne) and away we went. Very easy to throw together, and the only time consuming thing was roasting the garlic. The rest utilized the "dump and blend" method. Perfect for those times you really don't feel like making anything but don't want to go the store-bought route.

Roasted Garlic Black Bean Dip
Original Recipe

2 heads garlic
2 tablespoons olive oil

2 (15 ounce) cans black beans
1/4 cup extra-virgin olive oil
2 tablespoons tahini (sesame seed paste)
1/2 teaspoon cayenne pepper
1 teaspoon ground cumin
1 teaspoon kosher salt
1 tablespoon lemon juice
1 1/2 teaspoons dried chives

Preheat oven to 375 degrees. Tear two squares of aluminum foil and lay flat on a work surface. Cut the top 1/4 off each head of garlic. Place one head of garlic in the center of each foil square. Drizzle each with 1 tablespoon olive oil. Wrap foil around garlic and roast in the oven for 1 hour. Remove and let cool at least 15 minutes, or until able to handle.

Squeeze the cloves out of the heads of garlic into the bowl of a food processor. Add the black beans. Pulse until ingredients are pureed. With the processor still running, pour in the olive oil until the mixture becomes smooth and creamy. Add tahini and remaining 4 ingredients. Process again until the mixture is smooth, adding water if it becomes too thick.

Serve with pita chips or veggies.


Serves: 20 (2 tablespoons per serving)


Next time around, I think incorporating fresh chives (and more of them) or green onions would be a must. Most of the flavors in this dish a very mild and mellow, and I think adding one of those options would really brighten things up. Overall though, not too bad for doing my own thing. :)


Nutrition Facts
Serving Size 55g
Amount per serving
Calories 199Calories from fat 50
% Daily Value
Total Fat 5.5g8%
Saturated Fat 0.8g4%
Cholesterol 0mg0%
Sodium 121mg5%
Total Carbs 29.0g10%
Fiber 6.7g27%
Sugars 1.0g
Protein 9.8g
Vitamin A 1%Vitamin C 4%
Calcium 7%Iron 14%

Friday, February 17, 2012

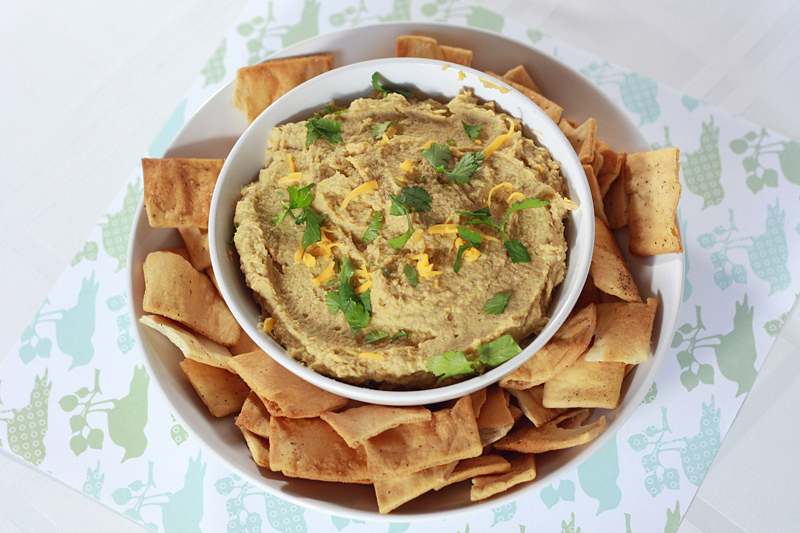
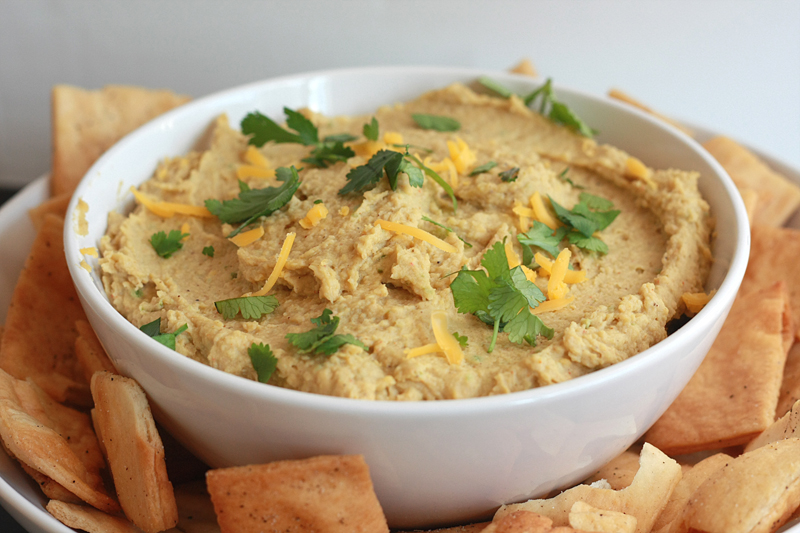
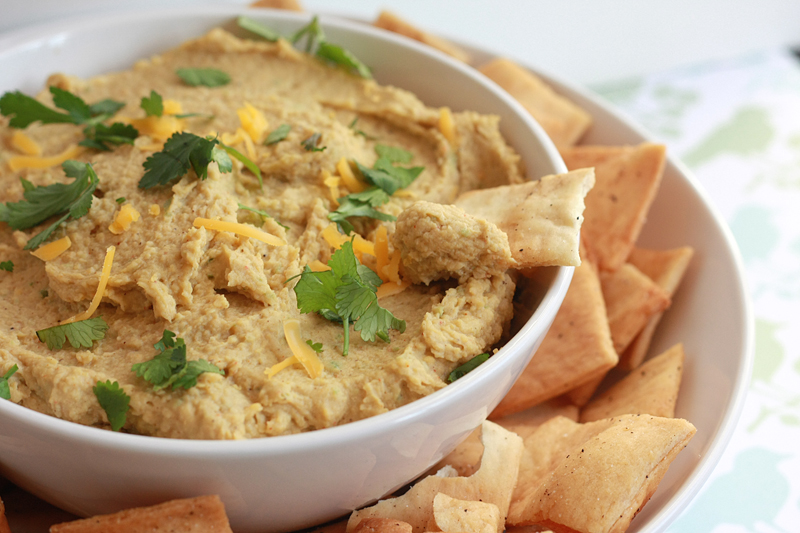
Jalapeno Cheddar Hummus


Hummus is one of those things that is rarely allowed in our house. Not because we don't like hummus. On contraire, once we get going, or ahem, once one of us gets going, it's far too easy to eat almost the entire container before realizing it. We won't say whom that might be.

So when the opportunity presented itself to bring a food dish to share with friends (*cough*superbowl*cough), my mind immediately jumped to some sort of savory dip. I didn't have a ton of notice was too lazy to come up with something wildly crazy, so opted for something simple with ingredients I knew I could pick up at the small-ish grocery store down the street.

I originally had a different idea for a dip going into it, but I decided last minute to pick up the things for this hummus as well just.in.case. the other one didn't turn out like I'd planned.

So glad I did. Not because the other dip didn't turn out (I'll be sharing that next week), but because this was definitely tasty. I love the addition of cheddar and jalapeno to hummus, and so did the other guests!

Jalapeno Cheddar Hummus
Adapted from: The Spiffy Cookie

2 (14.5 ounce) cans chickpeas, drained and rinsed
1 jalapeno, chopped, seeds and membranes removed
1/4 cup extra-virgin olive oil
2 tablespoons warm water
2 tablespoons tahini (sesame seed paste)
1 teaspoon kosher salt
1 teaspoon ground cumin
1/2 teaspoon cayenne pepper
1 teaspoon garlic powder
1 cup freshly shredded cheddar cheese

In the bowl of a food processor, combine the chickpeas and jalapeno. Pulse until ingredients are pureed. With the processor still running, pour in the olive oil and water until the mixture becomes smooth and creamy. Add tahini and remaining 5 ingredients. Process again until the mixture is smooth, adding more water if it becomes too thick.

Serve with pita chips or veggies.


Serves: 20 (2 tablespoons per serving)


As written, this hummus turns out a bit thicker that your normal store-bought hummus, but I kind of enjoyed it that way. You can always add more water if you like it more on the thinner side. As much as I did enjoy what the cheddar and jalapenos brought to the table, I almost wish it would have been more. I felt like the chickpeas really kind of muted the cheddar more than I was expecting, and I could have gone for keeping a few of the seeds with the jalapeno, as this was not spicy - at all. Still, even with the hummus the way it was, I could have definitely chowed down on at least half a bowl. ;)


Nutrition Facts
Serving Size 54g
Amount per serving
Calories 206Calories from fat 71
% Daily Value
Total Fat 7.9g12%
Saturated Fat 1.9g10%
Cholesterol 6mg2%
Sodium 163mg7%
Total Carbs 25.5g9%
Fiber 7.3g29%
Sugars 4.5g
Protein 9.7g
Vitamin A 2%Vitamin C 3%
Calcium 9%Iron 16%

Thursday, September 1, 2011

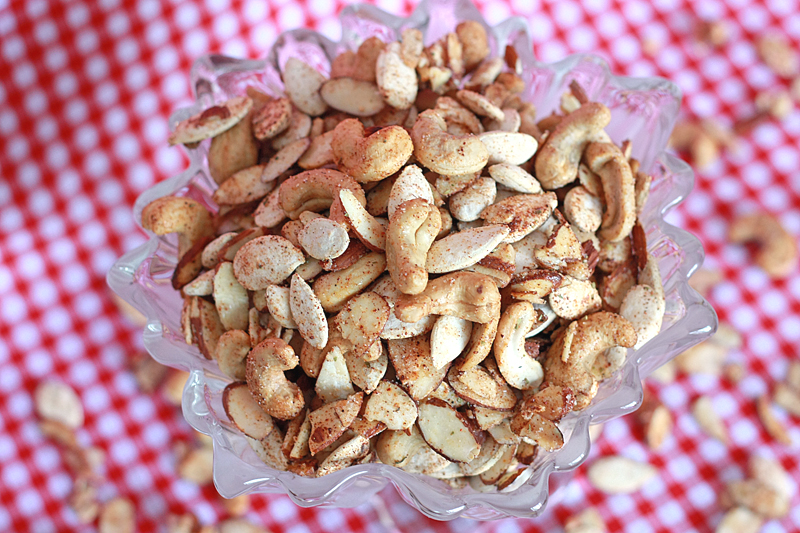
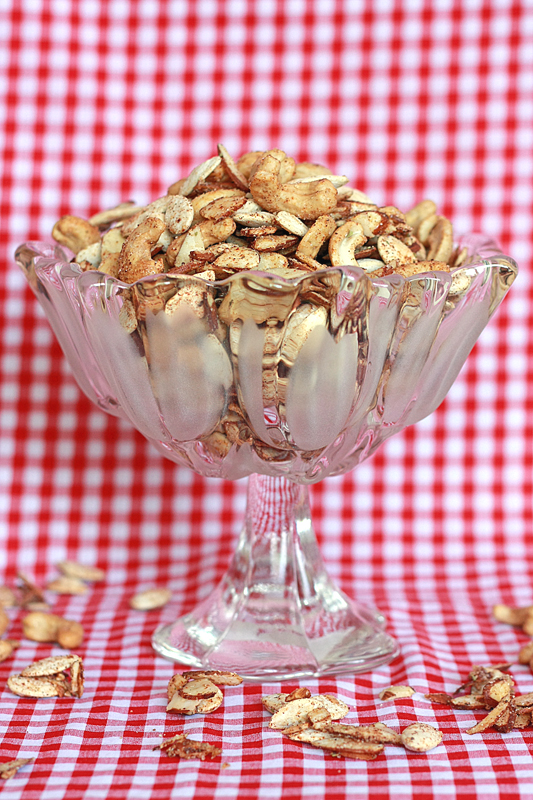
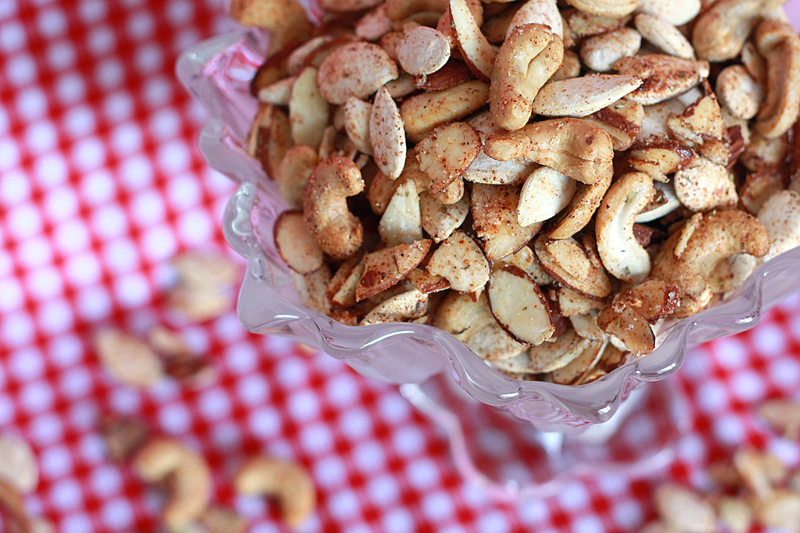
Sweet Chipotle Snack Mix


At least once a month, Adam and I pack up the car and head out to New Jersey to visit two of the cutest boys around. Oh, and my sister and brother-in-law.

I hate to admit it, but the two of us are major car trip munchers. We usually stop halfway between Pittsburgh and Philly to switch drivers and stretch our legs. Which usually involves wandering into the little service station stops and perusing the candy and chip aisles. (And a total side note: PA probably has the worst turnpike service stop food selections.) But these little food wanderings can end up being quite expensive if we're not careful.

Lately, I've been trying to come up with car-friendly snacks that we can bring with us to enjoy, rather than spending the $10 every time we stop. While the overall cost of this nut and seed mixture might go past $10, it makes a ton -- far more than we would ever eat in one go. Not to mention this might be slightly healthier than some fake-powdered-cheese chips or popcorn.

Sweet Chipotle Snack Mix


Adapted from: Cooking Light, August 2010

1/4 cup sugar
1/2 teaspoon kosher salt
1 teaspoon ground chipotle chile pepper
1/2 teaspoon ground cumin
1/2 teaspoon dried oregano
1/2 teaspoon chili powder
1 egg white
1 cup slivered almonds
1 cup unsalted cashews
1 cup unsalted pumpkinseed kernels

Preheat oven to 325 degrees F. Line two baking pans with parchment paper.

In a small bowl, whisk together the first 6 ingredients (through chili powder).

In a large bowl, whisk the egg white until foamy. Stir in the almonds, cashews, and pumpkinseeds until all the nuts and seeds are lightly coated. Sprinkle with seasoning mixture, tossing well to coat. Divide the nut and seed mixture between the two prepared pans. Spread mixture out into even layer.

Bake for 15 minutes, stirring halfway through. Turn oven off. Remove pan from oven, stir, then place back in the oven (still turned off) for another 15 minutes. Remove from oven and transfer pans to a wire rack to cool. Store in an airtight container for up to 2 weeks.


Makes: 3 1/2 cups (serving size: 3 tablespoons)


I, of course, failed to pick up the unsalted versions of the cashews and pumpkin seeds. And then I failed to adjust the salt addition when making this. Oh.my.saltiness. Actually, it was mostly just the pumpkin seeds. The flavor of the seasoning is pretty good, and we both would have enjoyed this mix if it hadn't been for my slip on the salt. Whoopsies.


Nutrition Facts
Serving Size 27g
Amount per serving
Calories 137Calories from fat 91
% Daily Value
Total Fat 10.2g16%
Saturated Fat 0.9g5%
Cholesterol 0mg0%
Sodium 80mg3%
Total Carbs 7.8g3%
Fiber 1.2g5%
Sugars 3.5g
Protein 4.9g
Vitamin A 0%Vitamin C 0%
Calcium 2%Iron 4%

Tuesday, August 16, 2011

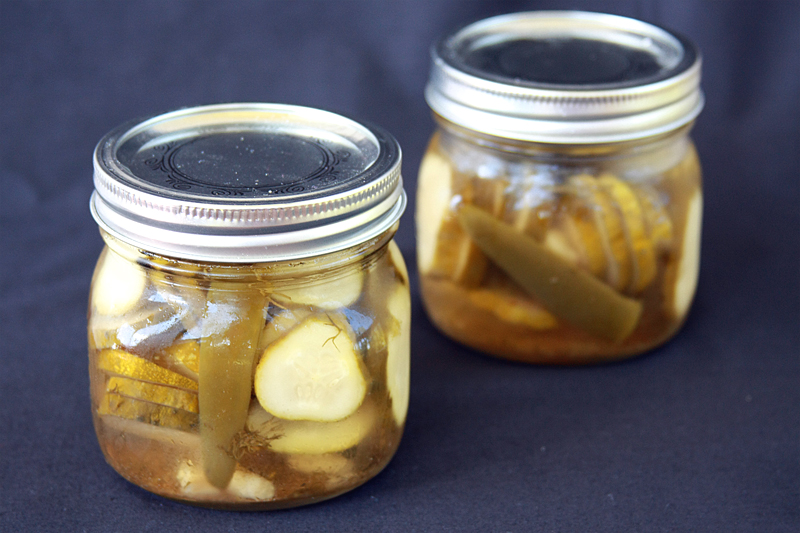
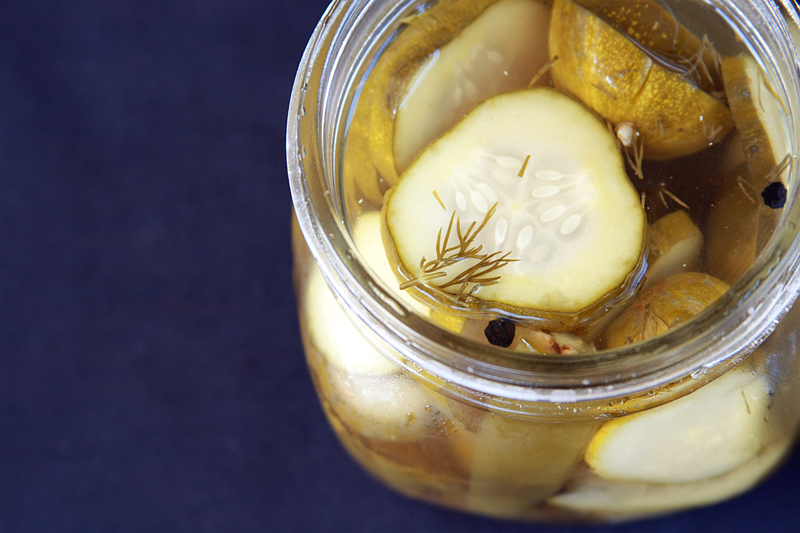
Spicy Dill Pickles


Excuse me, Mr. Vlasic. It's time for you to move over. Or just go back to hanging out on your shelf. I think it's time we broke it off. For the summer anyways.

I'm not even going to give you the "It's not you, it's me" line. Because it's most definitely you. And I've found something so much better.

Something more customizable.

Something more crunchy.

Something with a little spice.

Something that's not the same old, same old.

That's right, I cheated on you and made my own pickles. Sorry to say, but I have no regrets. Maybe except for one -- I regret not saving more of your jars to use for whole pickles. Such a tragedy.


Spicy Dill Pickles


Adapted from: Flamingo Musings via All Day I Dream About Food

2 pounds pickling cucumbers (about 6)
1 jalapeno
3 cloves garlic
2 tablespoons fresh dill, chopped
1 1/2 teaspoons whole black peppercorns
1 1/2 teaspoons ground coriander
1 1/2 cups distilled white vinegar
3/4 cup apple cider vinegar
3/4 cup water
1/4 cup kosher salt

Wash and dry cucumbers, then slice 1/4-inch thick into style desired (i.e. rounds, sandwich slices, or you can leave them whole). Divide slices between three pint jars (about 2 cucumbers per jar). Add 1/3 of the jalapeno, 1 clove garlic, 2 teaspoons dill, 1/2 teaspoon peppercorns, and 1/2 teaspoon coriander to each jar.

Bring both vinegars, water, and salt to a boil in a medium saucepan over high heat. Stir until most of the salt is dissolved. Divide brine equally between jars, filling each as full as possible. Screw on lids and let jars sit on the countertop at room temperature for 3 days. After 3 days pickles can bet eaten; store jars in refrigerator.


Makes: 3 pints (serving size: 1 whole pickle)


Before spotting this recipe over at All Day I Dream About Food, making my own pickles never crossed my mind. Sure, I've been exposed to the canning process before -- my grandma had an entire room in her basement filled with canning equipment, but I've really never had a desire to follow in those footsteps. I mean, there's a lot of work that goes into the canning process: buying the equipment, sterilizing it, making sure it's sealed properly, etc. Not my cup of tea.

But, but, but. This is no ordinary canning technique. This is a quick and easy refrigerator method. Sure your jars need to be clean before use, but you don't have to sterilize them. Simply plop in your ingredients, cover with the boiling brine, seal, wait a few days, then refrigerate. Now this type of method my patience can handle.

And the results? Make that short little wait totally worth it.


Note: Due to the brining process, I am unable to calculate nutrition facts for this item. However, I can tell you that these are below 50 calories and have 0 fat per pickle.

Thursday, January 13, 2011

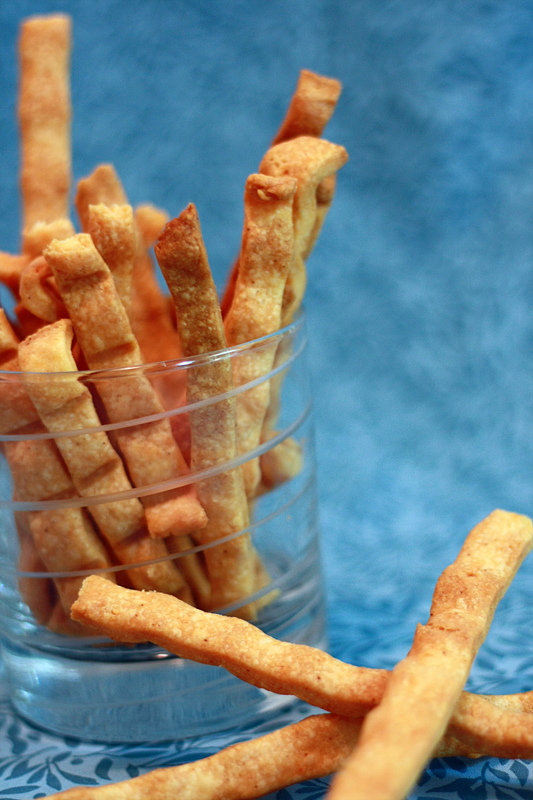
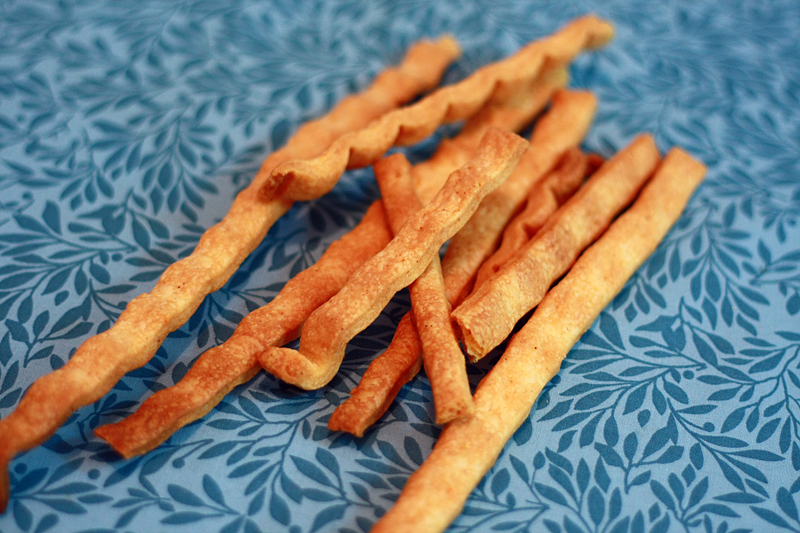
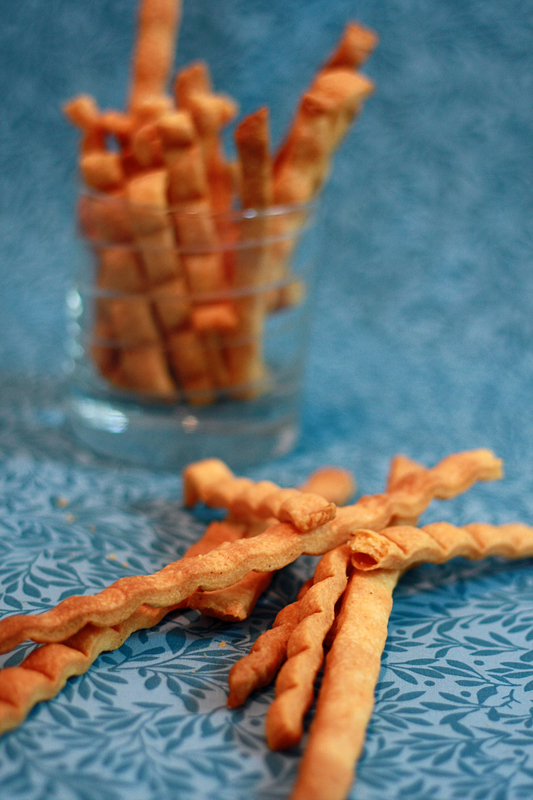
Cheese Straws


I have been really good lately, focusing more on meals and actually figuring out what's for dinner more than 5 minutes before I need to start cooking it. I had a nice break from sweets and snacks and everything I shouldn't be eating between meals.

And then I ran across these. All I could think of was homemade Cheez-Its. For days.

Homemade Cheez-Its, people.

Over a cup of cheese is involved. Have I convinced you yet? Because I think I might have convinced myself, again.

Cheese Straws
Adapted from: Gourmet, via How Sweet It Is

1 1/2 cups coarsely grated extra-sharp Cheddar
1 cup all-purpose flour
3/4 stick cold unsalted butter, cut into tablespoons
1/8 teaspoon smoked paprika
1/8 teaspoon cayenne
1 1/2 tablespoons milk

Preheat oven to 350 degrees F with racks in upper and lower thirds.

In the bowl of a food processor, combine cheese, flour, butter, paprika, and cayenne. Pulse until mixture resembles coarse meal. Add milk and continue to pulse until dough forms a ball.

On a lightly floured surface, roll out dough with a lightly floured rolling pin into a 1/4-inch thick rectangle. Using a lightly floured pizza wheel or lightly floured sharp knife, slice the dough into 1/3-inch-wide strips. Carefully transfer to 2 ungreased baking sheets or 2 baking racks sprayed with cooking spray. Arrange strips 1/4-inch apart. (If strips tear, pinch back together.)

Bake until pale golden, 12-15 minutes, switching position of sheets halfway through baking. Allow to cool completely on baking sheets or racks, about 15 minutes.

Makes: about 24 straws


The straws that came out of the oven all golden and lovely were everything I hoped they would be. Cheesy with a little kick from the cayenne and paprika. But then there was the other half. Those that were a little thinner, thus a little browner. Once they passed from that perfect yellow color towards having a hint of brown, the Cheez-It dream was over. While they weren't necessarily bad, you could definitely taste the overdoneness, and a few were just downright burnt. I think it's high time I invest in some Rolling Pin Rings. That way I can go back to stuffing my face with a full batch of perfectly cooked cheese straws.


Nutrition Facts
Amount per serving
Calories 45Calories from fat 26
% Daily Value
Total Fat 2.9g5%
Saturated Fat 1.8g9%
Trans Fat 0.0g
Cholesterol 8mg3%
Sodium 21mg1%
Total Carbs 4.0g1%
Protein 0.6g
Vitamin A 2%Vitamin C 0%
Calcium 0%Iron 1%

Tuesday, December 7, 2010

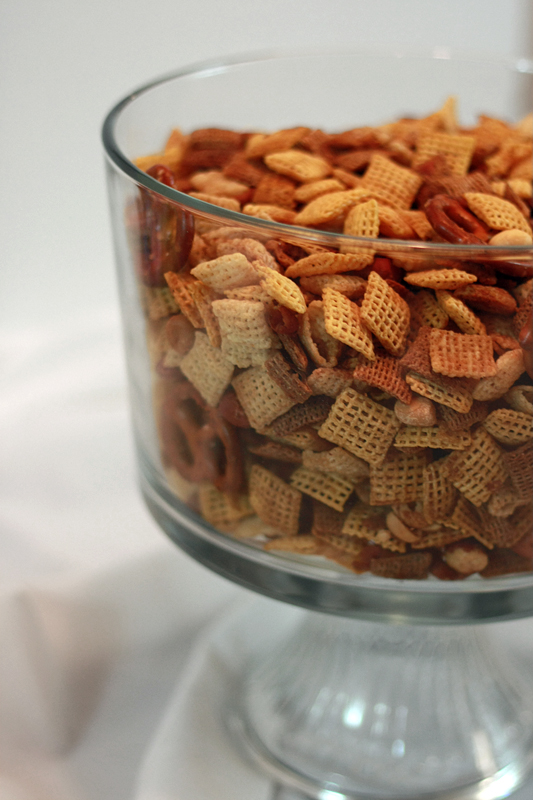
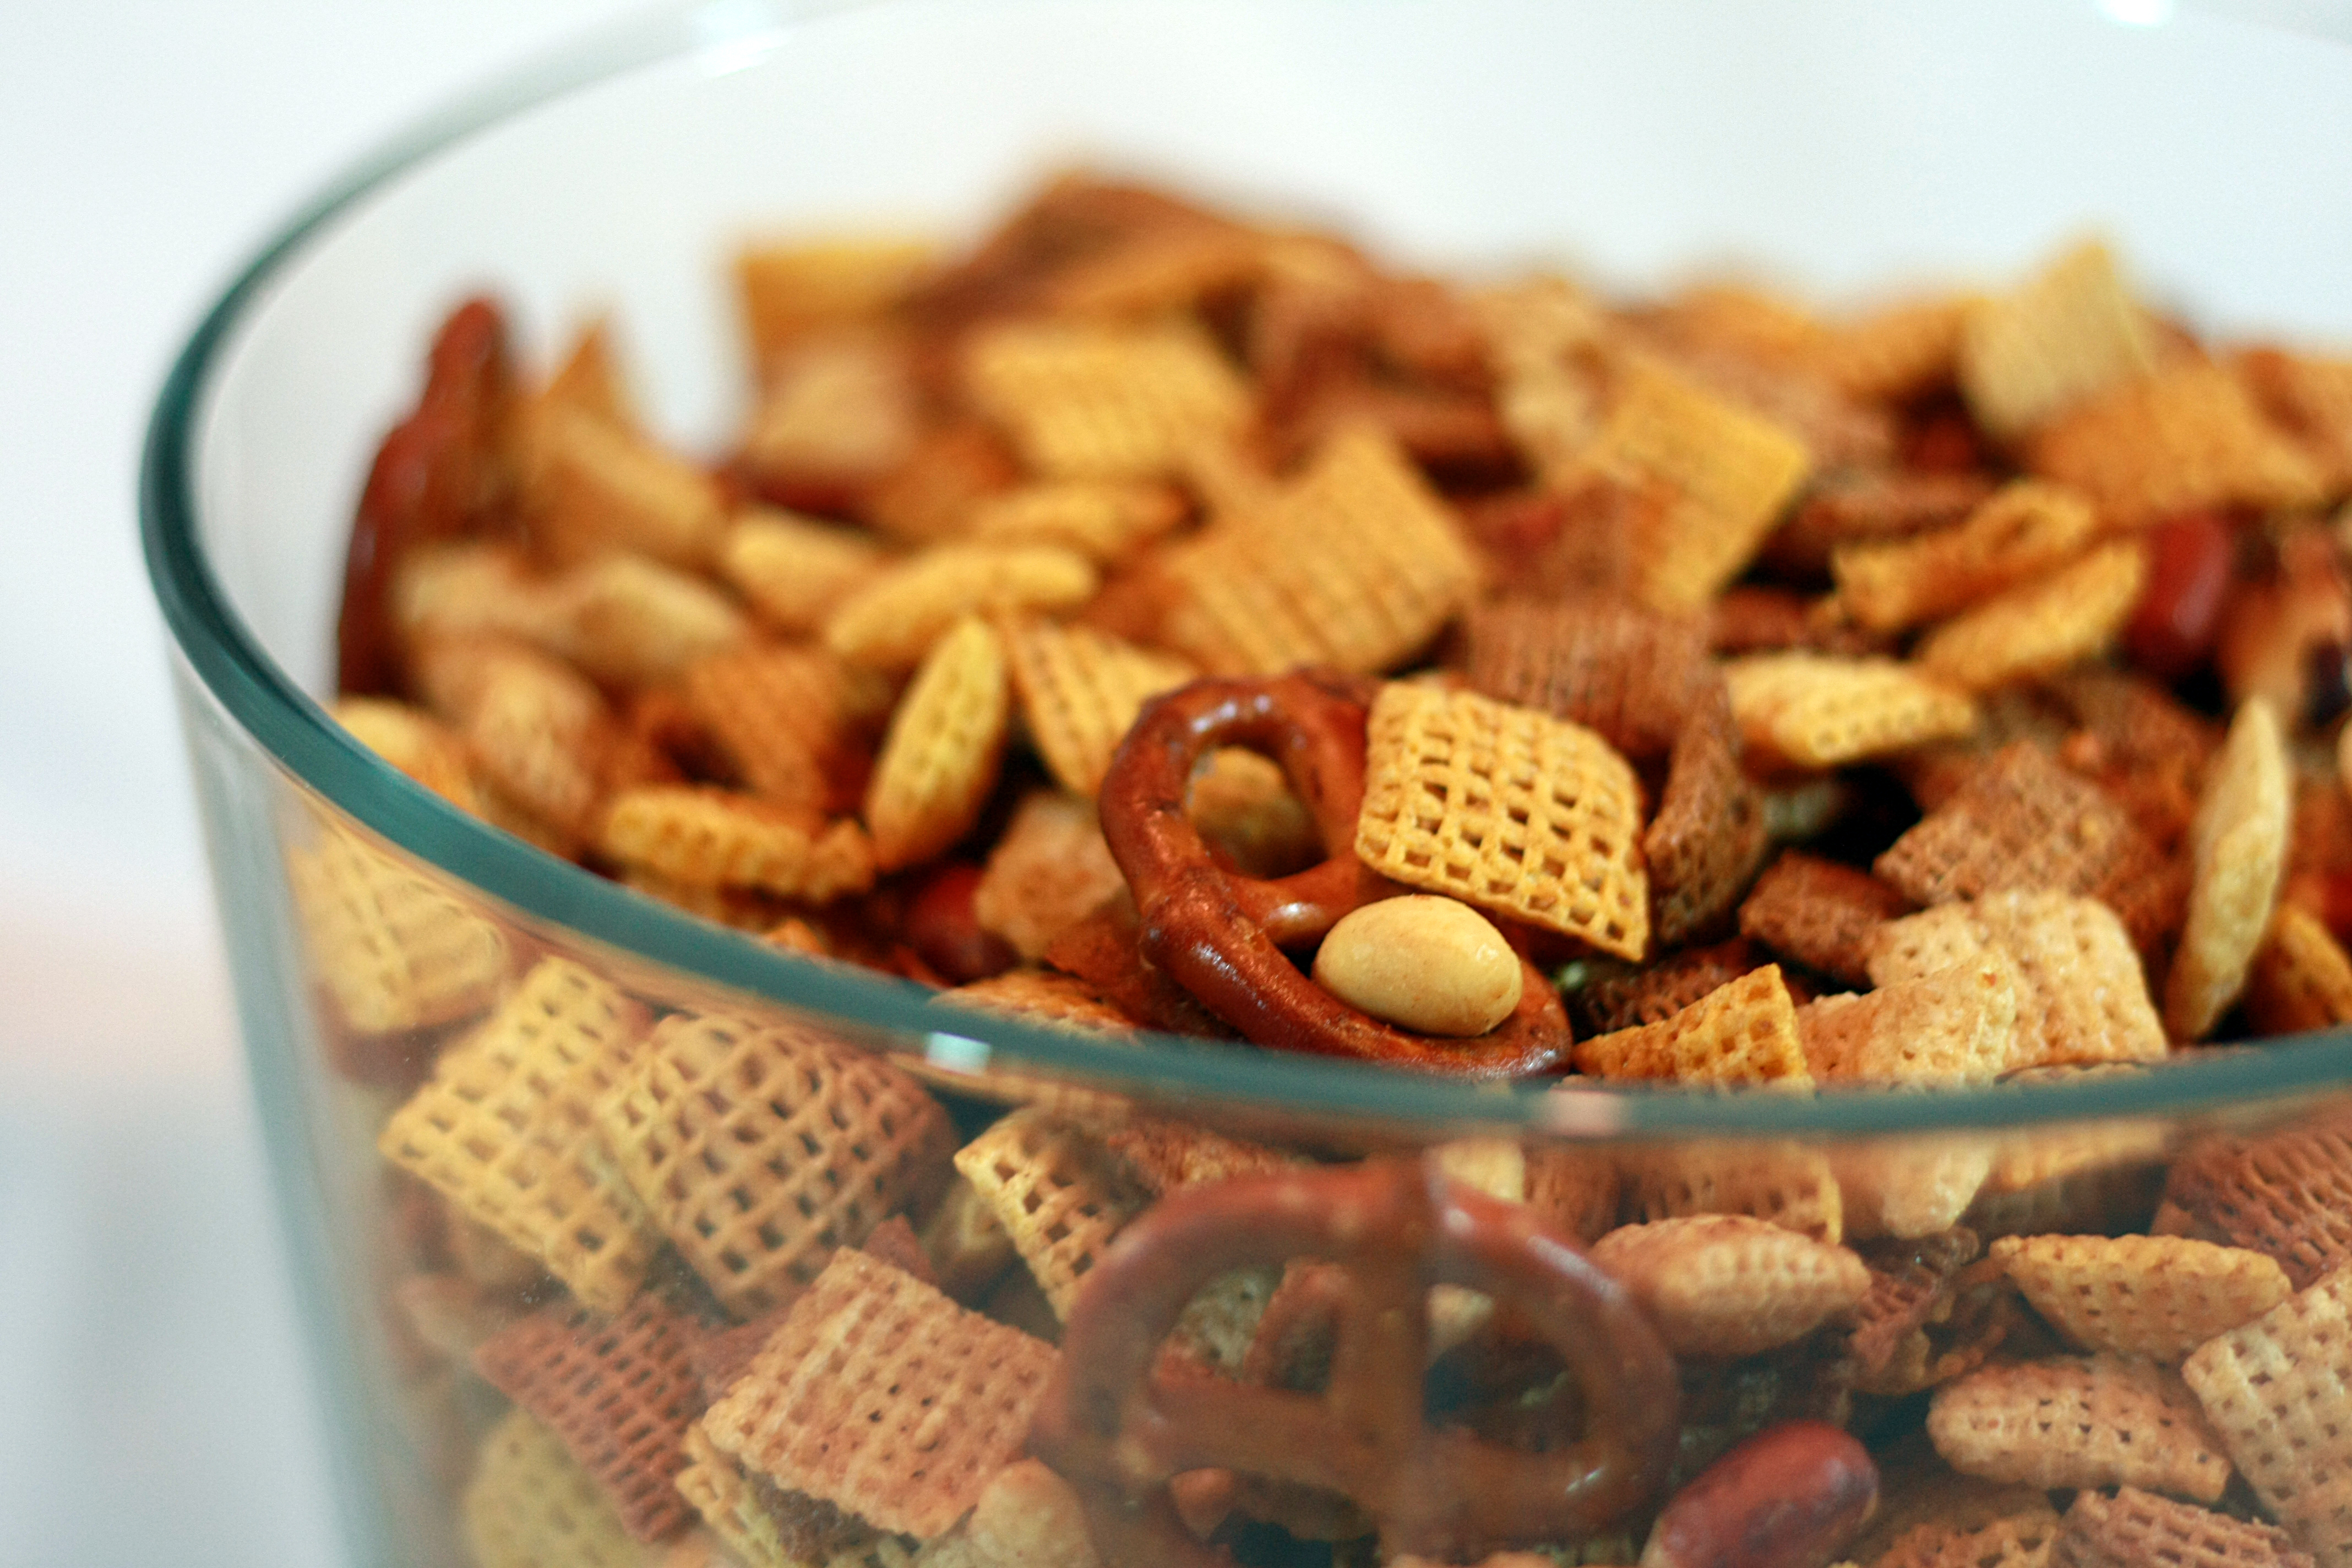
Chex Mix


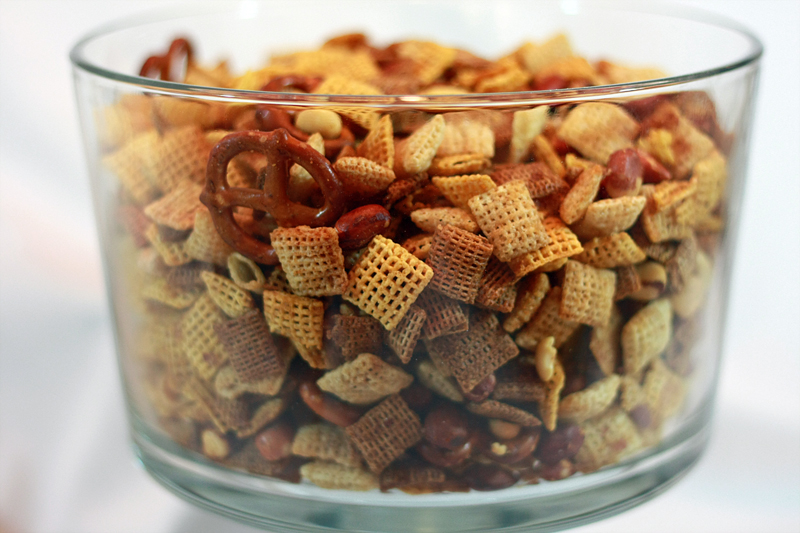
Chex Mix? Seriously? I am doing a post on Chex Mix?

Well, not so much. More of a review. See, when preparing my Chex Mix for our Saturday night party, I figured I would play it safe and just use the recipe for the Original Chex Mix off their own site. Bad move. I started to get a little worried when it didn't seem like there was enough of the seasonings. But I poured and tossed away, hoping that the heating process would magically fix this and it would coming out how I expected it to taste. Wrong.


It came out completely underseasoned and totally blah (well, the "taste" was right, there just wasn't enough of it). Unfortunately, I didn't have time (nor the patience) to go back and fix it. As expected, the Chex Mix pretty much sat there while the Spicy Popcorn and Seasoned Oyster Crackers disappeared. Oh well, can't win them all.

If you're wanting to try out the "original" Chex Mix, you can find the recipe here. Just make sure you double the seasonings/butter.


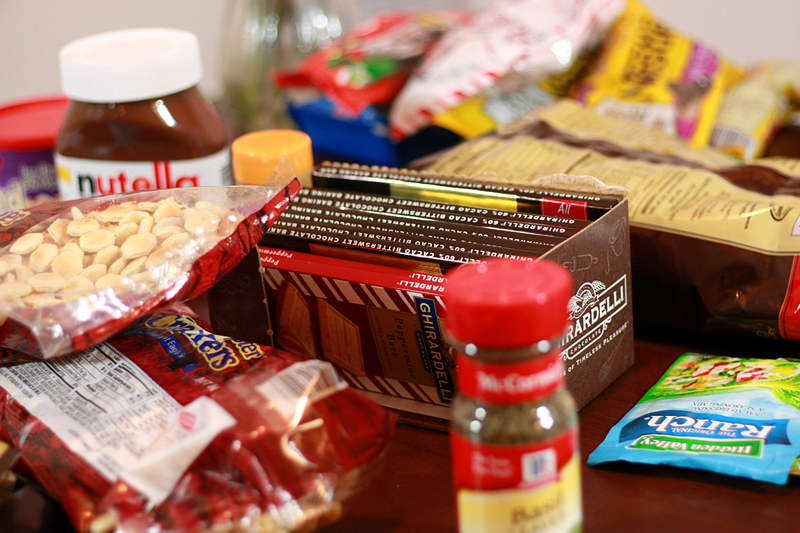
Now I just need to get back to baking to get the rest of this mess off my table:

Monday, December 6, 2010

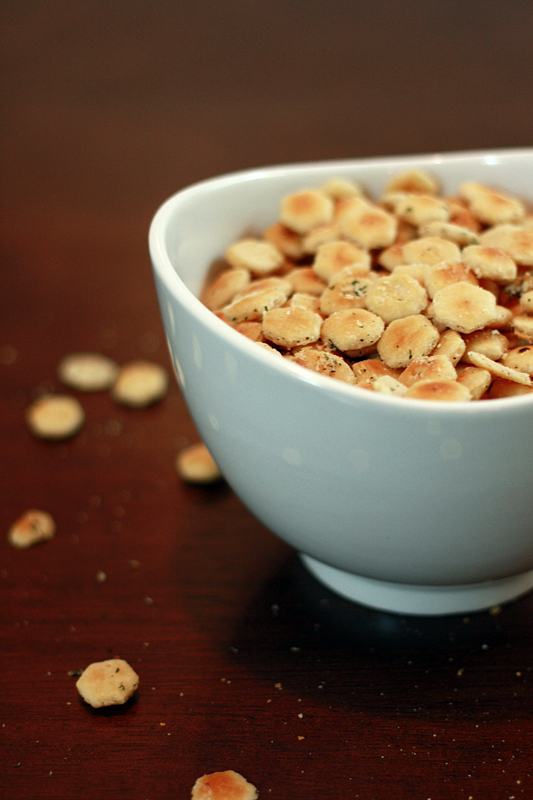
Seasoned Oyster Crackers


Whew! It has been non-stop busy in my kitchen the past few days. Between holiday parties and making cookies for a Cookie Swap, my oven has been getting a workout. And it's not even close to being over yet. Not that I mind.

Saturday night, Adam and I co-hosted a Beer Tasting Party with another couple at their place. Our version of a holiday party. ;) I originally got the idea for a beer tasting party from Ashley over at Decorating Obessed. Our party was on a much smaller scale (8-10 people), but still turned out pretty awesome. And of course, I had to forget the camera, so no pics of the festivities.

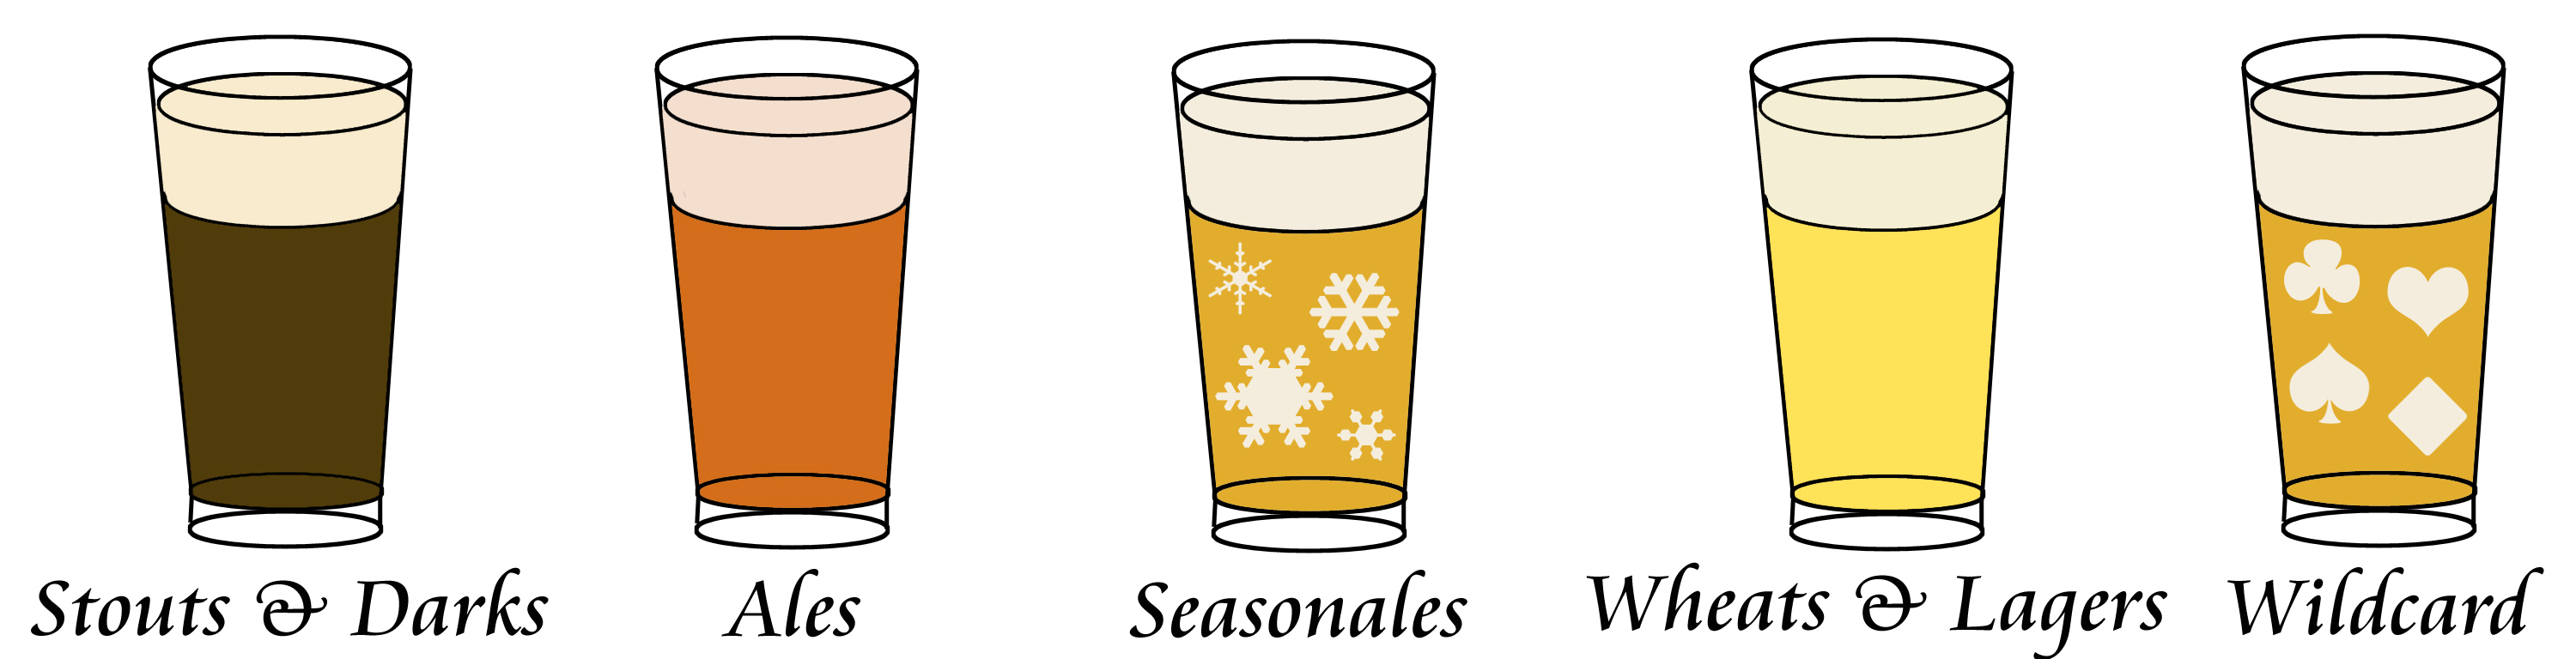
We decided to go with five beer categories, with each couple assigned to bring a 6-pack of a specific category (bringing a couple types of beer per category):

We used small 3-ounce plastic cups for taste testers rather than giving people one regular-sized glass for all the tastings. This worked out great for two reasons: 1) The beer didn't mix with the leftover beer in the glass, and 2) it prevented people from "tasting" half a bottle of beer at a time, allowing everybody to get a taste of each beer (we required at least 2 bottles of the same beer or 24 ounces). Surprisingly, after everyone had gone through as many of the beers as they wanted, there was still plenty to go back and have seconds.

But a party isn't a party without some munchies around, right? We also had everyone bring a heavy appetizer that would serve as dinner. I whipped up some Beer Cheese Dip while Adam made some Stuffed Pretzels (and that was an adventure all in itself). I also decided to make some lighter snacks to put with the beer ("palate cleansers", if you will) such as Chex Mix, Spicy Popcorn, and these classic Seasoned Oyster Crackers.

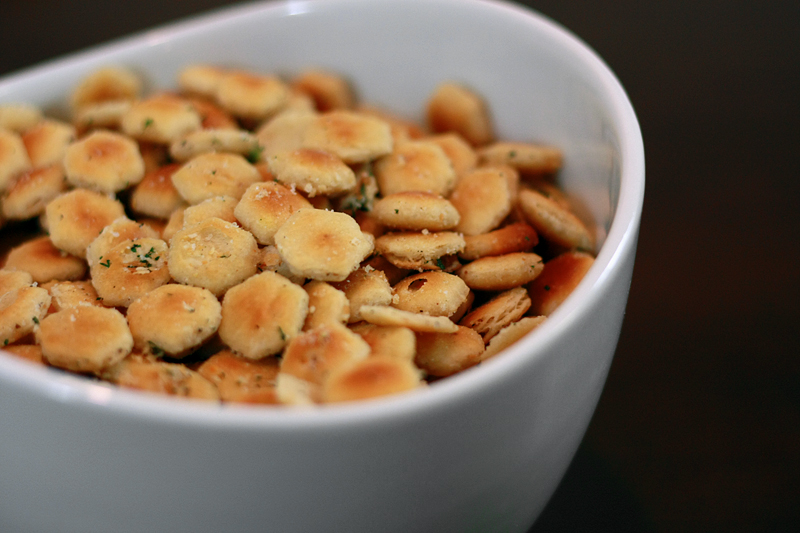
I am sure everyone has had some version of these crackers at one point in their life or another, and we all forget just how good they are until we come across them again. It's almost like a throwback to childhood.

Seasoned Oyster Crackers
Adapted From: Macaroni and Cheesecake

1 (12 ounce) package oyster crackers
1 package dry ranch dressing mix
3/4 cup canola oil
1 teaspoon fresh dill weed, finely chopped
1 teaspoon salt-free lemon pepper seasoning (such as Mrs. Dash's)
1/4 teaspoon garlic powder

Preheat oven to 200 degrees F.

In a large bowl, whisk together dressing mix, oil, dill, lemon pepper, and garlic powder. Add oyster crackers and toss to coat thoroughly.

Divide crackers between two baking sheets. Spread crackers out into a single layer. Bake at 200 degrees for 10 minutes. Allow crackers to cool on the pans, then transfer to an airtight container.

Makes: 12 servings (about 1 ounce each or roughly 70 crackers)


These are super tasty and worked really well as a snack to go with the beer. Enough flavor to give you something else to think about, but not overly potent to affect the taste of the next beer.


Nutrition Facts
Amount per serving
Calories 269Calories from fat 160
% Daily Value
Total Fat 17.6g27%
Saturated Fat 3.0g15%
Trans Fat 0.1g
Cholesterol 0mg0%
Sodium 543mg23%
Total Carbs 23.6g8%
Protein 2g
Vitamin A 0%Vitamin C 0%
Calcium 0%Iron 8%

Tuesday, November 30, 2010

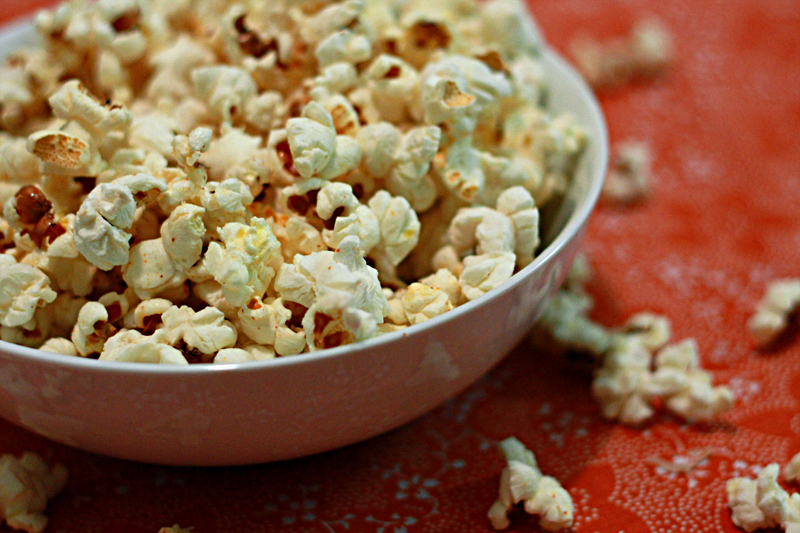
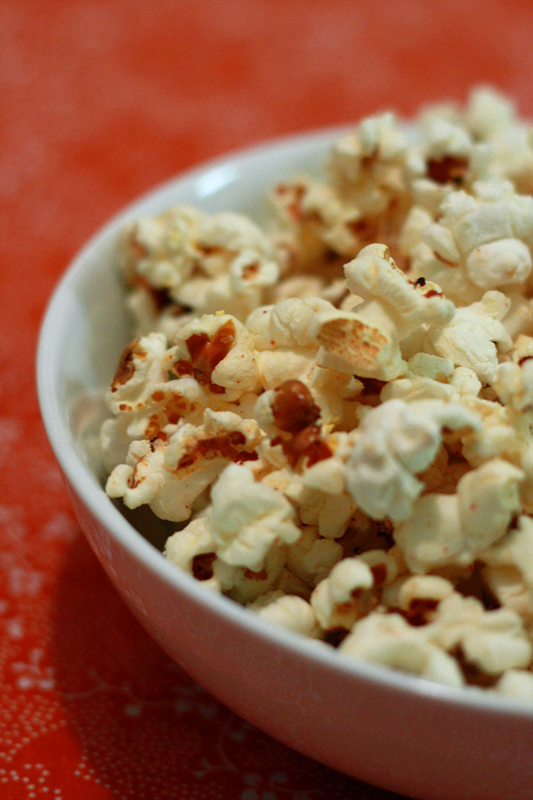
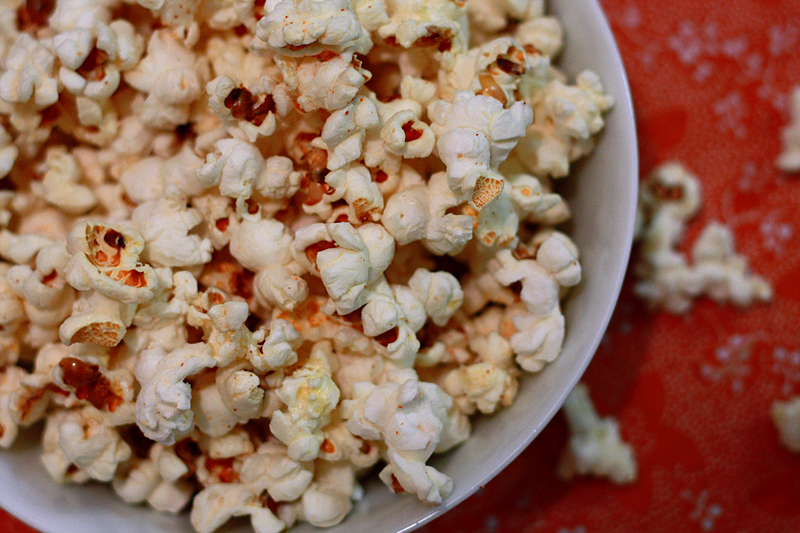
Spicy Popcorn


About a week ago, our microwave stopped working. Randomly, in the middle of trying to reheat some leftovers for lunch. Frustrating? Yes. Especially when I have some amazing leftover Drunken Noodles hanging out in the fridge just begging to be eaten. Alas, it needs a new part which will be here at the earliest on Friday. Grr.

Having a broken microwave also guarantees one other thing -- no popcorn. Well, at least none of the bag popcorn. And of course, that's when I start to get the popcorn craving. Now, I come by these popcorn cravings honestly -- when I was younger it seemed that my mom was always popping up a bag of popcorn to munch on. Although I have to admit, plain ol' popcorn with no salt or butter doesn't really do it for me. Yeah, I was always that kid that smothered their popcorn with butter at the movie theater.

So what to do with no microwave to help satisfy my craving? Make it old school style. This way we can change the flavor to our liking AND get rid of that partially hydrogenated oil (read: trans fat) that hides out in those bags. I opted for some buttery popcorn with a little bit of a kick to it.


Spicy Popcorn
From: Original Recipe

1/2 cup olive oil
1 cup popcorn kernels
5 tablespoons butter
1/2 cup Parmesan cheese, grated
1/2 teaspoon cayenne pepper
1 teaspoon garlic salt

Heat the oil in a large stockpot over medium-high heat. Once oil is hot, add the popcorn kernels, cover, and shake to form an even layer. Cook for about 3 minutes, then shake pot again. Once kernels start popping shake every few seconds. Remove from heat once popping subsides. Transfer popcorn to a large serving bowl.

Meanwhile, in a small saucepan over medium-low heat, melt butter. (You can also melt the butter in the microwave in a microwave-safe bowl.)

Pour half of the melted butter over the popcorn. Sprinkle half the cayenne pepper, garlic salt, and cheese over popcorn and toss. Add the remaining ingredients and toss again.

Makes: 10 2-cup servings


Making my own stove-top popcorn was much, much easier than I had anticipated. While trying to figure out my ingredients, I skimmed across a recipe that claimed 1 cup of popcorn kernels made 20 cups. I laughed. Yeah right. Then I made popcorn from 1 cup of kernels. Yeah, not really a joke. It really does make that much. (I had to use a my super huge pyrex bowl and the next largest one just to fit it all.) I highly recommend using a very large pot to make this in -- I used my 8 quart stockpot and it worked perfectly.

Even at room temperature, this popcorn makes for the perfect munching snack. As evidenced by the fact that I have almost taken down the smaller of the two bowls of popcorn. And I may have just made it this morning...


Nutrition Facts
Amount per serving
Calories 231Calories from fat 169
% Daily Value
Total Fat 18.7g29%
Saturated Fat 6.1g31%
Cholesterol 20mg7%
Sodium 119mg5%
Total Carbs 12.9g4%
Dietary Fiber 2.4g9%
Protein 4.1g
Vitamin A 5%Vitamin C 0%
Calcium 6%Iron 4%

Get Up and Move Challenge Day 30: The End

Sometimes I feel like these past 30 days have just flown by. Other days I can't believe National Blog Posting Month is still going on. Well, it is officially coming to a close today, and with it, our Get Up and Move Challenge. Let's take a look back at all we've talked about this month:


If you successfully completed the Get Up and Move Challenge by performing some type of exercise each day, then pat yourself on the back. Congratulations!
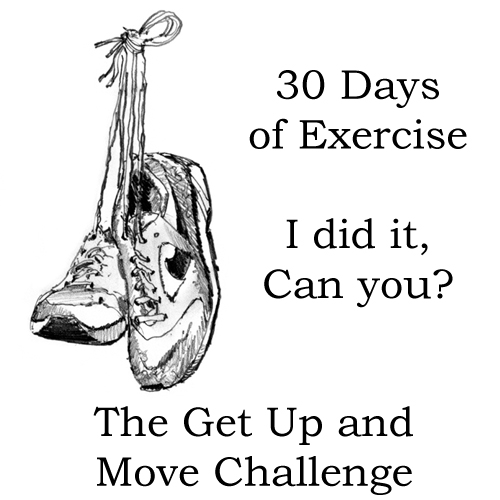

Feel free to take this image and post it to your blog or facebook page. Be proud of your accomplishment!

Now that our challenge is over, keep up your hard work! Below are the American College of Sports Medicine's recommendations for weekly exercise [1]:

Aerobic Exercise:
  • At least 5 days per week at a moderate intensity, or at least 3 days per week of vigorous activity
  • At least 30 minutes per day for health benefits and 60 or more minutes per day for weight loss or weight maintenance.

Resistance Exercise:
  • 2-3 days per week, with at least 48 hours separating the training sessions for the same muscle group
  • 8-10 various exercises focused on the major muscle groups
  • A resistance that allows 8-12 repetitions per set should be selected

Flexibility:
  • 2-3 days per week
  • 4 or more repetitions of each stretch, with each static stretch being held 15-60 seconds

If you have a known pulmonary, metabolic, or cardiovascular disease (or signs and symptoms of one) talk with your physician before starting an exercise program.

Keep in mind that these guidelines are for healthy adults 18-65. If you find yourself outside this range or have other ailments, talk to your physician or a trained exercise professional for guidance on where to begin. Remember, you don't have to try and run a marathon on your first day, instead, gradually build up to the recommended levels. Then enjoy the fact that you are becoming healthier with each passing day!

[1] American College of Sports Medicine. Resource Manual for Guidelines for Exercise Testing and Prescription. Philadelphia, PA: Lippincott Williams and Wilkins, 2010.
LinkWithin

Related Posts with Thumbnails
 
Pin It button on image hover