Oh. My. Has it been a while. Let's just say my life has exploded over the past few weeks. Between starting the subject recruitment and data collection for my thesis and then finding out that our landlord sold the house we're in (meaning, hey you have a month or so to find a new place!) things have been busy busy.
And busy busy means lots of macaroni and cheese and fast food for dinner. Blech. But we're not here to talk about dinner today. Today, we focus on cookies. Because cookies make everything better. (Maybe not perfect, but definitely better.)
Girl Scout cookie season is over. And I missed it. Much like I have the past few years. I totally need a reminder for these things. Maybe it's a good thing I don't know about when these sales occur though. I can go through an entire sleeve of Thin Mints in one sitting without even batting an eye. True story.
While debating what to serve for dessert for a baby shower I was hosting with a friend, we decided to go Girl Scout themed since the mom-to-be loves her some Samoas. But we couldn't just be happy with Samoas-flavored fudge -- we wanted variety, and because we have a problem with making too much food. But really, who doesn't love Thin Mints? If you don't, well, that's just information you need to keep to yourself.
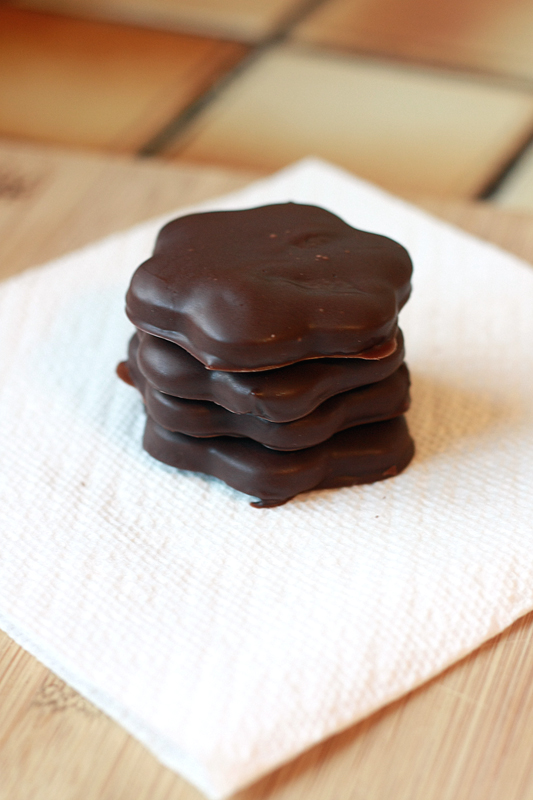


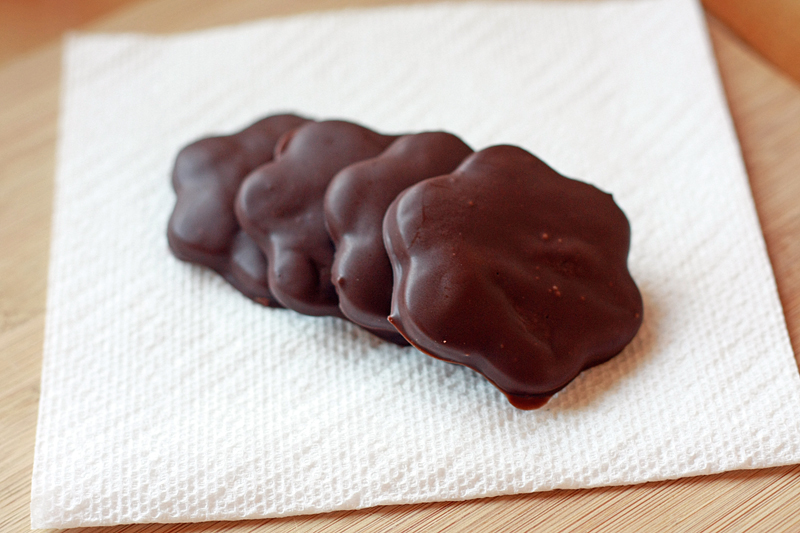
Thin Mint Cookies
Adapted from: my 1 cup butter, at room temperature
1 cup powdered sugar
1 teaspoon vanilla extract
1/2 cup unsweetened cocoa powder
1/2 cup dutch-processed cocoa powder
3/4 teaspoon salt
1 1/2 cups all-purpose flour
14 ounces mint-flavored dark chocolate candy melts
The the large bowl of a mixer, cream the butter until light and fluffy. Slowly add in the powdered sugar, mixing on low until just combined. Increase the mixer speed and continue to cream until well blended. Stir in the vanilla, salt, and both cocoa powders. Add the flour, 1/2 cup at a time until fully incorporated. Mixture may be on the crumbly side.
Turn dough out onto a clean work surface, kneading together until smooth. Separate dough into 2 portions, flattening each into a disk. Wrap in plastic wrap and chill for 10 minutes.
Preheat oven to 350 degrees F. Line two baking pans with parchment paper and set aside.
Remove one of the chilled dough disks from the fridge. Lightly dust counter with flour and roll dough out to about 1/8-inch thickness. Cut out cookies and transfer to a prepared baking sheet. Repeat with remaining dough until baking pan is full. Bake for 10 minutes. Allow cookies to cool on pan for 5-10 minutes, then transfer to a wire rack to cool completely.
While cookies are baking, prepare chocolate coating. Heat the chocolate melts in a small bowl according to package instructions. Stir every 20-30 seconds until chocolate becomes smooth. Dip each cooled cookie in the chocolate face down, then flip right-side up and remove from bowl, shaking any excess chocolate off (a fork works great here). Place on a wax paper covered baking sheet to set. Once the sheet is full place in fridge for about a 1/2 hour to finish setting the chocolate.
Makes: about 3 dozen cookies (serving size: 1 cookie)
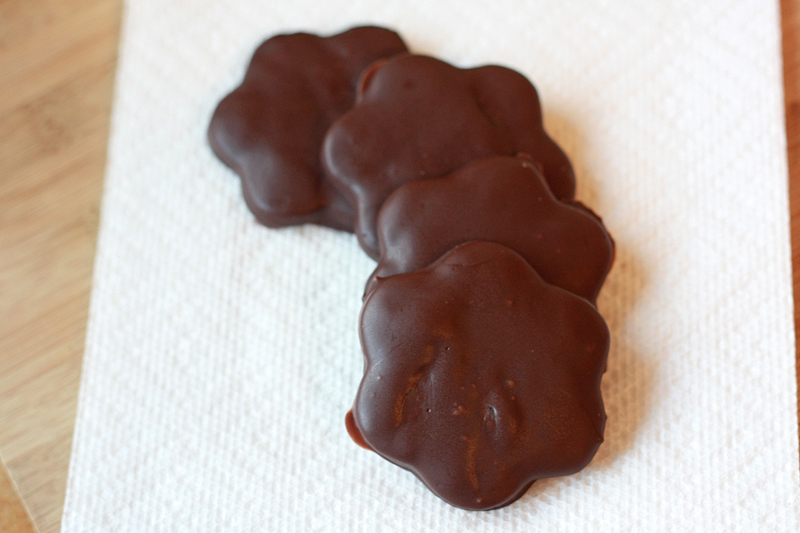
Even though these took a little while to make, and even though I have a severe dislike for dipping things, I might have to concede that it was totally worth it. The cookies had just the right amount of firmness and the chocolate coating provided just the right amount of mint flavor. I dare say these might actually be better than the original. Except for the fact that the originals only involve me opening the package to eat them... but I digress.

| Nutrition Facts | |
| Serving Size 29g | |
| Amount per serving | |
| Calories 135 | Calories from fat 80 |
| % Daily Value | |
| Total Fat 8.9g | 14% |
| Saturated Fat 6.3g | 31% |
| Cholesterol 14mg | 5% |
| Sodium 90mg | 4% |
| Total Carbs 15.1g | 5% |
| Fiber 1.4g | 6% |
| Sugars 8.8g | |
| Protein 1.6g | |
| Vitamin A 3% | Vitamin C 0% |
| Calcium 1% | Iron 6% |


Oh no... Knowing how to make my own thin mints might be dangerous! :D
ReplyDeleteThese look perfect! I love thin mints, but mine would never look as pretty! Perfect for a baby shower!
ReplyDeleteWow, these are so pretty! My wife is a huge Thin Mint addict and claims not to have found an authentic recipe as of today. I'll have to show her this one :) Do these get your fingers authentically chocolate covered?
ReplyDeleteI too am guilty of eating an entire sleeve in one sitting. Great homemade recipe! They definitely look like they're worth the work!
ReplyDeleteI am sooo guilty of chowing down on these babies. I wont even let myself purchase one box. (I just wait for my dad to let me steal them from him) ;) These look perfect.
ReplyDeleteWoohoo, thin mints all year long! This is a very dangerous thing. :-)
ReplyDeleteAbsolutely gorgeous cookies! So adorable. Almost too cute to eat... (almost.)
ReplyDeleteThis look very tasty.... now you can enjoy thin mints year round.
ReplyDeleteWooo hooooo! I always liked getting an A in class :) Yours are gorgeous my friend!
ReplyDeleteCongratulations on your foodbuzz top 9, today!
ReplyDeleteLooks AMAZING...we can't get thin mints in Canada so yummmmmm
ReplyDelete