Wednesday, August 4, 2010

Chipotle Bean Burritos & Blog Change... well, kind of


A few months back I introduced my little heart symbol to indicate meals I deemed "healthy". These meals were specifically low-calorie, low in saturated fat, and low in cholesterol. But those are just things I'm looking for in a meal, and you might be looking for something different, such as low-sodium. Therefore I am scrapping the whole heart symbol idea in place of these little guys:





Now, I didn't just randomly pick these four out of the air. Excessive intake of calories, saturated fat, cholesterol and sodium have been linked with diseases such as cardiovascular disease, hypertension, diabetes, and obesity. Note that it's saturated fat NOT total fat -- monounsaturated and polyunsaturated fat are good for your heart, so don't be afraid of them!

This time around I'm not going to arbitrarily assign a value to what I believe constitutes "low", I've based these labels on recommendations for food labeling from the FDA. In short, recipes are looking for less than 40 calories, less than 1g of saturated fat, less than 20mg of cholesterol and less than 140mg of sodium per serving in order to win one of these distinctions. (Except for main dishes, and those are the same values, just per 100g.) Want to know more? Go here. I will also start including the nutrition facts for every recipe, not just main courses. How bout them apples? ;)

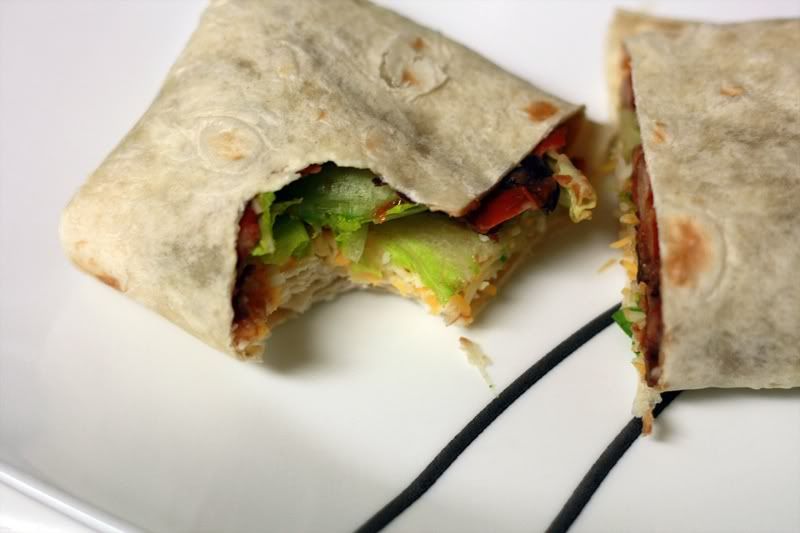
Enough chit-chat about all this health-food business. Let's talk food! Every time we go to Taco Bell my husband always knows what I want. As do my sister and parents. You could say I'm in a bit of a rut. I don't care, it's one I enjoy. See, I have thing for their bean burritos. Don't know why, just do. Hate me all you want, but I love 'em. So when I ran across a bean burrito recipe in Cooking Light, no surprise that I was interested in making them. They were quick and easy to throw together (placed in the under 30 min category in Cooking Light) and were pretty good for such few ingredients (in the actual beans, not burrito).


Chipotle Bean Burritos
Adapted from: Cooking Light January 2010


1 tablespoon canola oil
1 garlic clove, minced
1/2 teaspoon chipotle chile powder*
1/4 teaspoon salt
1/3 cup water
1 (15-ounce) can organic black beans, drained
1 (15-ounce) can organic kidney beans, drained
3 tablespoons salsa
6 (10-inch) flour tortillas
1 cup (4 ounces) preshredded 4-cheese Mexican blend cheese
1 1/2 cups chopped plum tomato (about 3)
1 1/2 cups shredded romaine lettuce
6 tablespoons thinly sliced green onions (optional)
6 tablespoons light sour cream (optional)

Heat oil in a large nonstick skillet over medium heat. Add garlic to pan; cook 1 minute, stirring frequently. Stir in chile powder and salt; cook 30 seconds, stirring constantly. Stir in 1/3 cup water and beans; bring to a boil. Reduce heat, and simmer 10 minutes. Remove from heat; stir in salsa. Partially mash bean mixture with a fork.

Layer a dinner plate with a damp paper towel. Place a tortilla on the paper towel. Cover with another damp paper towel. Continue layering tortillas with paper towels until you have as many as desired. Warm tortillas according to package directions, about 30 seconds in the microwave. Spoon about 1/3 cup bean mixture into center of each tortilla. Top each serving with about 2 1/2 tablespoons cheese, 1/4 cup tomato, 1/4 cup lettuce, 1 tablespoon onions, and 1 tablespoon sour cream; roll up.

Serves: 6

*Can be substituted with 1/2 teaspoon regular chili powder pluse 1/8 teaspoon cayenne pepper.
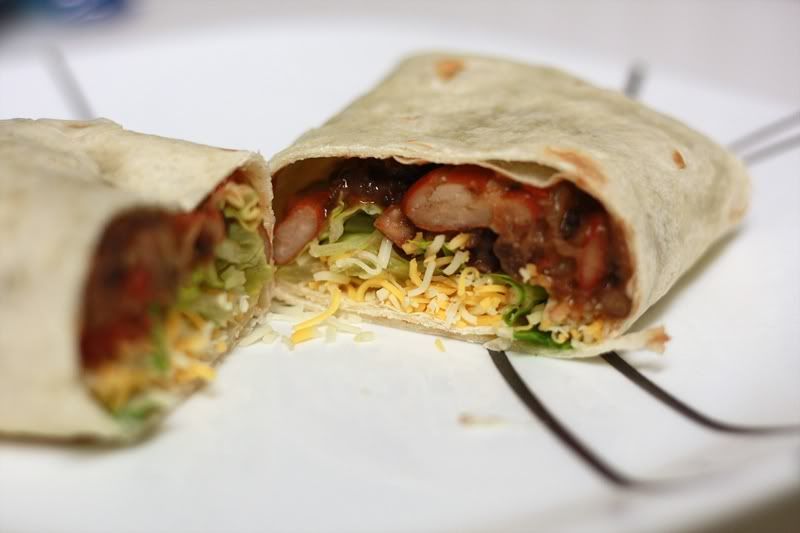


We definitely enjoyed the twist that the chipotle powder gave these. They are super easy to make and leftovers work well with this dish.



Ha! I almost forgot, I have also added a new print friendly button at the bottom of each post. Now you can simply click and print whichever individual post you want -- just the post and not the annoying side bar and header. Yay for the easy button!


Nutrition Facts
Amount per serving
Calories 776Calories from fat 138
% Daily Value
Total Fat 15.4g24%
Saturated Fat 6.6g33%
Trans Fat 0.0g
Cholesterol 28mg9%
Sodium 451mg19%
Total Carbs 123.5g41%
Dietary Fiber 26.9g108%
Sugars 6.3g
Protein 41.1g
Vitamin A 13%Vitamin C 17%
Calcium 38%Iron 53%

Monday, August 2, 2010

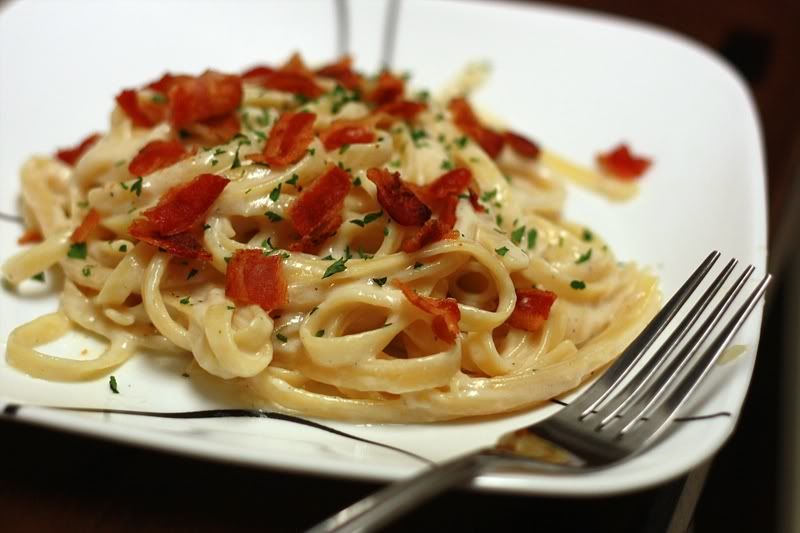
Fettuccine Alfredo with Bacon


Ah bacon, we meet again! How I love you so. To me, fettuccine alfredo is just fettuccine alfredo, and there is usually nothing special about it. I've tried jarred versions and homemade versions of the sauce and... it is what it is. Slight variations on a theme, but usually no "wow" factor. Until it met bacon. The crunchy-smoky-chewy-salty-meaty awesomeness that is bacon pairs excellently with the smooth-creamy-understated alfredo. The bacon is the star in this dish and the alfredo is the chorus-line doing high kicks in the background -- you notice and appreciate it, but that's not what you came for.


Fettuccine Alfredo with Bacon
Adapted From: Cooking Light, January 2010


8 ounces dried fettuccine
2 slices bacon, chopped
1 teaspoon minced garlic
1 tablespoon all-purpose flour
1 cup 1% low-fat milk
2/3 cup (about 2 1/2 ounces) grated Parmesan cheese
1/2 teaspoon salt
2 tablespoons chopped fresh parsley
1/2 teaspoon freshly ground black pepper

Cook pasta according to package directions, omitting salt and fat. Drain in a colander over a bowl, reserving 1/4 cup cooking liquid.

While pasta cooks, cook bacon in a large nonstick skillet over medium-high heat 4 minutes or until crisp, stirring occasionally. Remove bacon from pan, reserving drippings. Add garlic to drippings in pan; sauté 1 minute, stirring constantly. Sprinkle flour over garlic; cook 30 seconds, stirring constantly. Gradually add milk, stirring constantly; cook 2 minutes or until bubbly and slightly thick, stirring constantly. Reduce heat to low. Gradually add cheese, stirring until cheese melts. Stir in salt and reserved 1/4 cup cooking liquid. Add hot pasta to pan; toss well to combine. Sprinkle with bacon, parsley, and pepper.


And what makes this dish even better is that it almost qualified as a healthy dish! Yay for second place! It only has 347 calories, 12.6 g fat (5.4 g saturated fat), 20.5 g protein, and 37 g carbs. However, it does have 75 mg cholesterol and 916 mg of sodium (over 60% of the %DV, yikes!). So enjoy this dish, but only in moderation! ;)


Nutrition Facts
Amount per serving
Calories 347Calories from fat 114
% Daily Value
Total Fat 12.6g19%
Saturated Fat 5.4g27%
Trans Fat 0.0g
Cholesterol 75mg25%
Sodium 916mg38%
Total Carbs 37.0g19%
Sugars 3.4g
Protein 20.5g
Vitamin A 8%Vitamin C 5%
Calcium 27%Iron 14%

Saturday, July 31, 2010

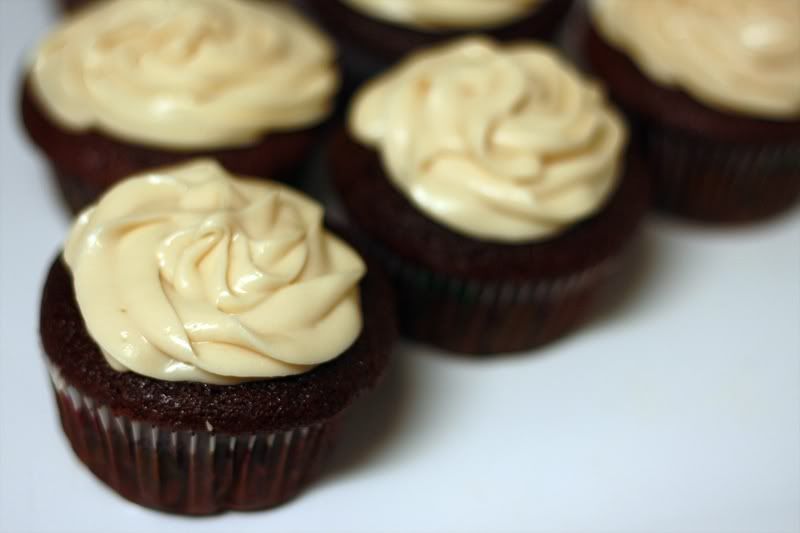
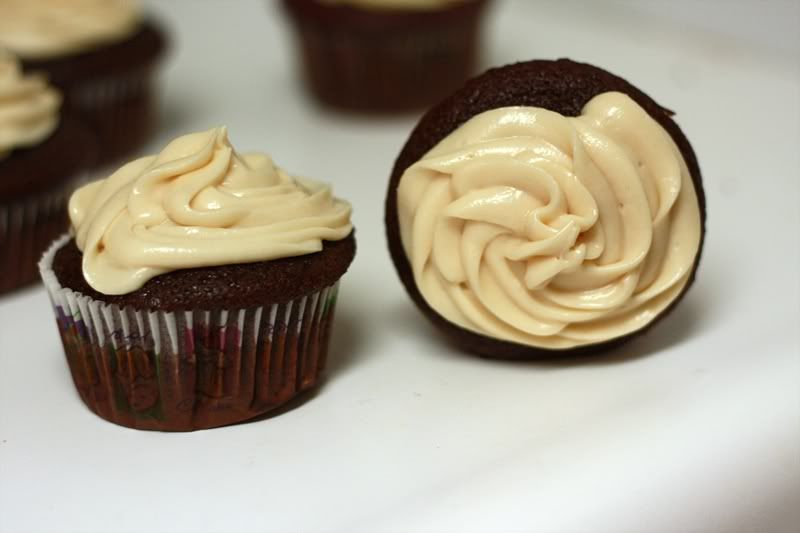
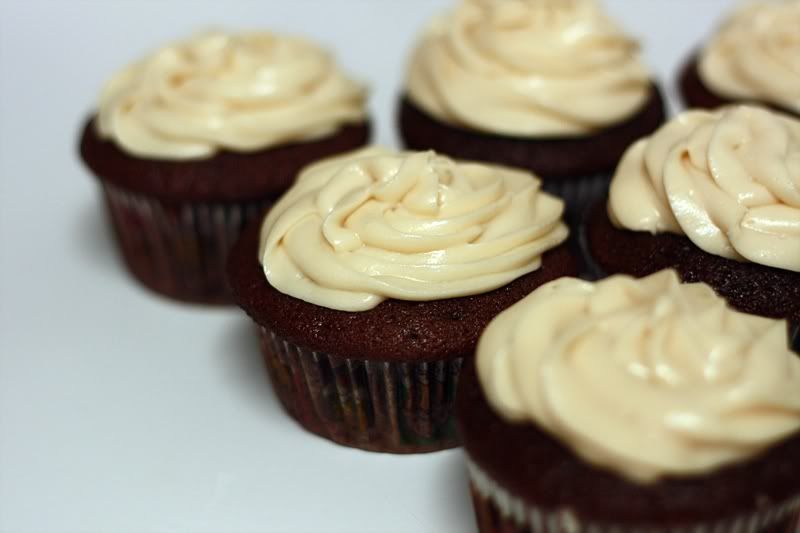
Milky Way Cupcakes


That's right, you read that title correctly -- Milky Way Cupcakes. Chocolate cupcakes with a caramel frosting and a whipped chocolate filling. So delicious. Or "decadent", as Adam called them.

It's pretty obvious where the inspiration for these came from, although I'm not sure why. I don't typically crave candy bars, but once I thought of the concept, I knew I had to made them. Definitely a wise decision.


Milky Way Cupcakes
From: Original Concept


For the Cupcakes:
Use your favorite chocolate cupcake recipe. Mine is found here.

Once baked (usually 18-22 min) and cooled, use an apple corer (or knife or any other apparatus that works) to remove the center of each cupcake, being careful not go through the bottom.

For the Filling: (adapted from about.com)
12 ounces milk chocolate chips
3 tbsp water
1 1/2 cups marshmallow fluff

Place the chocolate chips in a large microwave-safe bowl. Microwave until the chips are melted, stirring after every 45 seconds to prevent overheating. Once the chips are melted, add the marshmallow cream and the water and stir until the mixture is smooth. Pipe the filling into the cupcakes.

For the Frosting:
1 cup butter
1 tsp vanilla
1 pound powdered sugar
1/2 cup caramel topping
Pinch of salt

In a large bowl, beat the butter until smooth and creamy. Add in the vanilla and continue to mix. Slowly add in the sugar, about 1 cup at a time. Once sugar is completely mixed in and buttercream is smooth, add in the caramel and salt. Mix until smooth. Buttercream is a little softer than your typical buttercream.

Makes: 36 cupcakes

Note: Do NOT refrigerate these cupcakes as the centers will get very firm, making these difficult to eat. (Adam likes them the most after they've been sitting in a hot car and are almost melting -- nice and gooey.) If you must put these in the fridge, make sure to remove them several hours prior to eating.


Now go. Make these. And be in awesome chocolate-caramel-marshmallow-fluffy heaven.


Nutrition Facts
Amount per serving
Calories 334Calories from fat 129
% Daily Value
Total Fat 14.4g22%
Saturated Fat 8.3g41%
Cholesterol 52mg17%
Sodium 286mg12%
Total Carbs 50.3g17%
Dietary Fiber 1.2g5%
Sugars 28.6g
Protein 3g
Vitamin A 8%Vitamin C 0%
Calcium 3%Iron 7%

Tuesday, July 27, 2010

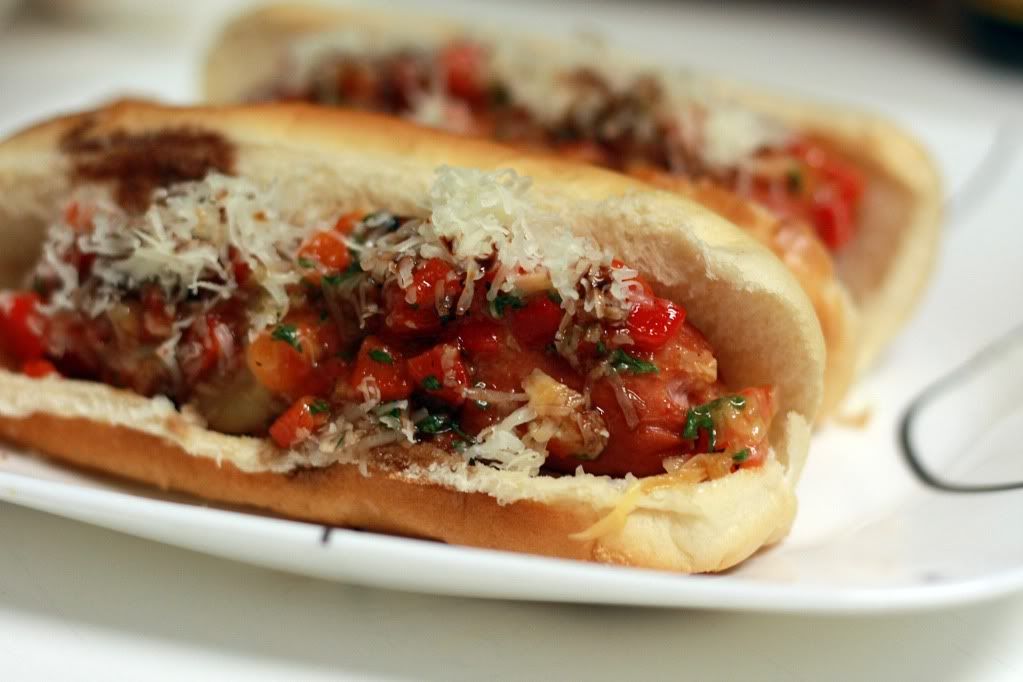
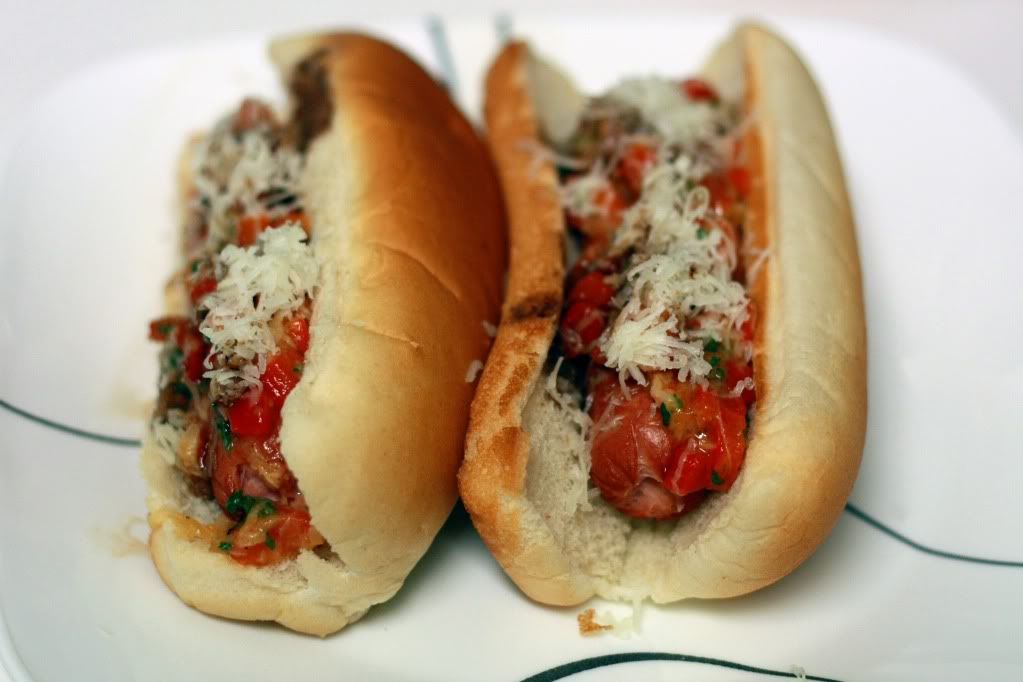
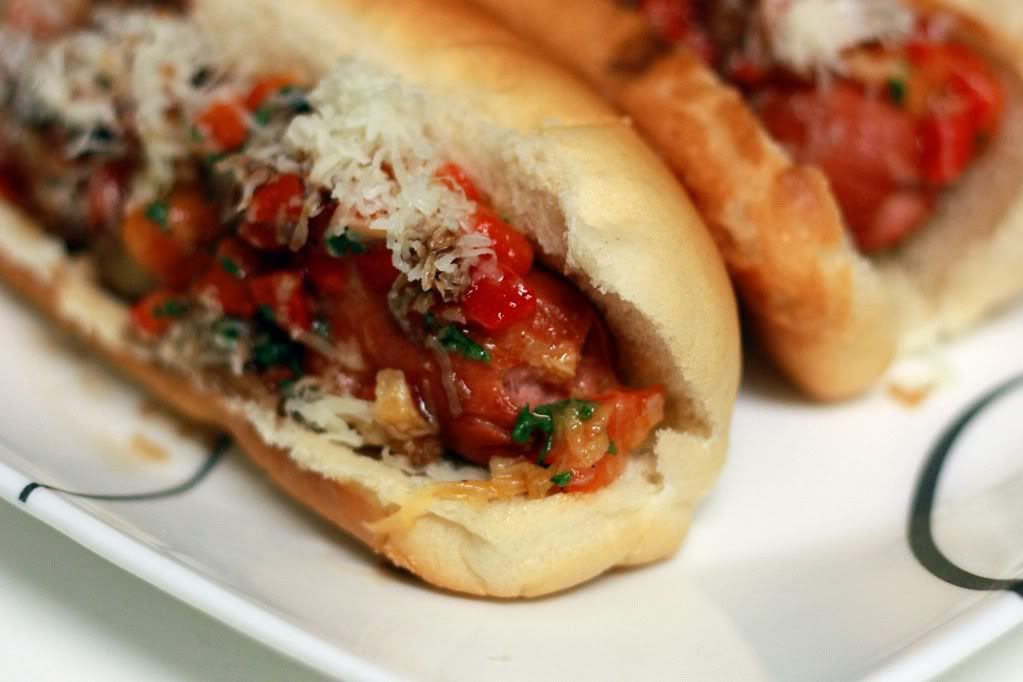
Manchego Cheese and Garlic Dogs


No, I did not hit 200 posts and decide to run away. I have just been traveling everywhere this past month as well as taking an online course, thus my posting -- not to mention cooking, has fallen by the wayside.

And such as shame too, as these hot dogs are absolutely perfect for summer. I am usually not a huge hot dog fan; I rarely ever eat them (unless I am at a barbecue and it's either that or hamburgers), and I almost never crave them. I ran across this recipe in a Bon Appetit from 2009. Yes, it really took me that long to make these. One day I finally decided to buck up and try them, it is summer after all, and hot dogs are definitely a staple summer food. We had these once way back in May and then again for the 4th of July -- we wanted a little bit of a different spin on the ol' traditional Independence Day meal. And that's exactly what this is; still your same old hot dog, but with a tasty unique relish that sets it apart from your plane jane ketchup and mustand dogs.


Manchego Cheese and Garlic Dogs
From: Bon Appetit, July 2009


Relish:
2 large heads of garlic, top 1/2 inch cut off
5 teaspoons extra-virgin olive oil, divided
1/2 cup diced drained roasted red peppers from jar
1 tablespoon chopped fresh parsley
Coarse kosher salt

Hot dogs:
6 grilled hot dog buns
6 grilled (or boiled) all-beef hot dogs
2 ounces Manchego cheese,* grated
Sherry wine vinegar or balsamic vinegar

For relish:
Preheat oven to 400°F. Place each head of garlic, cut side up, in center of square of foil; drizzle each with 1 teaspoon oil. Enclose garlic in foil. Place packets on oven rack; roast until garlic is tender, about 45 minutes. Open packets; cool 15 minutes.
Squeeze garlic cloves into small bowl. Mash enough roasted garlic to measure 1/4 cup (reserve remaining garlic for another use). Transfer 1/4 cup mashed garlic to bowl. Mix in 3 teaspoons oil, red peppers, and parsley. Season with coarse salt and pepper.

For hot dogs:
Arrange buns on plates. Top each with grilled hot dog, then cheese, garlic relish, and drizzle of vinegar.

Serves: 6

*Manchego cheese is a sheep's cheese found in the specialty cheese area in your grocery. If you are unable to find it (as we were at my parents') substitute with Monterey Jack cheese.


For hot dogs, these were quite tasty, and I really liked how the garlic mellowed out with roasting. It's actually quite easy to throw the relish together, the only real time involved with these is roasting the garlic. The recipe calls for grilled hot dogs, but we've tried them both ways, and I think either works fine -- whatever is your preference.

Adam's vote was they were better without the balsamic vinegar, but I liked them with it. Once again, personal preference thing (although they are better with it). And the nice thing about this meal is that if someone there isn't a fan of the relish... there's always ketchup and mustard.


Nutrition Facts
Amount per serving
Calories 410Calories from fat 229
% Daily Value
Total Fat 25.4g39%
Saturated Fat 9.5g47%
Trans Fat 0.0g
Cholesterol 39mg13%
Sodium 1138mg47%
Total Carbs 31.0g10%
Dietary Fiber 1.5g6%
Sugars 5.5g
Protein 14.2g
Vitamin A 12%Vitamin C 55%
Calcium 18%Iron 16%

Friday, June 25, 2010

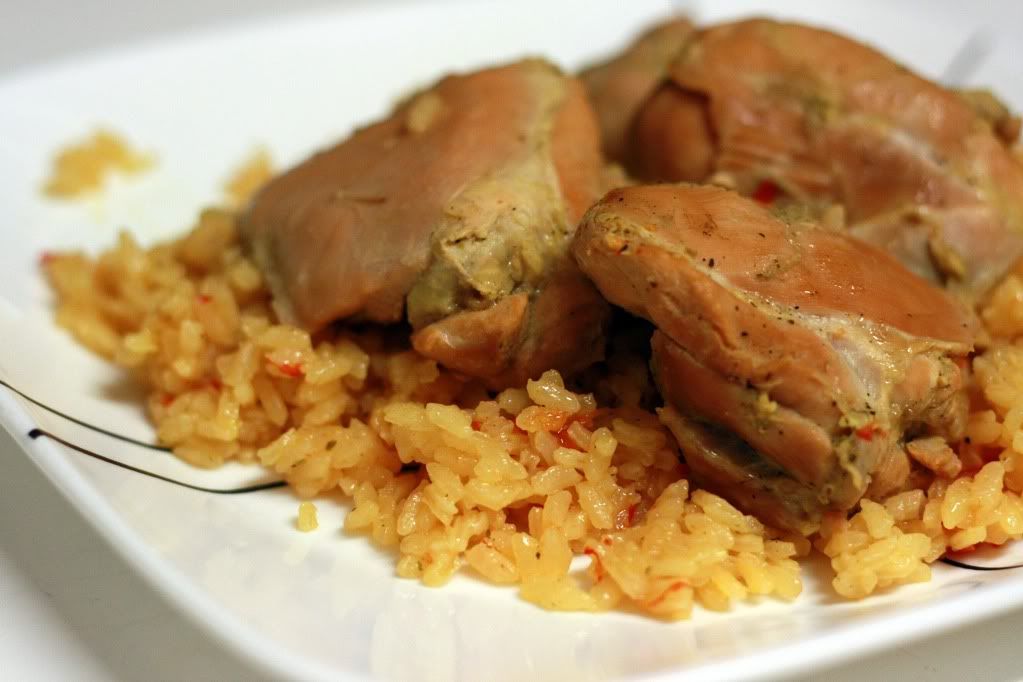
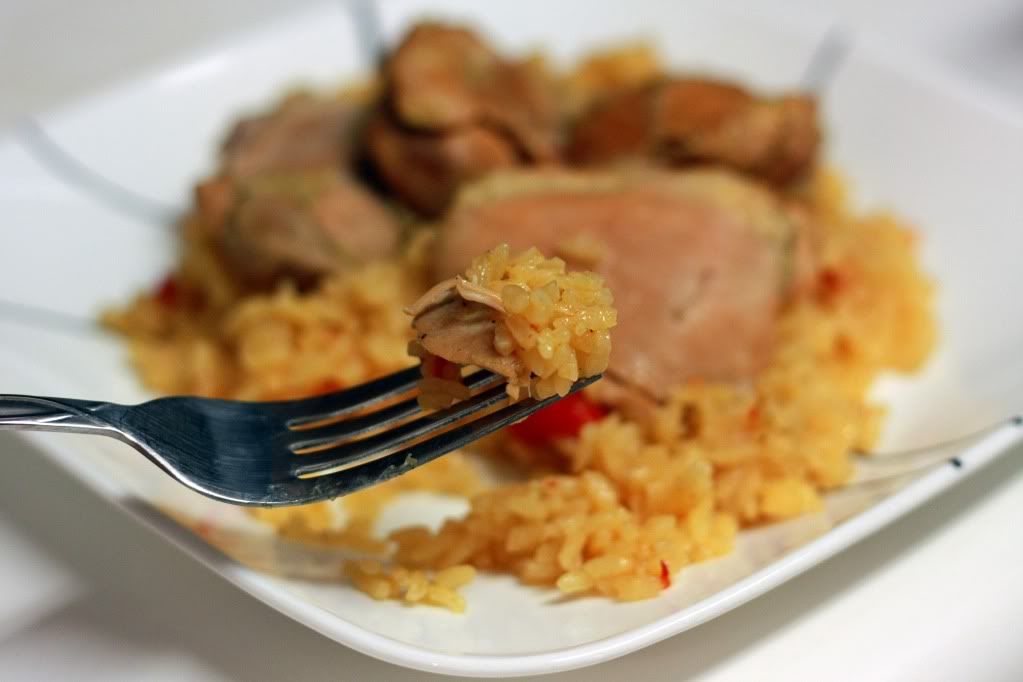
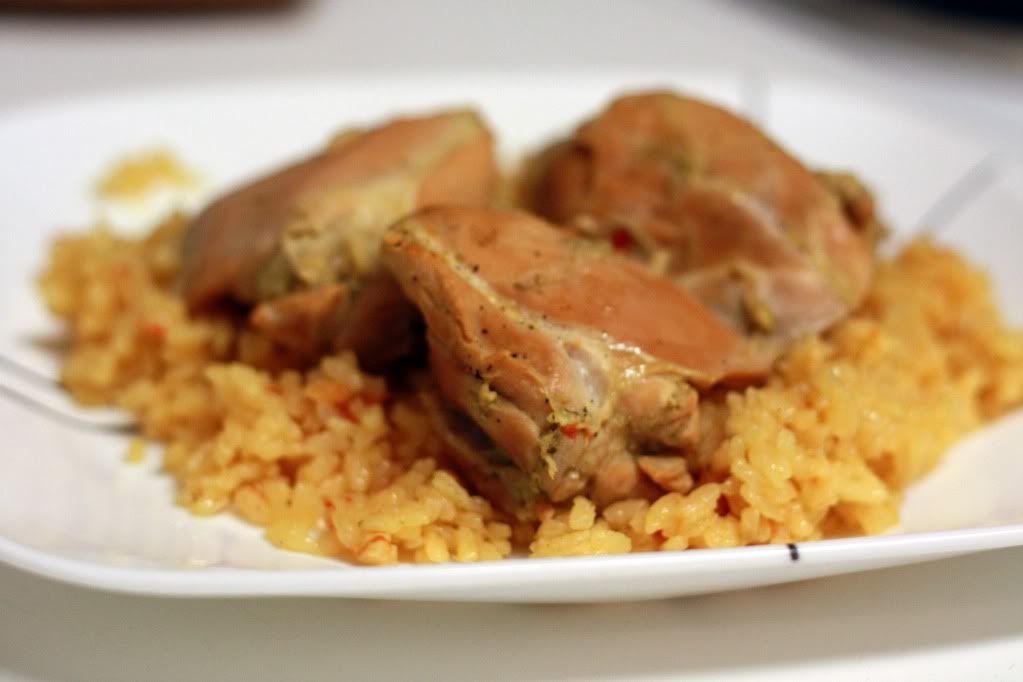
Arroz Con Pollo & 200 Posts!


Woohoo! So I have officially made it to 200 posts. Who would have thought? 2 1/2 years and it's been quite a journey. Prior to starting this blog my cooking repertoire was slim to almost none and consisted primarily of baked goods. Well, and some blue box blues. I think about 190 recipes later I've made a bit of progress. Not only have I learned how to properly cook chicken in the oven and on the stove-top (rather than in the microwave) but I've also tested my comfort zone by making my own homemade pasta and even marshmallow fondant without a stand mixer (what was I thinking??). I've gone from having to follow every recipe to a "T" and measuring everything out precisely to being comfortable switching out ingredients and measuring things out by sight. I have to admit though, it also helps to have a very forgiving taste-tester, as I've definitely had my fair share of doozies.

For my 200th post I figured I wouldn't just share any old recipe with you, but one of my very favorite meals. When I was living down in DC with my sister, our other roommate Laura taught us how to make a traditional Puerto Rican Arroz con Pollo. And it is SO.GOOD. I am totally craving this right now just looking at these pictures. It's really difficult to describe the flavor of this dish, with it's mixture of traditional Puerto Rican flavors of sofrito, adobo, and pimientos except for the word delicious.


Arroz con Pollo
From: Laura Fuentes


1 package boneless, skinless chicken thighs, trimmed
Adobo seasoning
1 jar fancy pimientos
2 cooking spoonfuls* sofrito, heaping
2 cubitos de pollo con achiote
Vegetable oil
3 cups medium grain rice

Season thighs on both sides with adobo; place into a dutch oven. Add pimientos (with liquid), sofrito, and cubitos. Add just enough water to cover chicken. Place over high heat and let boil, uncovered, for approximately 45 minutes or until thighs are tender and cooked through. Add water if necessary to keep thighs submerged. Remove thighs from liquid and set aside (DO NOT DRAIN).

Add 1 cooking spoonful of vegetable oil and the rice to the liquid. Stir. Cook over medium-high heat until water is absorbed. DO NOT stir. Once water is absorbed, stir rice gently. Turn heat to low and cover. Cook in 10 minute increments until rice is correct texture; stir every 10 min.

*A "cooking spoon" refers to the large nylon spoons used for cooking (not from your typical silverware set).


So there are LOT of side notes about this recipe. If you can't tell by the measurements and directions, it's definitely one of those recipes that have been passed down (which just supports how good this is).

First, you can use chicken breast for this recipe, and as much as I am not a fan of dark meat... it really makes this dish. White meat just gets too dried out.

Second, I cheat with the sofrito. Laura is an absolute gem and brings Jen and myself back huge containers of sofrito that one of her neighbors makes. However, if you are looking for it in the store it is the GREEN sofrito NOT the red. (The green sofrito does not use tomatoes.) Or you could make it at home using a recipe such as this: Green Sofrito.

As for the cubitos de pollo con achiote, the achiote part is very important. And very impossible to find out here in Pittsburgh. Unable to hold out for the actual thing, I combined 2 packets of Goya Chicken Bullion with 2 packets of Sazon Goya - Con Culantro y Achiote and it was almost spot on. So if you can't find the cubitos de pollo con achiote, this would also work.

Finally, if you're like me and feel that rice has a mind of it's own, stick with medium grain rice. It's a little harder to find (I had to go to a specialty store for it), but it will ensure the proper cooking time and you won't have to fight with crunchy or mushy rice. As for the whole not stirring part, yes there will be burnt crispy rice at the bottom. Don't worry, it's supposed to be that way (it's actually Laura's favorite part).

I know, I know, sounds a little complicated. But I swear, once you have it, you will crave it like none other.

Thursday, June 24, 2010

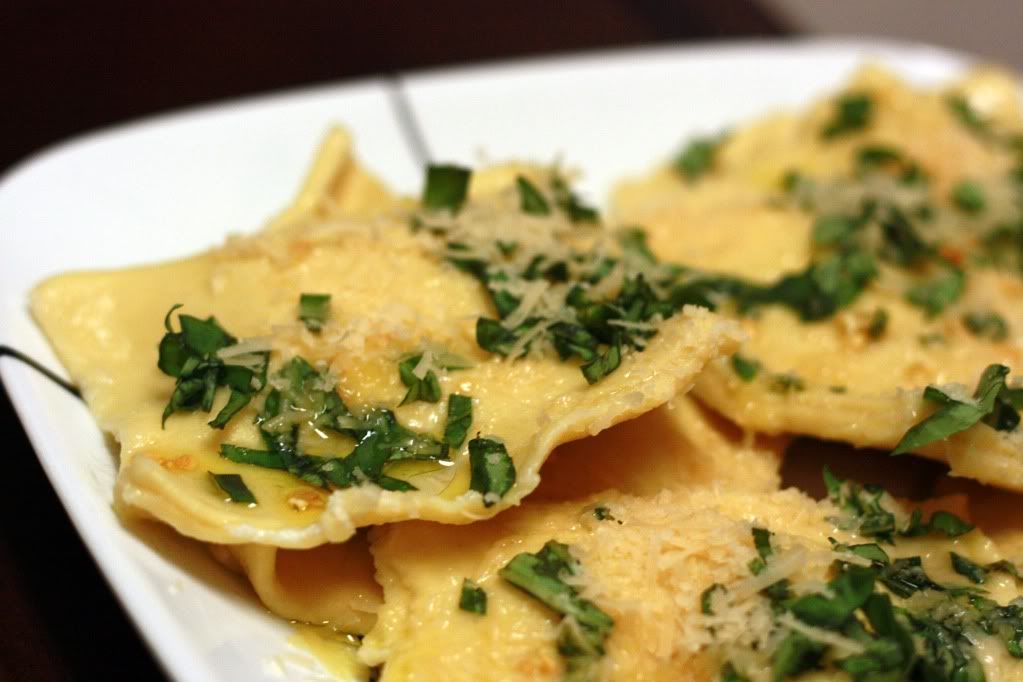
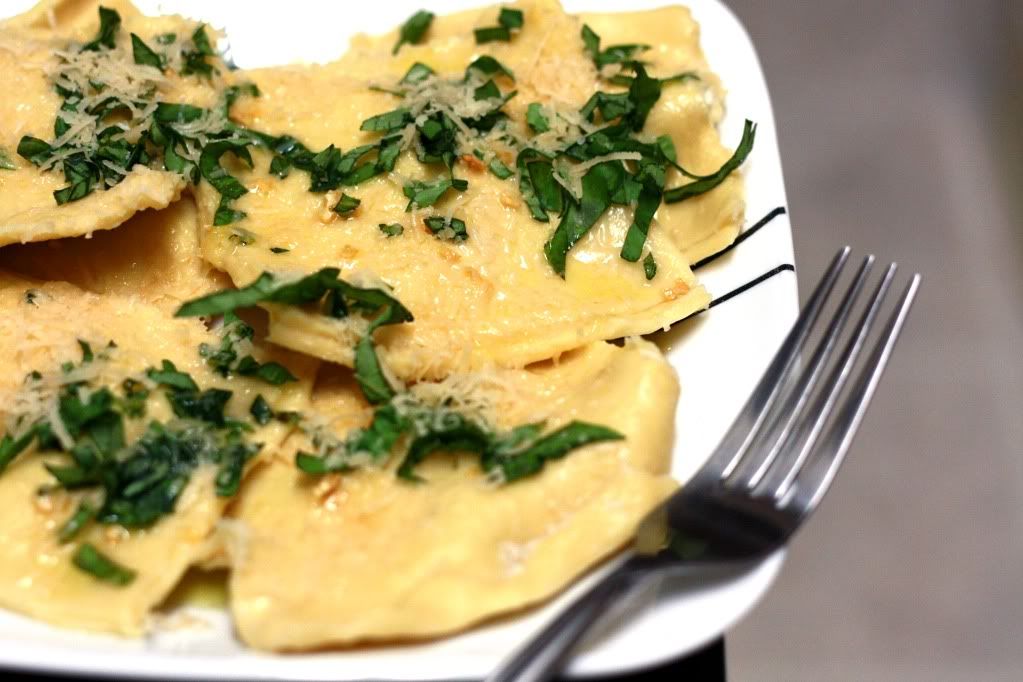
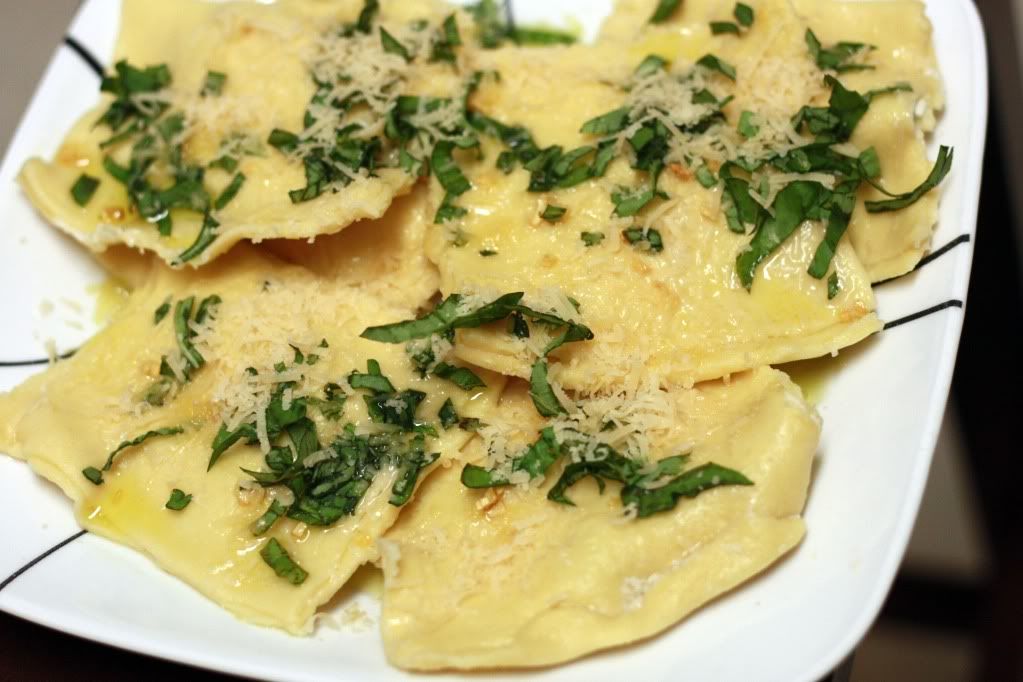
Ravioli with Herbed Ricotta Filling


Welcome to summer! I know to people in other parts of the country this may sound ridiculous and obvious, but up here for some reason, the weather just doesn't get the whole early summer idea. I'm pretty sure I saw 57 and 59 on the thermostat a few times this June. Luckily the temperature finally decided to get it's act together... now I just wish it would coordinate with the rain and clouds. As in, make them go away.

Even if I can't get what I want, this dish is a great fit for summer (whenever it decides to show up). The mixture of cheese, fresh herbs and lemon filling just scream "summer" at you, and the light sauce is a refreshing change from those heavy meat-laden tomato-based sauces. While yes, it does take a little bit of time to put together, I think it's well worth it.


Ravioli with Herbed Ricotta Filling
Filling & Sauce adapted from: Cooking Light, March 2009


Pasta Dough:
2 cups + 10 tablespoons (9 ounces) all-purpose flour
1/2 teaspoon salt
5 tablespoons water
1 tablespoon extra-virgin olive oil
2 large eggs

Filling:
3/4 cup (6 ounces) low-fat ricotta cheese
1/4 cup (1 ounce) grated fresh Parmigiano-Reggiano cheese
2 tablespoons finely chopped fresh basil
1/2 teaspoon lemon juice
1/4 teaspoon freshly ground black pepper
1 large egg

Sauce:
2 tablespoons extra-virgin olive oil
2 garlic cloves, minced
1/4 cup chopped fresh basil
1/4 cup (1 ounce) grated fresh Parmigiano-Reggiano cheese

6 quarts water
2 tbsp kosher salt

To prepare ravioli, place ricotta in a cheesecloth-lined colander (a coffee filter will also work); drain 30 minutes. Combine ricotta, 1/4 cup Parmigiano-Reggiano, and next 4 ingredients (through egg), stirring until well combined.

To prepare the dough, lightly spoon flour into dry measuring cups; level with a knife. Combine flours and 1/2 teaspoon salt in a food processor; process 30 seconds. Combine 5 tablespoons water, 1 tablespoon oil, and eggs, stirring well. With processor running, slowly pour water mixture through food chute, processing just until dough forms a ball. Turn dough out onto a lightly floured surface; knead 6 times. Shape dough into a disk. Dust dough lightly with flour; wrap in plastic wrap. Let stand 30 minutes.

Divide dough in half. Using a pasta maker (or a rolling pin and a floured surface) roll out the each half of pasta into 15 x 6-inch sheets. Cut in half lengthwise (so you will have 4 total sheets that are 15 x 3-inches).

Place 1 (15 x 3–inch) pasta dough sheet on a lightly floured surface. Spoon 1 1/2 teaspoons filling mixture 1 1/2 inches from left edge in the center of sheet. Spoon 1 1/2 teaspoons filling mixture at 3-inch intervals along the length of sheet. Moisten edges and in between each filling portion with water; place 1 (15 x 3–inch) pasta sheet on top, pressing to seal. Cut pasta sheet crosswise into 5 (3 x 3–inch) ravioli, trimming edges with a sharp knife or pastry wheel. Place ravioli on a lightly floured baking sheet (cover with a damp towel to prevent drying). Repeat procedure with remaining pasta sheets and filling mixture to form 20 ravioli.

Bring 6 quarts water and salt to a boil in a large pot. Add half of ravioli to pot; cook 1 1/2 minutes or until no longer translucent. Remove ravioli from water with a slotted spoon. Repeat procedure with remaining ravioli.

To prepare sauce, heat oil in a large skillet over low heat. Add garlic to pan; cook 6 minutes or until garlic is tender. Remove from heat. Place 5 ravioli in each of 4 shallow bowls; drizzle each serving with 1 1/2 teaspoons garlic oil. Top each serving with 1 tablespoon basil and 1 tablespoon shaved Parmigiano-Reggiano. Serve immediately.


Now, the sole reviewer of this recipe on MyRecipes.com claims that it was good but you could just as easily get this in the store. I totally disagree with that. First off, I have never seen this type of flavor combination in the store -- it's usually just your typical meat or cheese ravioli. Second, fresh pasta is what makes this dish. Since the flavors and the sauce are so light, it really makes the pasta the star of the show. Hence why you would NOT want to use dried pasta in this case. I say use your favorite pasta recipe -- whether it's made with all-purpose flour, semolina, whole-wheat, whatever and it's sure to be delicious.

Usually I'm all about substituting dried herbs for fresh ones for speed and cost. However, this is once again, NOT the dish to do that in. The way I see it, why bother going through the trouble of making fresh pasta if you're going to fill it with dried ingredients? If you're going to spend the time to make the pasta, you might as well spend a little bit more chopping fresh herbs. While it's true this isn't a quick meal to make, it's definitely a tasty one.


Nutrition Facts
Amount per serving
Calories 497Calories from fat 196
% Daily Value
Total Fat 21.8g34%
Saturated Fat 7.1g36%
Cholesterol 184mg61%
Sodium 595mg25%
Total Carbs 52.6g18%
Dietary Fiber 1.8g7%
Sugars 0.8g
Protein 21.6g
Vitamin A 11%Vitamin C 2%
Calcium 30%Iron 23%

Wednesday, June 16, 2010

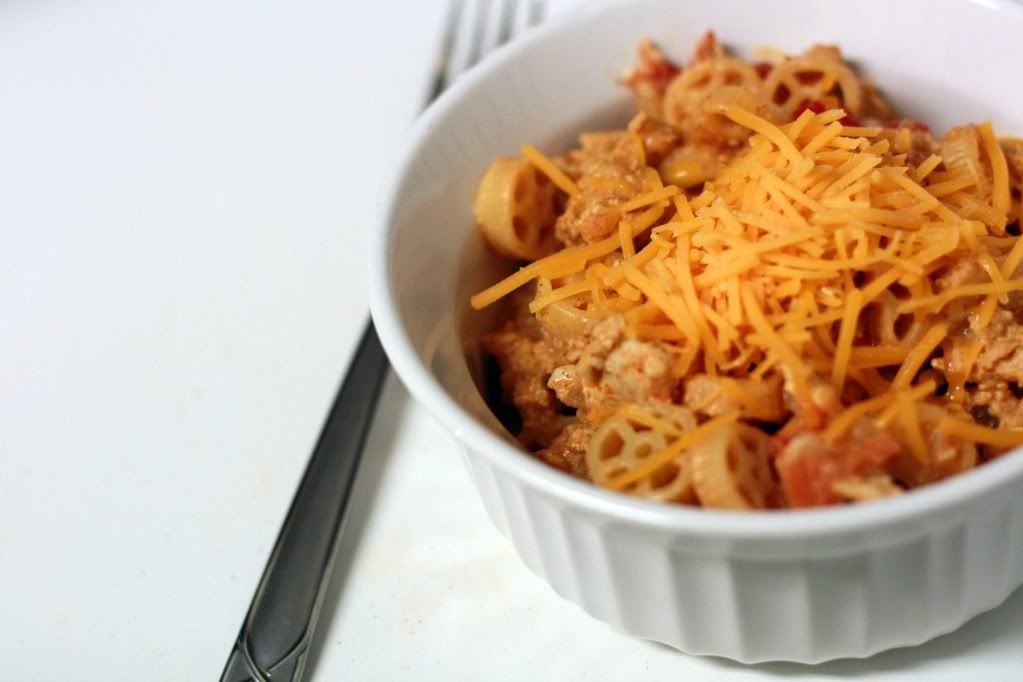
Creamy Taco Mac


When Adam first moved to Pittsburgh (sans me) he was skilled at making two things: pizza rolls and hamburger helper. Well, I guess and going out to eat. :) Once he dragged me out here, things changed a bit -- first I refused live off of pizza rolls and hamburger helper, and I also refused to go out to eat every night as well. As much as I like dining out, it tends to get repetitive after a while, not to mention $$$.

However, I know every once in a while Adam misses his dinner-in-a-box hamburger helper, so when I ran across Annie's Eat's twist on it, I figured, why not?


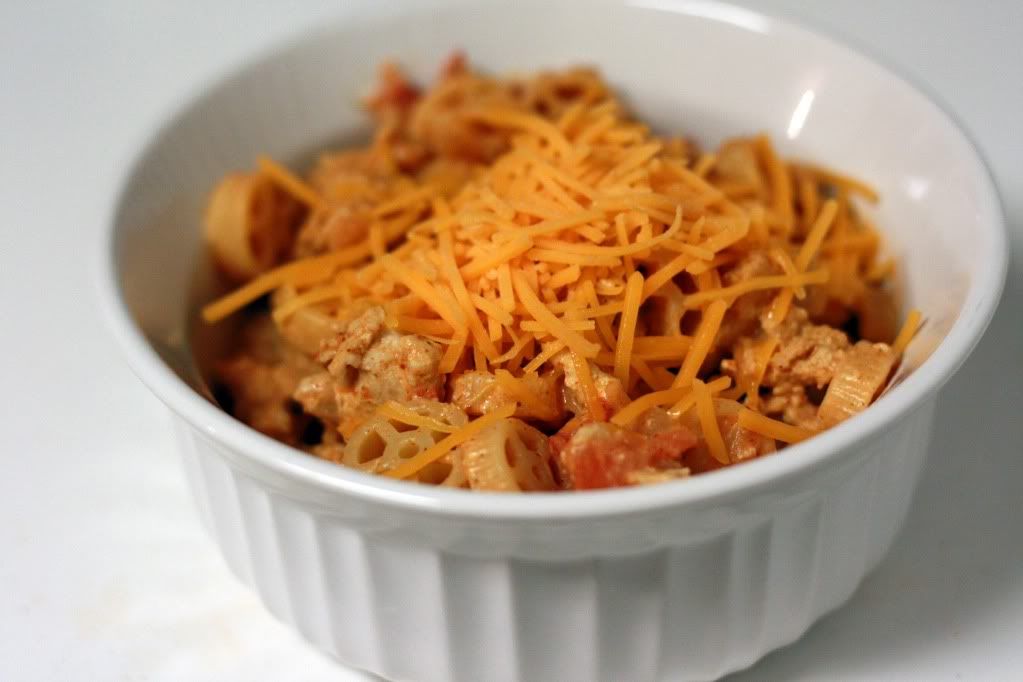
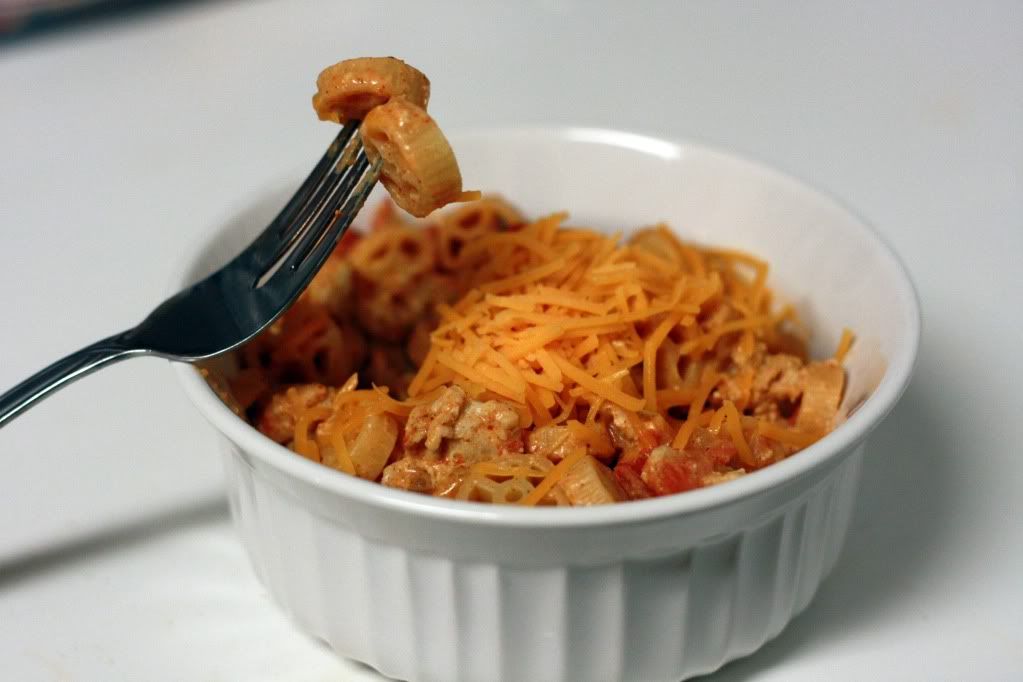
Creamy Taco Mac
From: Annie's Eats


1 1/4 pounds ground turkey
8 ounces dry pasta shapes
1 small onion, chopped
1 clove garlic, minced
1 (14 ounce) can diced tomatoes, drained
4 tablespoons taco seasoning
3 ounces cream cheese
1/2 cup sour cream
Salt and pepper
Shredded cheddar cheese

Bring a large pot of water to boil. Cook pasta according to the package directions. Drain, reserving 1/2 cup of pasta water. Set aside.

Meanwhile, in a large skillet or sauté pan, cook the ground turkey over medium-high heat until no longer pink. A few minutes before the turkey is cooked through, add the chopped onion to the skillet. Once the turkey is cooked through, mix in the garlic and cook until fragrant, about 30 seconds. Mix in the diced tomatoes and taco seasoning and let simmer over medium heat for about 5 minutes. Stir in the cooked pasta, cream cheese, sour cream and reserved pasta water, and continue stirring until the cream cheese is melted and the sauce is well blended. Season with salt and pepper to taste. Simmer over medium-low heat 3-5 minutes to reduce the sauce a bit. Remove from the heat and top with shredded cheddar cheese.


So it's not exactly your typical hamburger helper, but it is fairly close. I like the use of ground turkey (or chicken) to make it a little bit healthier, although I'm sure you could always substitute it with beef. I'm not sure why I was a little surprised by how "taco-y" it turned out -- the only seasoning you add is taco seasoning. I guess I just had "hamburger helper" stuck in my mind. Overall, it's a pretty good dish... fairly hard to mess up for those transitioning from the box to an actual meal. However, if it's time you're looking to save on this dish, I think the box still wins on that one.


Nutrition Facts
Amount per serving
Calories 782Calories from fat 339
% Daily Value
Total Fat 37.6g58%
Saturated Fat 16.4g82%
Cholesterol 195mg65%
Sodium 968mg38%
Total Carbs 54.3g18%
Dietary Fiber 3.5g14%
Sugars 6.3g
Protein 53.3g
Vitamin A 29%Vitamin C 24%
Calcium 22%Iron 33%

LinkWithin

Related Posts with Thumbnails
 
Pin It button on image hover