Wednesday, December 29, 2010

16 New Years Eve Appetizers

First I couldn't believe that Thanksgiving was here, then Christmas, and now it's time to start a new year! I'm not quite sure where all the days in between disappeared to, but they sure flew by. Instead of preparing a grand feast for New Years, as we do with Thanksgiving and Christmas, we opt for heavy appetizers that are quick and easy to make, and can be munched on throughout the night.

As I mentioned last year, my mom has termed our New Years dinner-style as "New Years Eveie", which, of course, we will never let her forget. And so I pass on to you 16 great "New Years Eveie" appetizers that work great for such an occasion.


{1} Pears with Goat Cheese and Bacon
{2} Ugly Dip
{3} Stuffed Pretzels
{4} Cheese-Stuffed Mushrooms


{5} Tzatziki with pita bread and fresh veggies
{6} Sweet & Spicy Kielbasa
{7} Mini Frittatas with Bacon and Cheese
{8} Chinese Dumplings


{9} Ham and Cheese Stack Pastries
{10} Chick-Fil-A Chicken Nuggets
{11} Beer Cheese Dip
{12} Fresh Fruit Dip


{13} Chicken Pillows
{14} Pistachio Chicken Fingers
{15} Dark Chocolate Amaretto Fondue
{16} Spicy Red Pepper Hummus with pita chips

Monday, December 27, 2010

Red Wine Pork Tenderloin


The mixer is quiet.
The oven is cold.
The leftovers are hiding,
more than a few days old.

The freezer stands bare,
The fridge is so empty,
And there are no more cookies
piled high to tempt me.

I don't feel like cooking
I haven't given dinner a thought.
What to the rescue?
Of course, the crock-pot!

With staples from the pantry
And a splash of red wine
Pork from the freezer
Will tasty absolutely divine.

Red Wine Pork Tenderloin
Adapted from: Allrecipes.com

1 pound pork tenderloin
1 (1 ounce) envelope dry onion soup mix
1 cup water
3/4 cup red wine
3 tablespoons minced garlic
3 tablespoons soy sauce
1/4 teaspoon ground black pepper

Cut the tenderloin in half crosswise. Place the pork and the dry soup mix into a slow cooker. In a small bowl, combine water, wine, and soy sauce. Pour mixture over the pork, turning to coat. Spread garlic over the pork, leaving as much on top of the roast during cooking as possible. Sprinkle with pepper. Cover slow cooker and cook on low setting for 3 hours. Serve with cooking liquid on the side as au jus.

Serves: 3


With the holidays winding down, the last thing I know I want to do is make yet another run out to the grocery store. This dish is definitely super easy to throw together just a few hours before dinner so you can get back to more important things -- like the new gadgets you just got or that new book you're dying to read. So go do those things, and know you're going to be for some tender juicy pork later on. Definitely make sure you serve the remaining juice as a dipping sauce on the side -- it really makes the garlic and wine flavors come alive in this dish.


Nutrition Facts
Amount per serving
Calories 314Calories from fat 49
% Daily Value
Total Fat 5.4g8%
Saturated Fat 1.8g9%
Trans Fat 0.1g
Cholesterol 110mg37%
Sodium 1754mg73%
Total Carbs 11.9g4%
Dietary Fiber 1.0g4%
Sugars 1.3g
Protein 41.9g
Vitamin A 0%Vitamin C 5%
Calcium 5%Iron 14%

Thursday, December 23, 2010

Spritz Cookies

What is this? A present for me? Nope. It's for you.


It's filled with something small but oh-so-delicious.


It's Spritz Cookies!


I am pretty sure every family has their own version of this recipe. I can still remember making these with my mom and sister growing up, although I have no idea what happened to the recipe we used. So instead, I poked around on the internet and came up with my own Spritz Cookies. I think they turned out fantastic -- I just love that little extra bit of flavor the almond extract gives these.

Spritz Cookies
From: Original Recipe

Note: You will need a cookie press for this recipe

1 cup salted butter, at room temperature
1/2 cup granulated sugar
1 egg
1 teaspoon vanilla extract
1 teaspoon almond extract
2 1/4 cup flour
Food coloring (optional)

Preheat oven to 350 degrees F.

In the work bowl of a mixer, cream together the butter and sugar until light and fluffy. Add in the egg and mix until completely incorporated. Mix in the vanilla and almond extracts (and food coloring if using). Slowly beat in the flour until just mixed in.

Fill cookie press, then press out cookies onto an ungreased, unlined baking sheet. Bake for about 8 minutes or just until the edges are starting to brown. Remove from oven and immediately transfer cookies to a wire cooling rack.

Makes: 7 dozen (small cookies)


I haven't made Spritz Cookies in a very long time, and I'm so glad I did. Adam even said these took him back to his childhood. :) That counts as a win in my book. The only bad thing about these is how addictive they are -- I'm pretty sure I took down a whole dozen before I was even done baking all of them. Oops.


Nutrition Facts
Amount per serving
Calories 37Calories from fat 20
% Daily Value
Total Fat 2.3g3%
Saturated Fat 1.4g7%
Cholesterol 8mg3%
Sodium 16mg1%
Total Carbs 3.8g1%
Sugars 1.2g
Protein 0.4g
Vitamin A 1%Vitamin C 0%
Calcium 0%Iron 1%

Tuesday, December 21, 2010

Turkey 'n Taters

With just days until Christmas I figured I would share a couple more recipes we tried out this year for Thanksgiving that would also work beautifully on the Christmas dinner table.

I am simply going to direct you to each of the sites for the recipes (straight there, you won't have to search, don't worry) as we pretty much followed them as written.

Alton Brown's Brined Turkey

No more dried out bland turkey. This one is super juicy and delicious. There's a reason it's the #1 recipe on Food Network.


Pioneer Woman's Creamy Mashed Potatoes

For years we have done the old standby of potatoes mashed with milk and butter, but after seeing The Pioneer Woman dump cream cheese into her mashed potatoes on a Throwdown with Bobby Flay I was sold. These smooth, creamy, fluffy potatoes are not for the faint of heart -- or those trying to stick to a diet. But then, that's not what the holidays are all about, are they?

Thursday, December 16, 2010

Honey Yeast Rolls


Oh my. Is it really only 9 day until Christmas? Does time fly. We are almost completely finished with our Christmas shopping, which is a huge relief. It's a good thing I start thinking about these things months in advance. :)

Growing up, we would head north to visit my grandparents and squeeze in their house with the rest of the extended family. When I say squeeze, I really mean it. I'm sure we had upwards of 20 people staying in that house some years. With one shower. Let me tell you how fun that was. Or how many not-so-hot showers I had. In the end though it was always worth it. We got to see our aunts and uncles and cousins that we only saw once, maybe twice, a year.

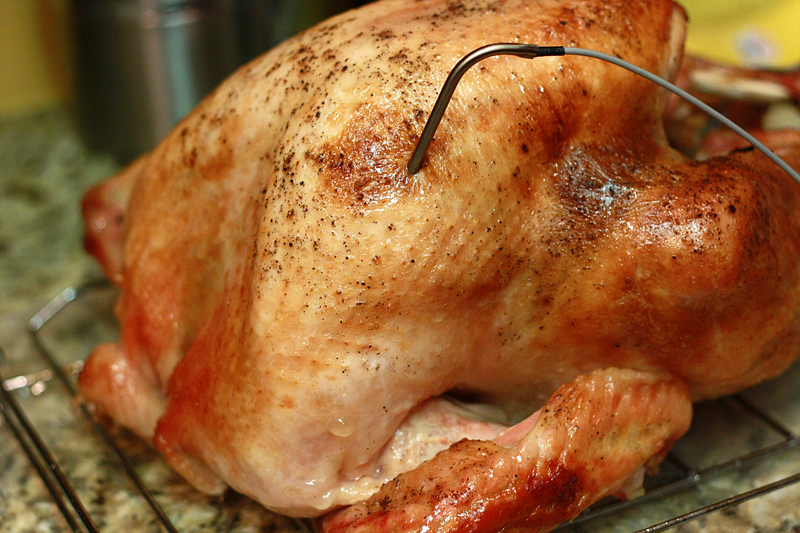
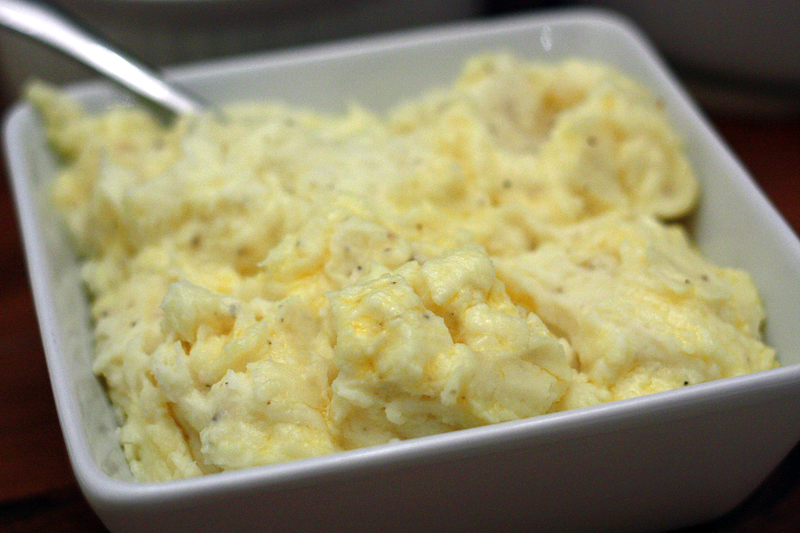
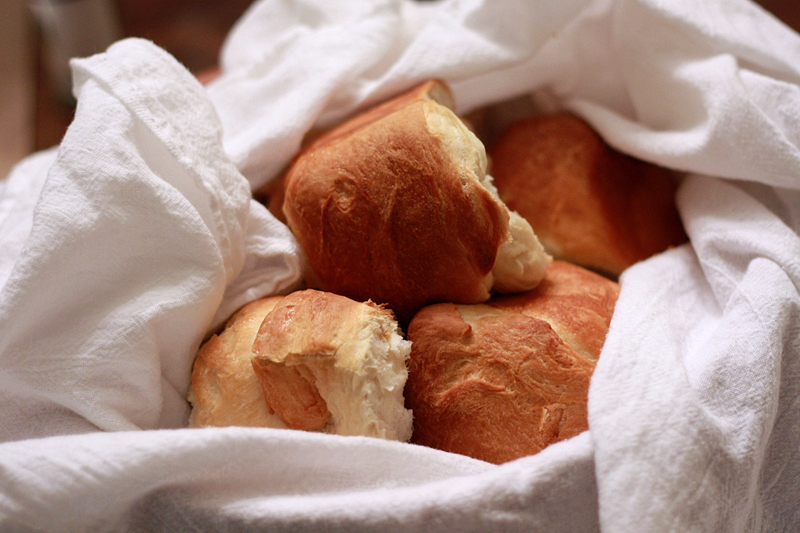
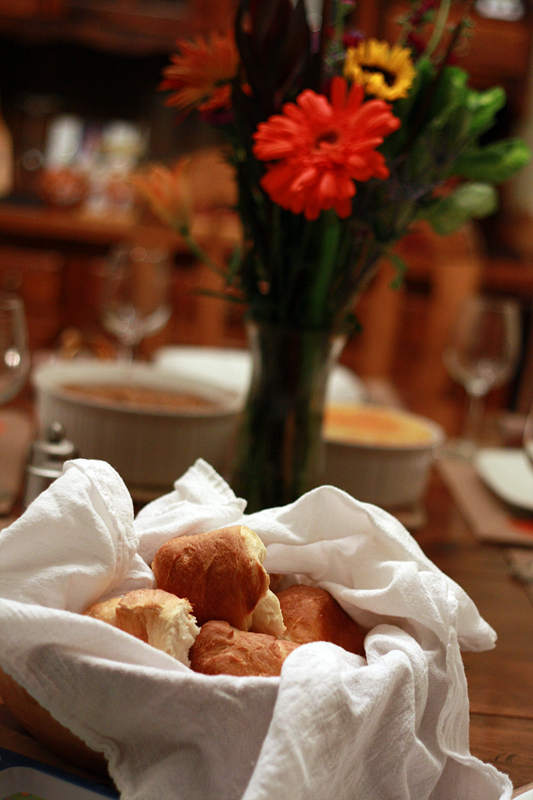
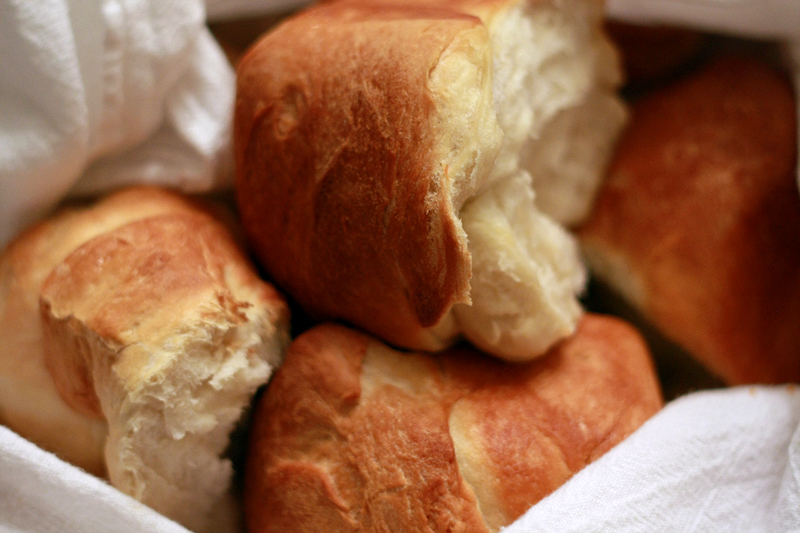
Every year we would always have two huge Christmas dinners, one on Christmas Eve, the other on Christmas. One night would be turkey, the other night would be ham. There was always your typical "feast" sides -- green bean casserole, broccoli casserole, corn, mashed potatoes, sweet potatoes, pretty much you name it, we had it. Oh and the rolls, you most definitely can't forget the rolls. I would always munch on one as I was filling my plate and then quickly go back for another. There's something about warm fluffy rolls that makes me happy.

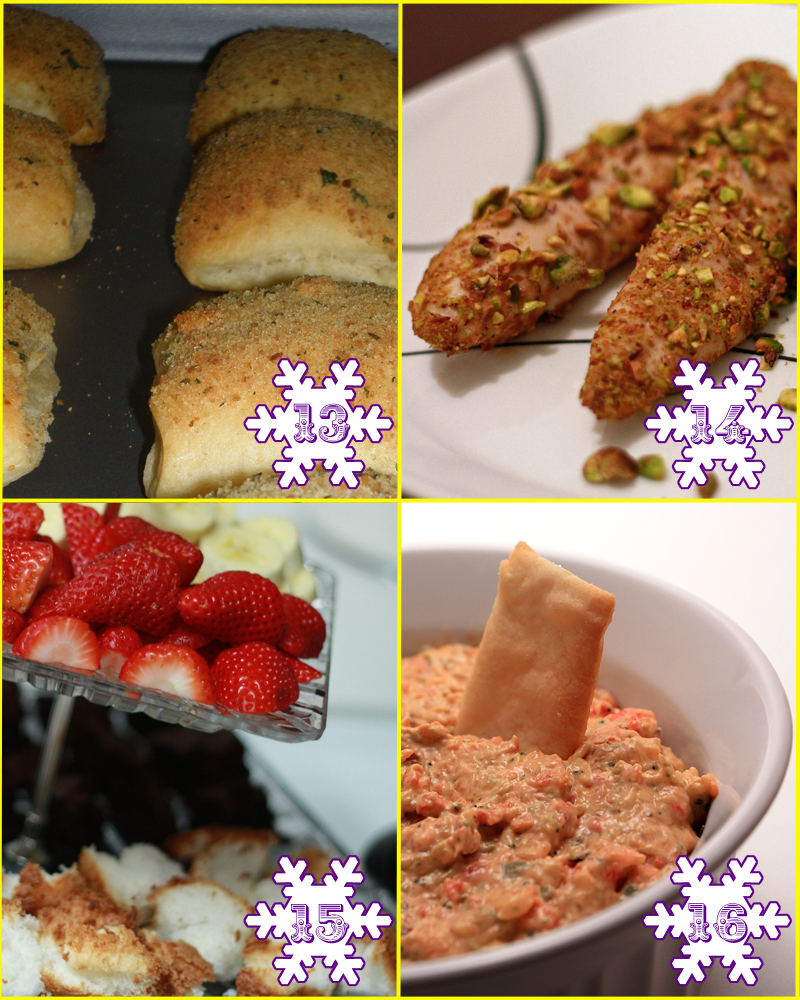
Instead of cracking open the can for crescent rolls this year at Thanksgiving, I decided to try my hand at making my own. Although the dough tried multiple times to pull a Houdini act out of my mixer, it was totally worth the extra work to have fresh homemade rolls on the table. These will definitely be making more appearances at any holiday table in the future.


Honey Yeast Rolls
Adapted from: Annie's Eats

2 1/4 teaspoons instant yeast (or one package)
1 cup warm water (105-115 degrees F)
1/4 cup honey
3 tablespoons vegetable oil
1 1/4 teaspoons salt
1 egg, lightly beaten
4 cups bread flour
Cooking spray

2 tablespoons butter, melted
2 tablespoons honey

In the work bowl of a mixer, combine the yeast, warm water, and honey. Allow to rest for about 5 minutes. Add the oil, salt, and egg and mix well with the paddle attachment. Slowly add in 3 cups of the flour (still with the paddle attachment) and mix until a stick dough forms. Switch to the dough hook and slowly mix in the remaining cup of flour. Remaining at low speed, knead the dough for about 8 minutes, or until smooth and elastic.

Meanwhile, lightly oil a large bowl. Once the dough has finished kneading, transfer to the oiled bowl, turning once to coat. Cover bowl with plastic wrap and allow dough to rise in a warm, draft-free spot until doubled in size, about 2 hours.

Once the dough has doubled in size, turn out onto a lightly floured surface and knead for about 30 seconds. Cover with a towel and allow to rest for 10 minutes.

Remove the towel and punch the down down. Divide dough into 10-12 equal pieces and form each into a ball. Coat a 9 x 13-inch baking dish with cooking spray. Place dough balls evenly spaced into the dish. Cover with a towel and allow to rise in a warm, draft-free area for 20-30 minutes.

Preheat oven to 400 degrees F.

In a small bowl, mix together the butter and honey. Brush the tops of the rolls with the butter mixture (after they have risen). Bake for 22-30 minutes, or until the tops are golden brown and the rolls are baked through. Let cool slightly before serving.

Makes: 10-12 rolls


We all loved how the honey flavor in these rolls really came through. I actually ended up dividing the dough into only 9 rolls as we were limited on baking dishes, and they turned out absolutely monstrous! Amazing, but huge. They were also a little on the dense side, but I think that squishing all that dough into a little pan probably had something to do with it.

We also discovered that Michael is taking after his aunt, only being coaxed into eating the rest of his food with promises of more bread. "More roll please!"


Nutrition Facts - for 12 rolls
Amount per serving
Calories 239Calories from fat 56
% Daily Value
Total Fat 6.2g9%
Saturated Fat 2.1g10%
Trans Fat 0.0g
Cholesterol 21mg7%
Sodium 265mg11%
Total Carbs 40.8g14%
Dietary Fiber 1.3g5%
Sugars 8.8g
Protein 5.1g
Vitamin A 2%Vitamin C 0%
Calcium 1%Iron 12%

Tuesday, December 14, 2010

Nutella Pinwheel Cookies


Has it really been a week? Honestly, I can believe it. Between meeting with my advisor, preparing and giving a presentation for a final, studying for another final, baking, baking, and more baking, and the token holiday party thrown in, I've been a little busy. Unfortunately (or fortunately, however you want to look at it), I've been making a lot of things I've already made before: Snickerdoodles, Better Than Brownies Cookies with Peppermint Chunks, World Peace Cookies, and Sugar Cookies, so no exciting new baking recipes to post. Except for these wonderful little butter cookies. Butter cookies? You know you've had them before:
Look familiar? You know they do. The biggest difference with these is there is that oh-so-tasty hazelnut chocolate filling, better known as Nutella, wrapped up inside.

So I have finally caught up with life and am able to sit down in my comfy pants, watch it snowing away outside, and tell you just how good these pinwheel cookies are. These aren't your soft, chewy, fluffy cookies -- these are denser, with a nice crunch you'd expect from a butter cookie. And they have Nutella, so they have to be good, right?

Nutella Pinwheel Cookies
Adapted from: The Galley Gourmet

1 cup unsalted butter, at room temperature
1 cup granulated sugar
2 large egg yolks
2 teaspoon vanilla extract
2 1/3 cup all-purpose flour
1/4 teaspoon kosher salt
1/2 cup Nutella, divided

In the work bowl of a mixer, cream the butter and sugar until light and fluffy, 2-3 minutes. Add the egg yolks and vanilla and mix until combined.

Meanwhile, in a small, bowl stir together the flour and salt. Slowly add the flour mixture to the butter and sugar mixture. Beat on medium-low until a soft dough forms. Turn the dough out onto a lightly floured surface. Shape dough into a square and divide it in half. Wrap each half in a sheet of plastic wrap and place in the refrigerator for at least 30 minutes.

Remove one half of the dough from the refrigerator. Unwrap and place on a piece of lightly floured parchment paper. Flour a rolling pin, then roll the dough to 1/4-inch thickness, or about a 8 x 10-inch rectangle.

Spread 1/4 cup Nutella on top of the dough, leaving a 1/4-inch edge on all sides. Using the parchment to help, roll the dough into a tight log, starting from the longest side. Wrap the parchment around the log and refrigerate for at least 30 minutes or freeze for 15 minutes. Repeat with the remaining half.

Preheat the oven to 350 degrees F. Line two baking sheets with parchment paper.

Remove the log from the refrigerator (or freezer), and unwrap. Using a serrated knife, cut the log into approximately 1/3-inch slices. Place the slices on the prepared baking sheets at least 1-inch apart. Bake for 12-15 minutes or until just golden around the edges. Allow to cool on the baking sheets for 2 minutes, then remove the cookies to a wire rack to cool completely. Cookies can be stored in an airtight container for 1 week.

Makes: about 36 cookies

* An unbaked cookie log can be made ahead of time, wrapped tightly in plastic wrap and stored in a freezer bag for 2 weeks. Increase baking time by 3-5 minutes if slicing and baking frozen dough.


For a butter cookie, these are quite tasty. I have to admit though, these aren't my favorite cookies ever. Not because they are bad cookies, but because I guess I'm not a huge butter cookie fan. I go more for the soft and chewy ones. That's why I keep my husband around. :)


Nutrition Facts
Amount per serving
Calories 144Calories from fat 71
% Daily Value
Total Fat 7.9g12%
Saturated Fat 5.7g28%
Cholesterol 25mg8%
Sodium 56mg2%
Total Carbs 16.9g6%
Dietary Fiber 0.7g3%
Sugars 10.1g
Protein 1.5g
Vitamin A 3%Vitamin C 0%
Calcium 1%Iron 4%

Tuesday, December 7, 2010

Chex Mix


Chex Mix? Seriously? I am doing a post on Chex Mix?

Well, not so much. More of a review. See, when preparing my Chex Mix for our Saturday night party, I figured I would play it safe and just use the recipe for the Original Chex Mix off their own site. Bad move. I started to get a little worried when it didn't seem like there was enough of the seasonings. But I poured and tossed away, hoping that the heating process would magically fix this and it would coming out how I expected it to taste. Wrong.


It came out completely underseasoned and totally blah (well, the "taste" was right, there just wasn't enough of it). Unfortunately, I didn't have time (nor the patience) to go back and fix it. As expected, the Chex Mix pretty much sat there while the Spicy Popcorn and Seasoned Oyster Crackers disappeared. Oh well, can't win them all.

If you're wanting to try out the "original" Chex Mix, you can find the recipe here. Just make sure you double the seasonings/butter.


Now I just need to get back to baking to get the rest of this mess off my table:

Monday, December 6, 2010

Seasoned Oyster Crackers


Whew! It has been non-stop busy in my kitchen the past few days. Between holiday parties and making cookies for a Cookie Swap, my oven has been getting a workout. And it's not even close to being over yet. Not that I mind.

Saturday night, Adam and I co-hosted a Beer Tasting Party with another couple at their place. Our version of a holiday party. ;) I originally got the idea for a beer tasting party from Ashley over at Decorating Obessed. Our party was on a much smaller scale (8-10 people), but still turned out pretty awesome. And of course, I had to forget the camera, so no pics of the festivities.

We decided to go with five beer categories, with each couple assigned to bring a 6-pack of a specific category (bringing a couple types of beer per category):

We used small 3-ounce plastic cups for taste testers rather than giving people one regular-sized glass for all the tastings. This worked out great for two reasons: 1) The beer didn't mix with the leftover beer in the glass, and 2) it prevented people from "tasting" half a bottle of beer at a time, allowing everybody to get a taste of each beer (we required at least 2 bottles of the same beer or 24 ounces). Surprisingly, after everyone had gone through as many of the beers as they wanted, there was still plenty to go back and have seconds.

But a party isn't a party without some munchies around, right? We also had everyone bring a heavy appetizer that would serve as dinner. I whipped up some Beer Cheese Dip while Adam made some Stuffed Pretzels (and that was an adventure all in itself). I also decided to make some lighter snacks to put with the beer ("palate cleansers", if you will) such as Chex Mix, Spicy Popcorn, and these classic Seasoned Oyster Crackers.

I am sure everyone has had some version of these crackers at one point in their life or another, and we all forget just how good they are until we come across them again. It's almost like a throwback to childhood.

Seasoned Oyster Crackers
Adapted From: Macaroni and Cheesecake

1 (12 ounce) package oyster crackers
1 package dry ranch dressing mix
3/4 cup canola oil
1 teaspoon fresh dill weed, finely chopped
1 teaspoon salt-free lemon pepper seasoning (such as Mrs. Dash's)
1/4 teaspoon garlic powder

Preheat oven to 200 degrees F.

In a large bowl, whisk together dressing mix, oil, dill, lemon pepper, and garlic powder. Add oyster crackers and toss to coat thoroughly.

Divide crackers between two baking sheets. Spread crackers out into a single layer. Bake at 200 degrees for 10 minutes. Allow crackers to cool on the pans, then transfer to an airtight container.

Makes: 12 servings (about 1 ounce each or roughly 70 crackers)


These are super tasty and worked really well as a snack to go with the beer. Enough flavor to give you something else to think about, but not overly potent to affect the taste of the next beer.


Nutrition Facts
Amount per serving
Calories 269Calories from fat 160
% Daily Value
Total Fat 17.6g27%
Saturated Fat 3.0g15%
Trans Fat 0.1g
Cholesterol 0mg0%
Sodium 543mg23%
Total Carbs 23.6g8%
Protein 2g
Vitamin A 0%Vitamin C 0%
Calcium 0%Iron 8%

Sunday, December 5, 2010

Giveaway Winner!

A big congratulations goes to Ashley for winning the $45 Holiday Giftcard Giveaway!

Have fun shopping all the great deals!

Thursday, December 2, 2010

Favorite Holiday Goodies

Don't forget about the $45 Holiday Giftcard Giveaway! Ends Friday! Click here to enter!

It's December, which can only mean one thing. Warm up your mixer and stock up on flour, it's time to make some baked goods! For some reason or other the holidays inspire even the novice of bakers to get in the kitchen a whip up something delightful. (Which, mind you, is a good thing.) There are recipe swaps and cookie parties of the likes you don't see at any other time of the year. I know I have at least 3 desserts to make coming up in the next few days.

The big question is always, what to make? Here's a quick run down of some of my favorite holiday treats:


What's your favorite holiday treat?

LinkWithin

Related Posts with Thumbnails
 
Pin It button on image hover