Wednesday, May 7, 2008

Bon Appétit!


I hate, absolutely hate, missing a flight. For any reason. Friday afternoon found me on I-95 on my way to BWI to catch a 2:15 flight for St. Louis. Well, I wasn't just on 95, I was slowly, barely, creeping along. 1:20 rolls by, then 1:30. I call Marion -- what's going on? I still have 10 miles to go and I'm not moving. 1:40 passes. Finally I get a call back: there's been an accident around mile 38, and I'm at 36.

I call Southwest and tell them what's going on, and praise the Lord it's not a problem and I just have to go to the gate for the next St. Louis flight and they'll switch my ticket. (I just have to say I absolutely heart Southwest. My fav airline by far.) I ended up getting to the airport just before 2, but I realized there was no way I could park, get through security and get to my gate before 2:10, so I just took my time and hopped on the next flight.


Anyway, because of this, I wandered into the tiny little news/snack shop in my terminal (now that I had another 2 hours to kill). While perusing the magazines, I came across bon appétit. I had seen it before, but as I had never heard anything about it, I would always get a Cooking Light instead. Well, now that I already had a CL in my possession, I decided to get this one as well.

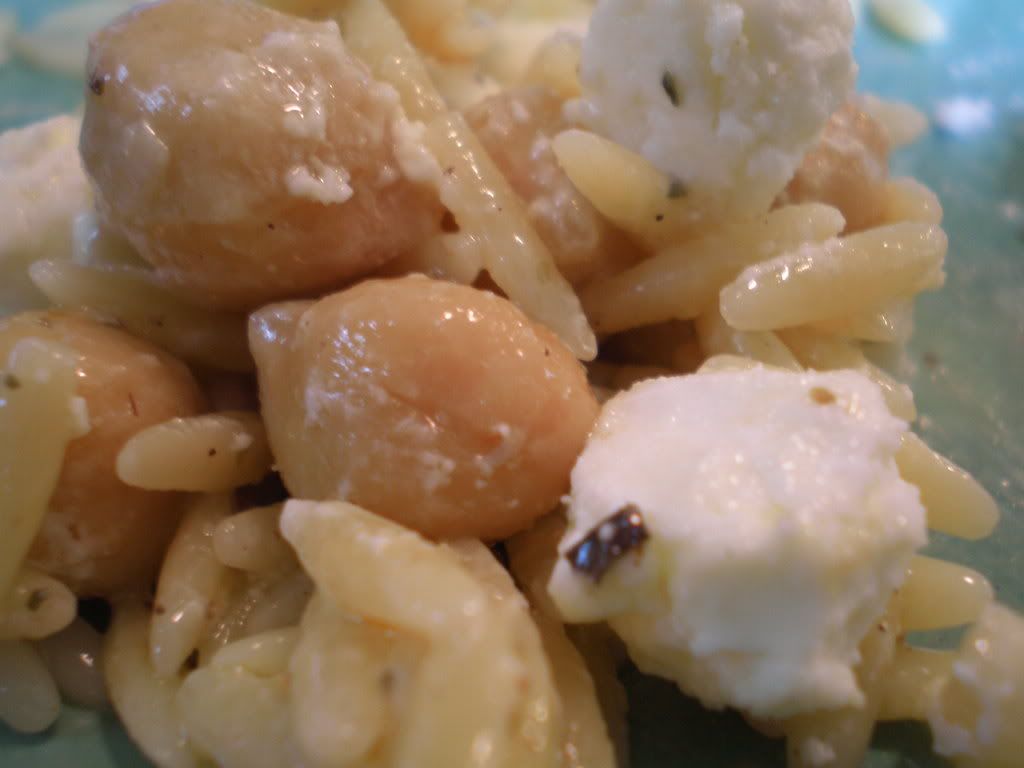
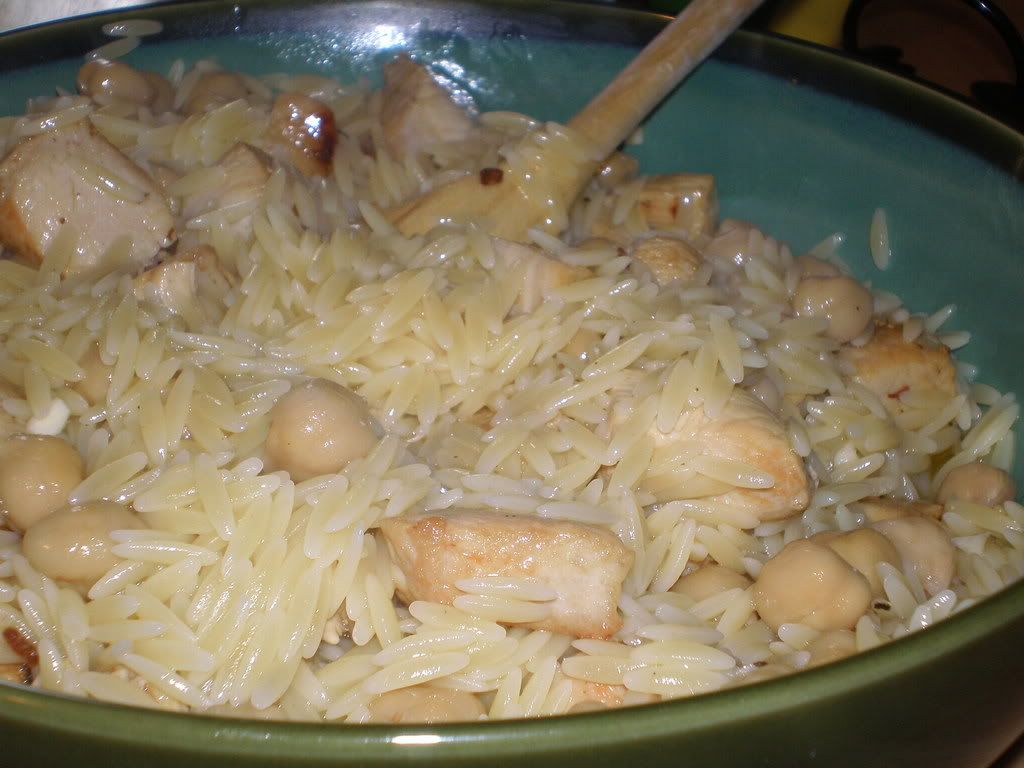
I was pleasantly surprised. I was definitely a little bummed that it didn't have recipes to go with certain articles, but there were plenty other ones they did have though. First time through, their recipe for Orzo with garbanzo beans, goat cheese, and oregano caught my eye. I'm pretty sure it was supposed to be a side dish (to go with the tomato, red onion, and basil bruschetta), but I decided to make it into a entree instead. (Just add a little chicken and call it good.)


In the end, I guess missing my first flight wasn't the end of the world -- although I was in a hurry to start celebrating my bachelorette party weekend. I did get a pretty good mag out of the deal that already has a few recipes lined up for me to try.




Orzo with Garbanzo Beans, Goat Cheese, and Oregano
From: Bon Appétit, June 2008

1 1/2 c. orzo (about 9 ounces)
1/4 c. olive oil
3 tablespoons fresh lemon juice
1 garlic clove, minced
1 15- to 15.5-ounce can garbanzo beans, rinsed, drained
2 tablespoons chopped fresh oregano
1 5-ounce log soft fresh goat cheese, crumbled
2 chicken breasts, cubed, cooked (seasoned with oregano, salt, pepper, and lemon juice)

Cook orzo in large saucepan of boiling salted water until just tender, stirring occasionally. Drain orzo.

Whisk olive oil, fresh lemon juice, and minced garlic to blend in large serving bowl. Add drained garbanzo beans, cooked orzo, and chopped fresh oregano; toss salad to coat. Season salad to taste with salt and pepper. Gently stir in crumbled goat cheese. Serve orzo salad warm or at room temperature.

I definitely forgot to season the salad at first (but caught it before we started). And then realized when we were almost done that it seemed to be missing something else. Oh yeah, the goat cheese. The goat cheese definitely changes the whole dish and cuts the lemon very nicely.

I would probably make this again, just not for Jen, as we realized that she doesn't really care for goat cheese.


Nutrition Facts
Amount per serving
Calories 1024Calories from fat 343
% Daily Value
Total Fat 38.1g59%
Saturated Fat 12.5g62%
Trans Fat 0.0g
Cholesterol 88mg29%
Sodium 198mg8%
Total Carbs 115.8g39%
Dietary Fiber 19.5g78%
Sugars 12.5g
Protein 56.0g
Vitamin A 18%Vitamin C 18%
Calcium 48%Iron 50%

Monday, April 28, 2008

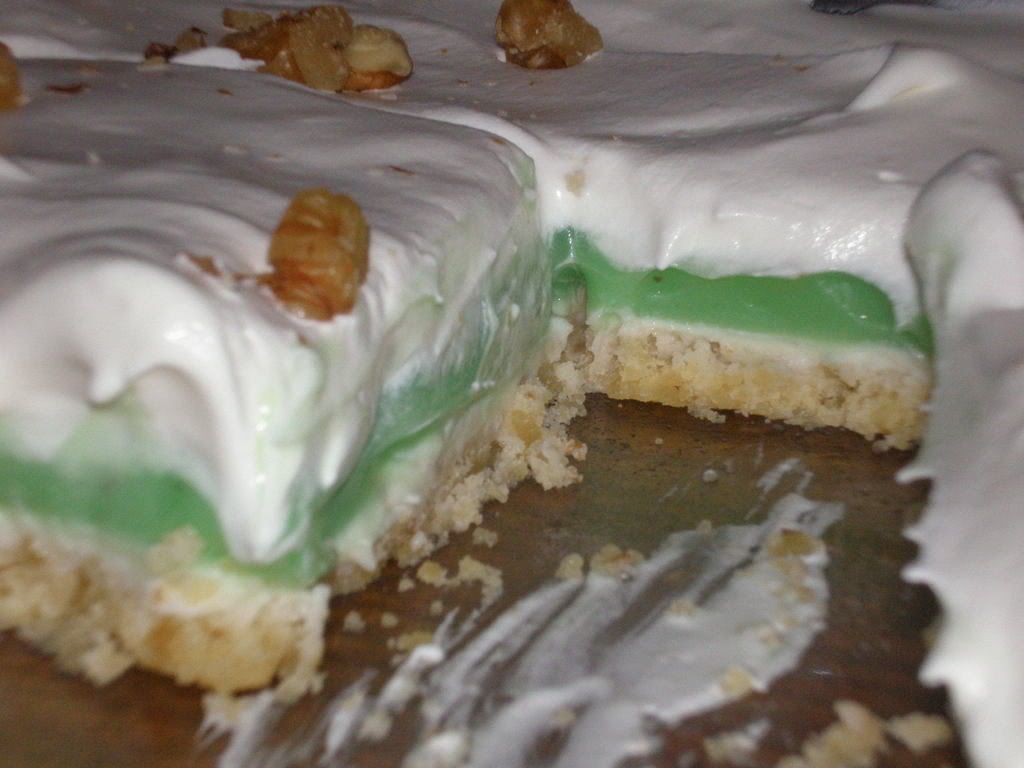
Mmm Pistachio Pie


This past week has been super super busy. Besides bringing baby home, my mom also flew out to visit, and I worked evening/night shifts rather than my normal mornings. All this adds up to not a whole lot of cooking, and a lot of eating at Subway.

I got off at a decent hour yesterday, so I figured I would contribute a little bit to the cooking this week and make a delicious dessert. I have been craving this for the past week or so. It's just so light and fluffy and just so different from the normal heavy chocolate infused things we've been having as of late that I just couldn't resist.

It's a fairly simple recipe (as long as you don't have to go back to the store twice in a row for missing ingredients) and makes a great summer dessert.

I adjusted some of the ingredients to make it slightly healthier and it was still great -- all my changes are in italics.

Pistachio Dessert
Family Recipe
1 c. flour
1/2 c. butter (margarine)
1/2 c. chopped nuts
2 small pkgs. pistachio flavored instant pudding
8 oz. cream cheese (reduced fat)
1 c. powdered sugar
2 1/2 c. milk (fat free)
8 oz. Cool Whip (light)

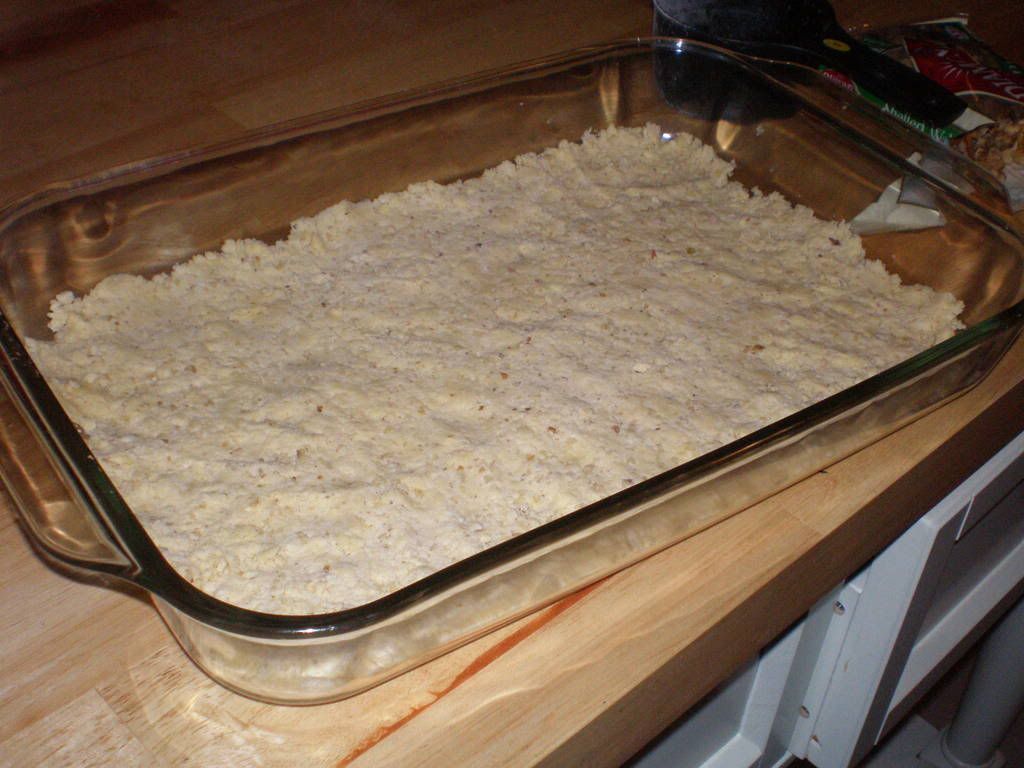
Mix together flour, butter, and nuts like pie crust. Put in bottom of 9x13 pan. Bake 10 minutes at 350 degrees. Cool.


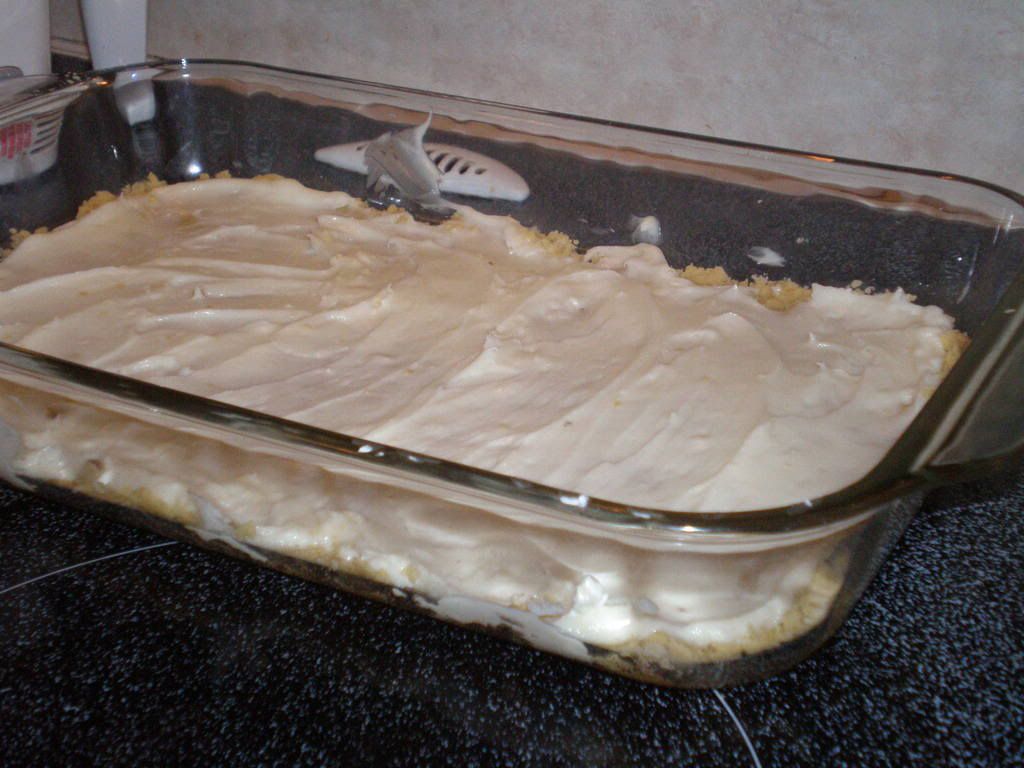
Beat cream cheese and sugar until fluff. Spread on cooled crust.

Yields: 20 servings
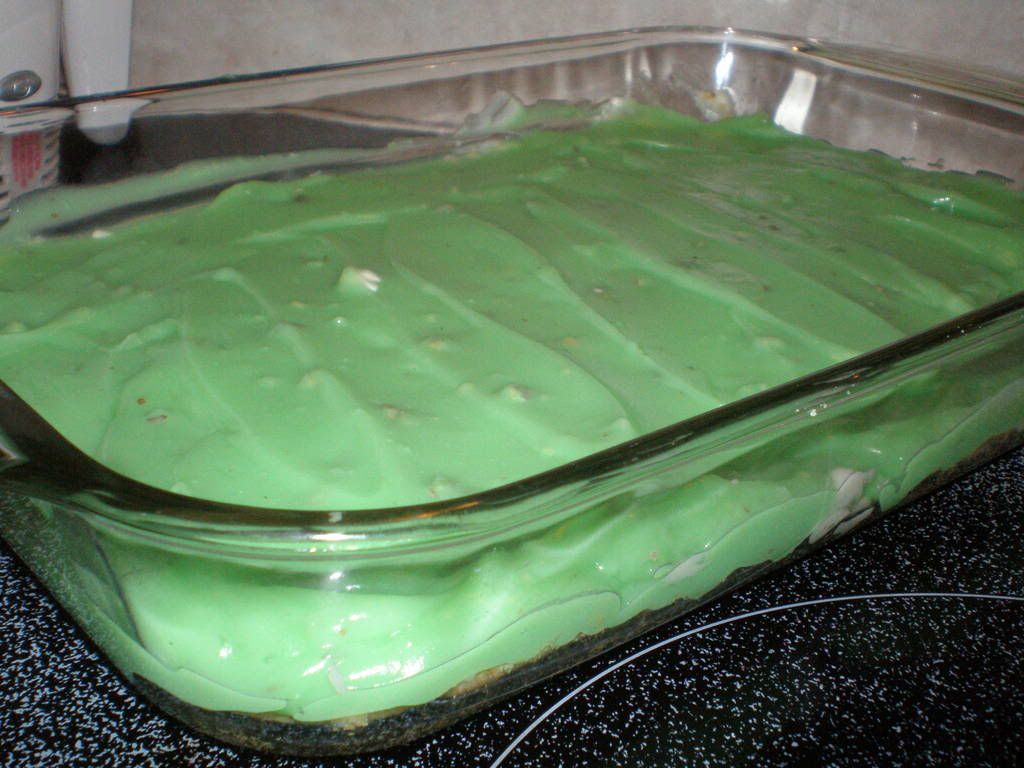
Mix the pudding with 2 1/2 c. milk according to pkg. directions. Spread in pan.


Top with the Cool Whip, and sprinkle with chopped nuts if desired.
Keep refrigerated (can also be frozen).


I'm thinking I'm kind of craving another piece now...


And my baby picture for the day: Baby and Daddy!


Nutrition Facts
Amount per serving
Calories 217Calories from fat 125
% Daily Value
Total Fat 13.9g21%
Saturated Fat 8.5g43%
Cholesterol 27mg9%
Sodium 340mg14%
Total Carbs 20.4g7%
Dietary Fiber 0.6g2%
Sugars 10.3g
Protein 3.4g
Vitamin A 7%Vitamin C 0%
Calcium 6%Iron 3%

Wednesday, April 23, 2008

Penne Alla Vodka -- Part Two (And other really BIG news!)


So I realize that my posts have been far and few between as of late -- and I apologize for that. But life has gotten very hectic lately (more on that later).

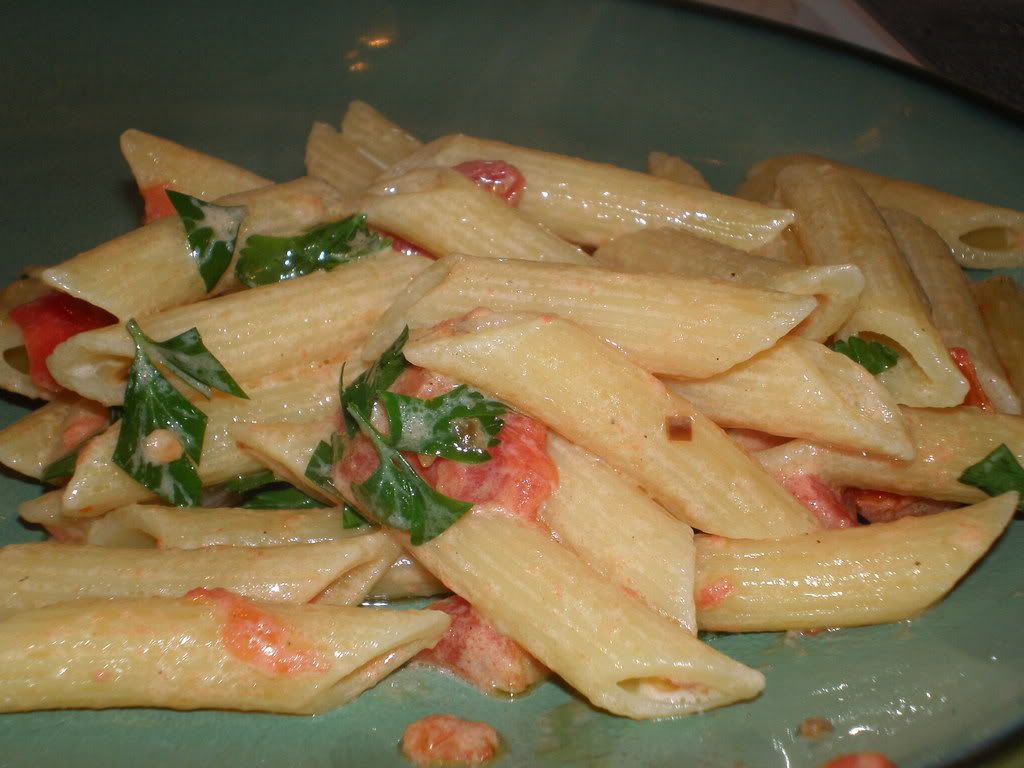
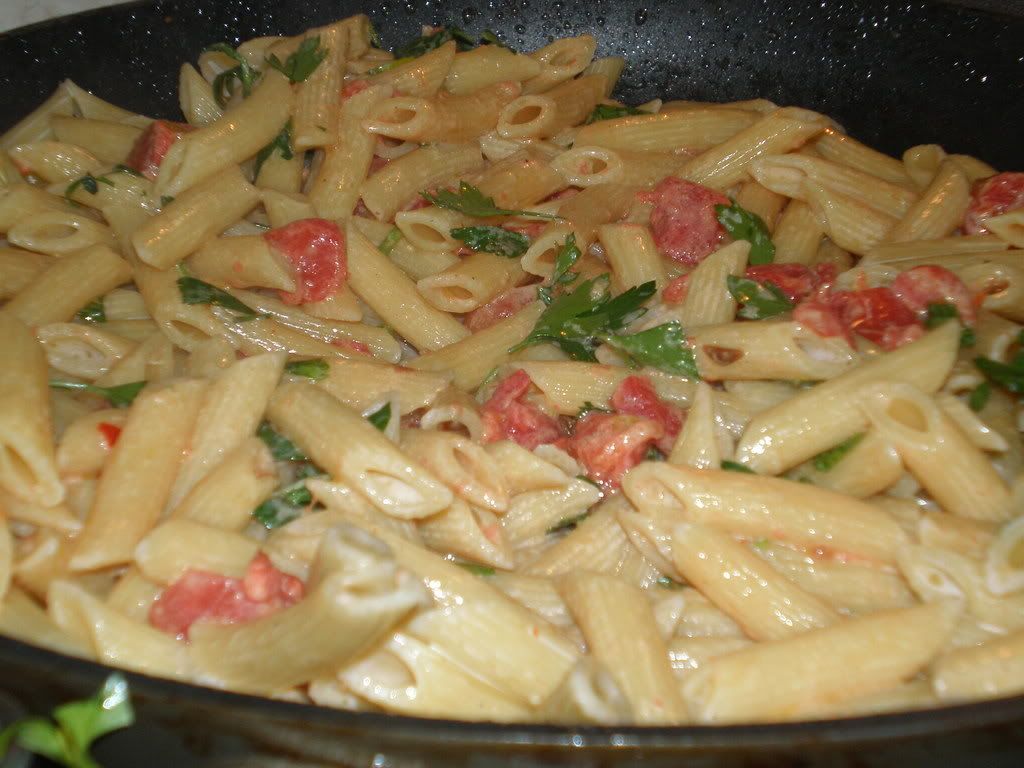
Anyway, I made Jules54's Penne Alla Vodka the other day and took some pictures to go with my previous post with the recipe. Click here for the recipe. The sauce turned out much better for me this time. I'm not really sure why (maybe I let it reduce too far last time?), but it was still as delicious as I remembered. Definitely a keeper!


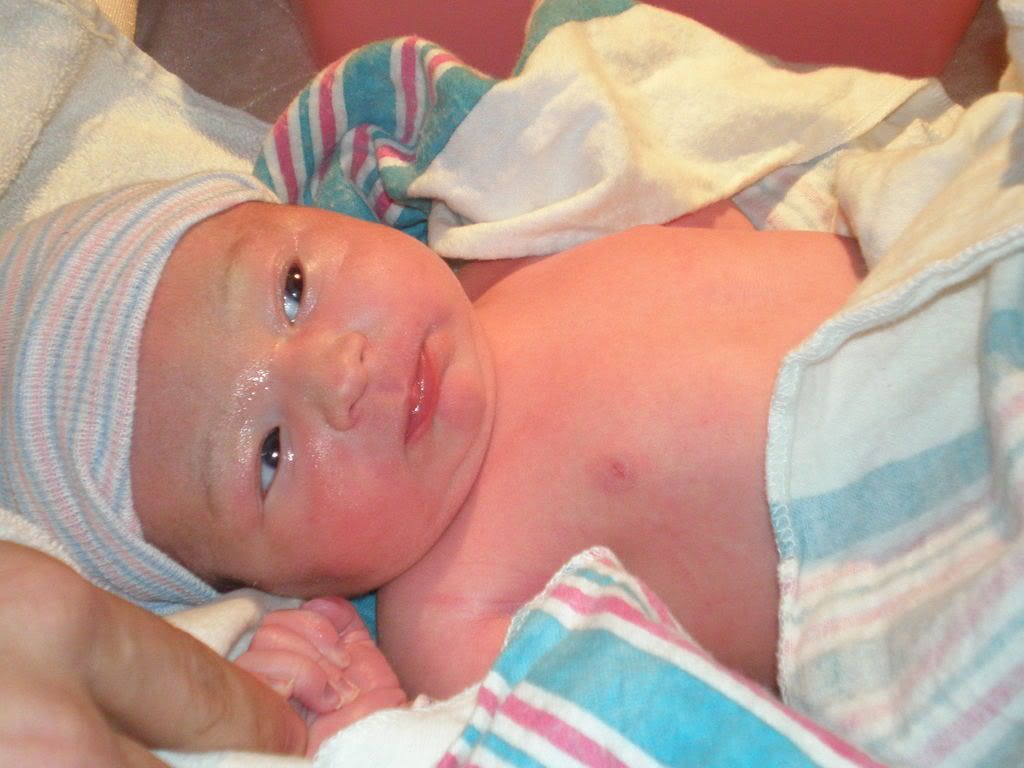
And now for the huge news. I have been super super busy lately, trying to finish making my wedding invitations (to be mailed out on the 28th) which has been consuming a lot of my free time. AND, today, my sister had her first child!
Meet Michael David everybody! How handsome!!!! He was such a little doll when I was with him earlier. He only cried when they gave him his first bath.


I still can't get over how adorable he is. :)

Monday, April 14, 2008

A Bridal Shower for my Roommate


I absolutely love parties, get-togethers, anything that requires preparation and thought about what's going to happen. Unfortunately, I rarely every get to attend, much less host such occasions. Lucky for me, my roommate, Laura, is getting married in the middle of July. With myself and my sister moving away from DC, we decided to go ahead and host a bridal shower for her.

It wasn't difficult to come up with the theme for the party, as the two of us always cook together and try out new recipes -- kitchen themed it was. We simply had the guests fill out a recipe card with their favorite recipe and another card with advice for her.


(The lovely Bride-to-Be)

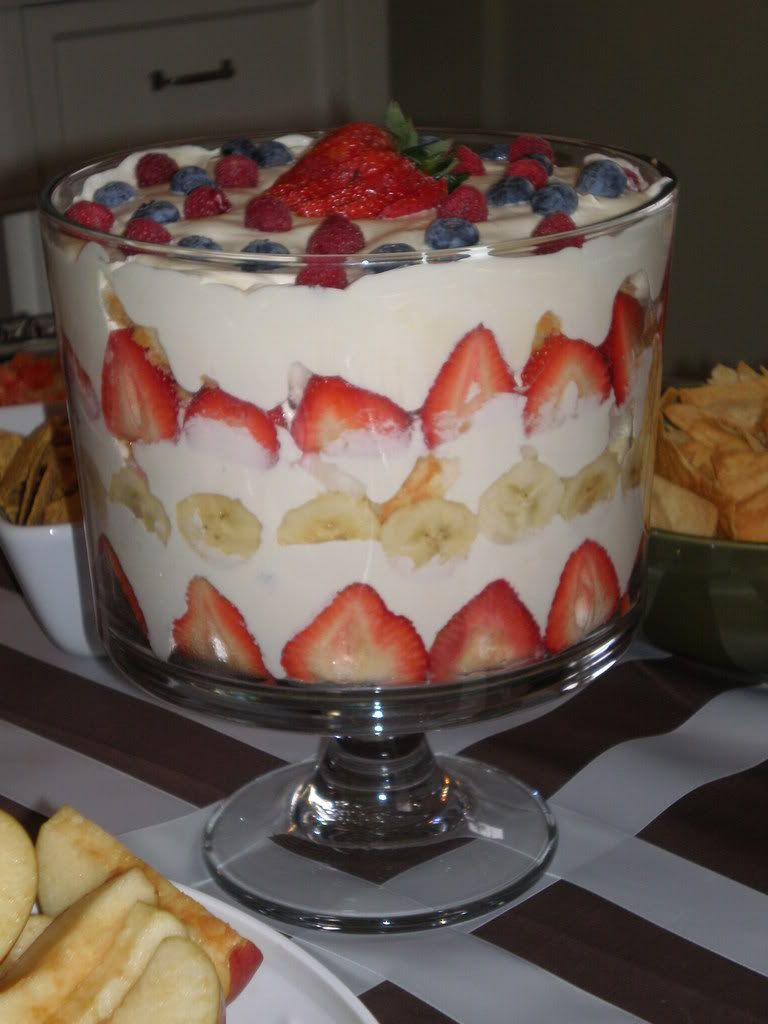
Being the one that is interested in food, it fell to me to design the menu (although Jen did help quite a bit). Below is what we decided on serving, and we definitely had left-overs as we only had 12 people at the shower (not that we're complaining).

I will say that I was super rushed to take these pictures (long story) and my battery was dying, so I don't have pictures of everything (but what I don't have pics of was store bought, so not a big deal).

Laura's Bridal Shower Menu

Tres Leches cake
from Liz's Bakery in the Kentlands

original recipe from Nemmie
(click title for recipe)


Joy's Prizewinning Trifle
from Allrecipes.com
(recipe follows below, made by Jen)


Chocolate-Covered Raspberry Tarts
original recipe
(click title for recipe)


Parmesan Artichoke Dip
Allison McFarland
(see recipe below)


Margaritas

Hummus and Pita Chips

Fruit and Marshmallow Dip
family recipe
(see recipe below)


Overall I think the party went really well, and everybody enjoyed the food and went home full! I just wish I could throw another party soon (without any distractions 30 minutes before party time)!


Joy's Prizewinning Trifle
from: Allrecipes.com

INGREDIENTS
1 (12 ounce) container frozen whipped topping, thawed
1 (8 ounce) container sour cream
1 (9 inch) angel food cake
1 (3.4 ounce) package instant vanilla pudding mix
3 kiwis, peeled and sliced
1 pint fresh strawberries, sliced
3 bananas, peeled and sliced
1 (15 ounce) can crushed pineapple, drained
1 sprig fresh mint

DIRECTIONS
In a medium bowl, fold sour cream and unprepared pudding mix into the whipped topping.

Cut the cake into thirds, horizontally.

Line a large trifle or other glass serving bowl with kiwi and strawberry slices, reserving two whole strawberries and two kiwi slices. Place one layer of cake in bottom of bowl, top with 1/3 of bananas and pineapple, and 1/3 of whipped topping mixture. Repeat layering until all ingredients are used.

Make fan garnishes of whole strawberries by slicing from just below the stem. Garnish assembled trifle with fanned strawberries, reserved kiwi slices, and a sprig of mint. Refrigerate until serving.


Parmesan Artichoke Dip
from: Allison McFarland

8 oz. reduced fat cream cheese
14 oz. can artichoke hearts, drained & chopped
1/2 c. light mayo
1/2 c. parmesan cheese
1 tsp. dried basil
1 clove garlic, minced
1/2 tomato, diced (optional)

Mix all but tomato with mixed on medium. Put into 9" pie pan. Bake at 350 for 25 min. Sprinkle with tomatoes.


Fresh Fruit Dip
Family Recipe

1 8 oz. package cream cheese
1 7 oz. package marshmallow creme

Combine softened cream cheese and marshmallow creme. Mix until well blended. Serve with fresh fruite or cookies as dippers.

Wednesday, April 9, 2008

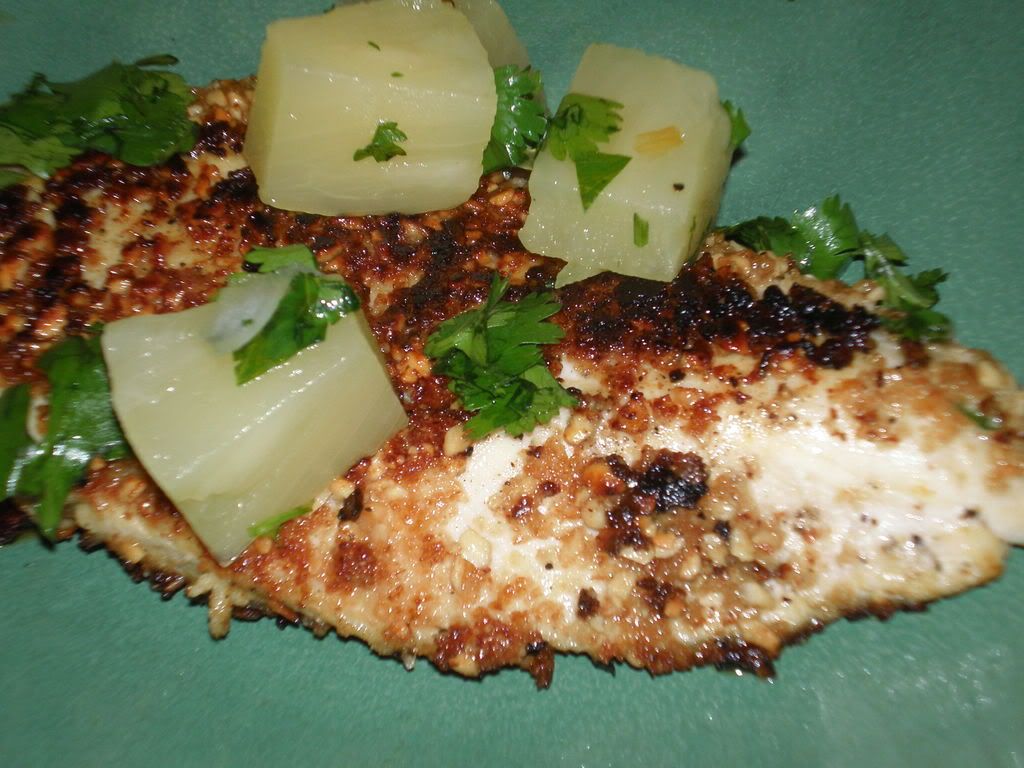
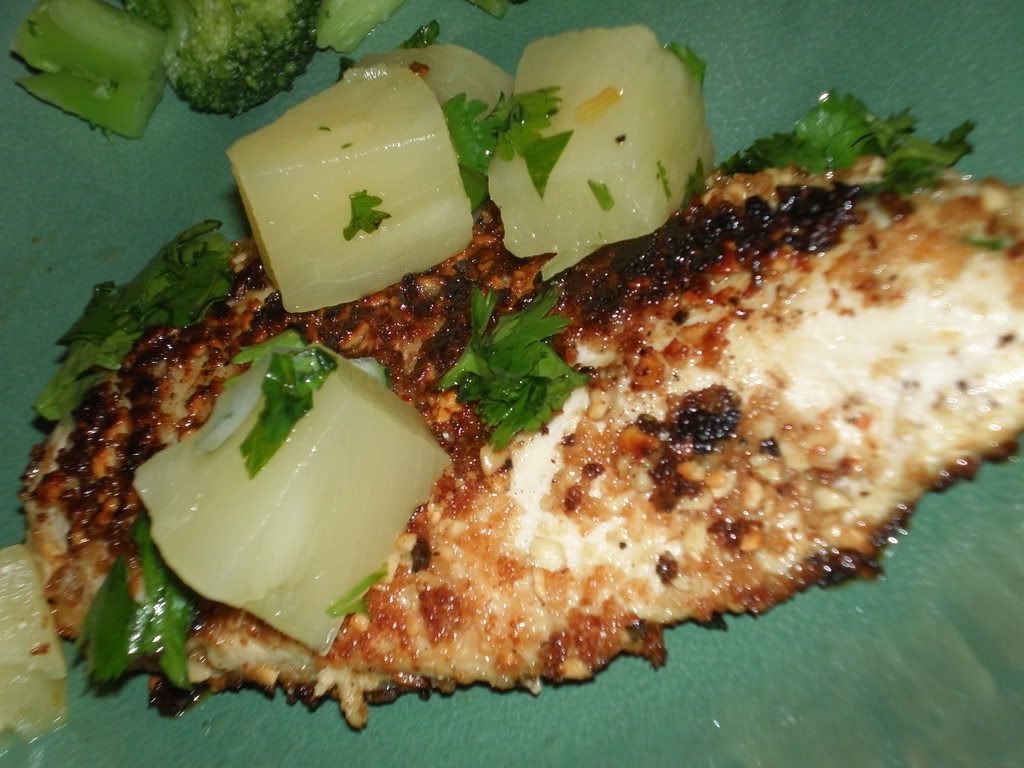
Peanut-Crusted Chicken w/Pineapple Salsa


I just love it when 6:00 rolls around and no one has even started to think about dinner. This is why I wish we made a weekly menu at the start of each week. So I run upstairs and grab my Cooking Light magazines and start thumbing through them.

I get about 2 pages into the March issue when one of my starred recipes pops up -- in the "superfast" section. Awesome. It only takes 20 minutes to make. Even better. However, I have to run to the store first to get some of the ingredients. Frustrating.

But I ran to the store anyway (do they really not sell dry-roasted peanuts in anything smaller than a huge jar?). This recipe really did take only about 20 minutes to make, unlike many other recipes that say "20 minutes", but really take 30-40 if you haven't made it before.

Overall it was an okay recipe. My chicken turned out a little darker than the picture, which really had me worried at first. I cheated a bit and used canned pineapple chunks rather than chopped fresh pineapple, but I really didn't feel like going through all that work. Next time though, I would definitely either chop the pineapple up smaller, or double the recipe and throw it in a food processor first. The chicken took a lot longer than 2 minutes to cook, as well, but that really wasn't a big deal -- I kind of expected it.

Taste-wise, the chicken on it's own was rather bland, but the part with salsa on it was rather interesting. I've never really had a fruity salsa before and this one worked pretty well (as far as I know). I would probably make this again, with a few alterations.


Peanut-Crusted Chicken with Pineapple Salsa
Cooking Light, March '08

1 cup chopped fresh pineapple (I used canned pineapple chunks)
2 tablespoons chopped fresh cilantro
1 tablespoon finely chopped red onion (I used yellow onion)
1/3 c. unsalted, dry-roasted peanuts
1 (1 oz) slice white bread (I used wheat)
1/2 tsp. salt
1/8 tsp. black pepper
4 (4 oz) chicken cutlets
1 1/2 tsp. canola oil
Cooking spray
Cilantro springs (optional)

Combine first 3 ingredients in a small dowl, tossing well.

Combine peanuts and bread slice in a food processor; process until finely chopped. Sprinkle salt and pepper evenly over chicken. Dredge chicken in the breadcrumb mixture.

Heat oil in a large nonstick skillet over medium-high heat. Coat pan with cooking-spray. Add chicken to pan; cook 2 minutes on each side or until done. Serve chicken with pineapple mixture. Garnish with cilantro sprigs, if desired.

Yields: 4 servings


Nutrition Facts
Amount per serving
Calories 341Calories from fat 149
% Daily Value
Total Fat 16.6g25%
Saturated Fat 3.3g17%
Trans Fat 0.0g
Cholesterol 101mg34%
Sodium 439mg18%
Total Carbs 10.9g4%
Dietary Fiber 1.8g7%
Sugars 4.7g
Protein 36.8g
Vitamin A 2%Vitamin C 31%
Calcium 5%Iron 13%

Friday, April 4, 2008

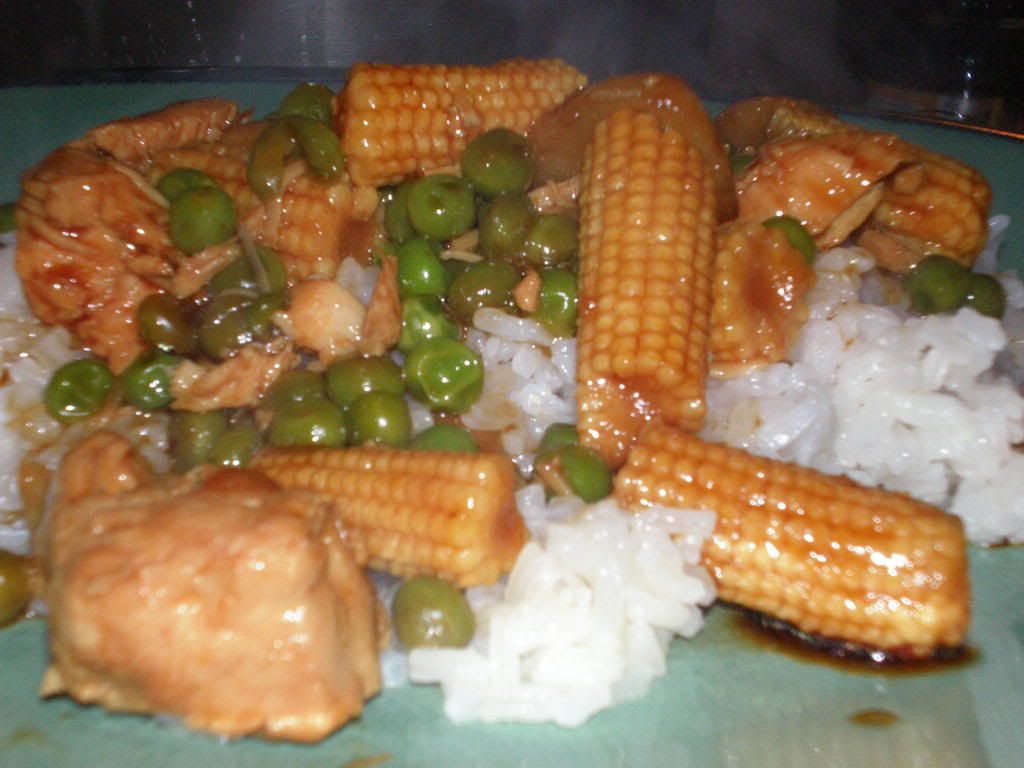
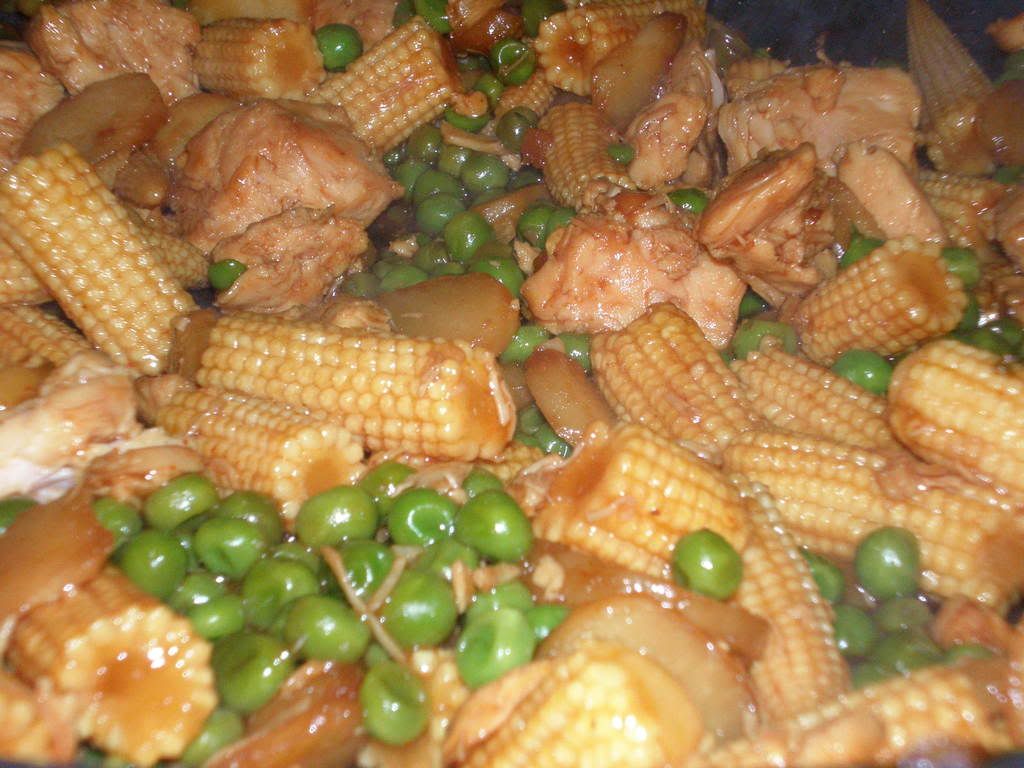
Yay Stir-Fry!


Originally, we had Laura's amazing Arroz con Pollo planned for dinner tonight since Jen and Marion had friends flying in from out of town. However, due to those said friends flying in, they opted for Dave & Buster's followed by a Peruvian restaurant instead. Not that I blame them. That Peruvian restaurant is pretty amazing. Especially the yuca fries.

So, that pretty much left Laura and I to fend for ourselves for dinner. Seeing as it was pretty late already, we decided to grab something simple out of the pantry. Luckily, I had thought ahead a few weeks ago and had stocked up on my stir-fry ingredients.

A quick warning about the recipe... I came up with this recipe a few years ago back in college -- thus it pretty much has no measurements for any of the seasonings. However, I will say that this is one recipe that my roommate and I would eat past the point of being full.


Stir-Fry
Original Recipe

Extra-virgin olive oil
2 cloves garlic
Frozen peas or brocolli
1 can baby corn
1 can white chicken chunk
1 can waterchestnuts
Kikkoman Stir-Fry Sauce
Soy Sauce
Teriyaki Sauce (optional)
Ground Ginger
Curry
Cayenne Red Pepper

1 cup uncooked white rice
2 cups water
1 tbsp. butter/margarine

To prepare rice: In a medium saucepan, combine rice, water, and butter. Bring to a boil on stovetop. Once boil is achieved, cover and lower heat to medium-low. Cook for 20 minutes. Fluff with a fork and remove from heat. Recover and let sit for 5 minutes.

To prepare stir-fry: Add about 2-3 tbsp. EVOO to a large frying pan. Place the pan on the stove over the highest heat. Once the oil has heated up, add the garlic. Saute for 1-2 minutes.

Add any frozen vegetables. Once the frozen vegetables have thawed, add the chicken and remaining vegetables. Drizzle stir-fry sauce heavily over vegetables. Pour soy sauce over vegetables until sauce is about 1/4" thick or more at the bottom of the pan. (You can also add the teriyaki sauce if desired at this point.) Mix well.

Gently shake ginger (about 5-6 shakes) over stir-fry. Gently shake curry (5-6 shakes) over stir-fry. Shake cayenne red pepper (8-9 shakes) over stir-fry. Mix well.

Allow sauce to reduce until almost gone.

Serve over rice.

Yields: 2-3 servings


This recipe is really great to play around with. Basically any type of veggie works -- I've made it with peppers, mushrooms, and lots of others as well, the ones mentioned just happen to be my favorite.

As for seasoning the sauce -- it really just goes by taste. The more red pepper you add, the spicier it will be, so make sure you don't go overboard. I typically try and keep the ginger the smallest amount of the 3 spices I add, and the red pepper the most. Super tasty!

Thursday, April 3, 2008

Mmmm Gooey Chocolate Cakes...


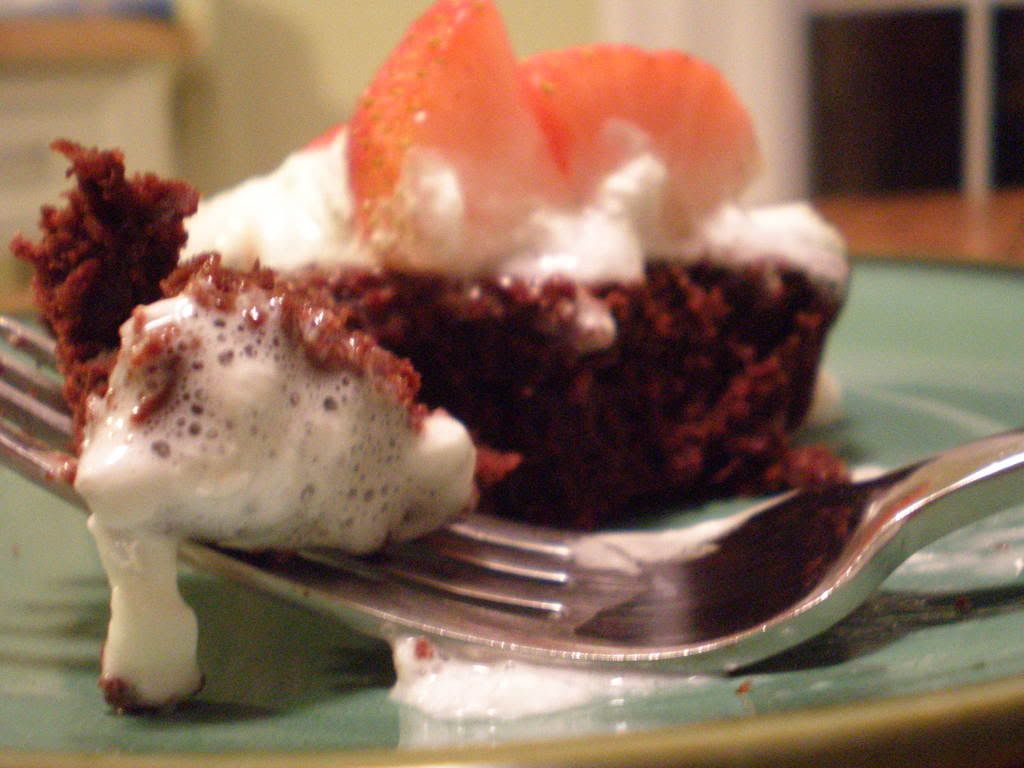
So yesterday I'm sitting in the kitchen, thinking about starting on my ravioli, when my sister starts digging through the fridge. She looks at me and asks if I have anything planned for dinner. I say, yes, that ravioli. She looks relieved, then says that she's had a craving all day. Worried that I might have to switch dinner again, I ask her what she's been craving. "Chocolate cupcakes."

Immediately, the Gooey Chocolate Cakes from the "Tuesdays with Dorie" group pop into mind. I had seen a few of the blogs who had participated, and left me craving, but I had up to this point fought off the temptation. Now, I know I'm not part of the TWD group -- not that I wouldn't like to be, but with my schedule the way it is, I really don't want to commit myself to something I'm not sure I'll be able to consistantly follow through with.


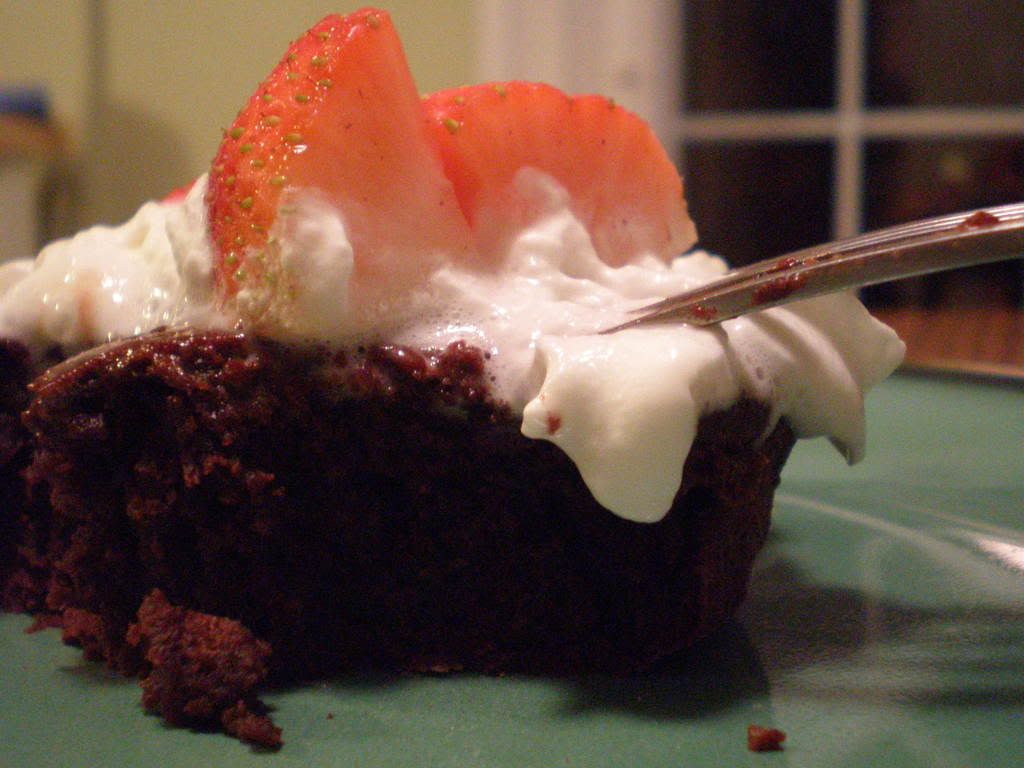
I ended up using the recipe from Culinary Concoctions by Peabody, as her Gooey Chocolate Cake with the raspberry sauce really caught my eye. Unfortunately, I didn't have a nice raspberry sauce to smother my cakes in, so I ended up just going for the old tried-and-true topping -- Redi-Whip and strawberries.

Yum.


As noted my many people who made these, they are fairly simple to make. I didn't even melt my chocolate and butter in a bowl over simmering water -- I just put it in a saucepan on low heat and it worked just fine.

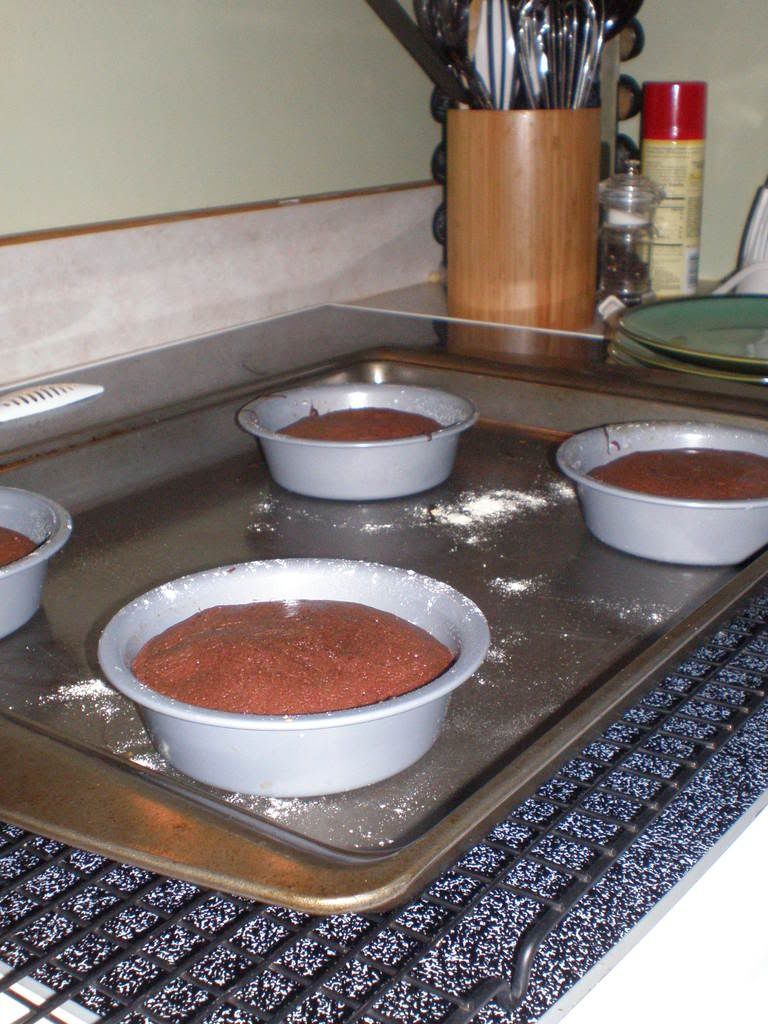
I also used my 4 oz ramekins from when I made my chocolate cake and fondant a while back, instead of using 6 muffin tins.

However, the only slight mess-up I had was pulling them out of the oven. At 13 minutes, the centers still looked super gooey, so I thought I might have problems when I was trying to get them out of the pans, so I left them in the oven for another 3 minutes. This ended up drying out the edges of the cakes slightly, but the middle was absolutely perfect!

I'm so glad I tried this!


Gooey Chocolate Cake

1/3 cup all-purpose flour
3 tablespoons unsweetened cocoa powder
¼ teaspoon salt
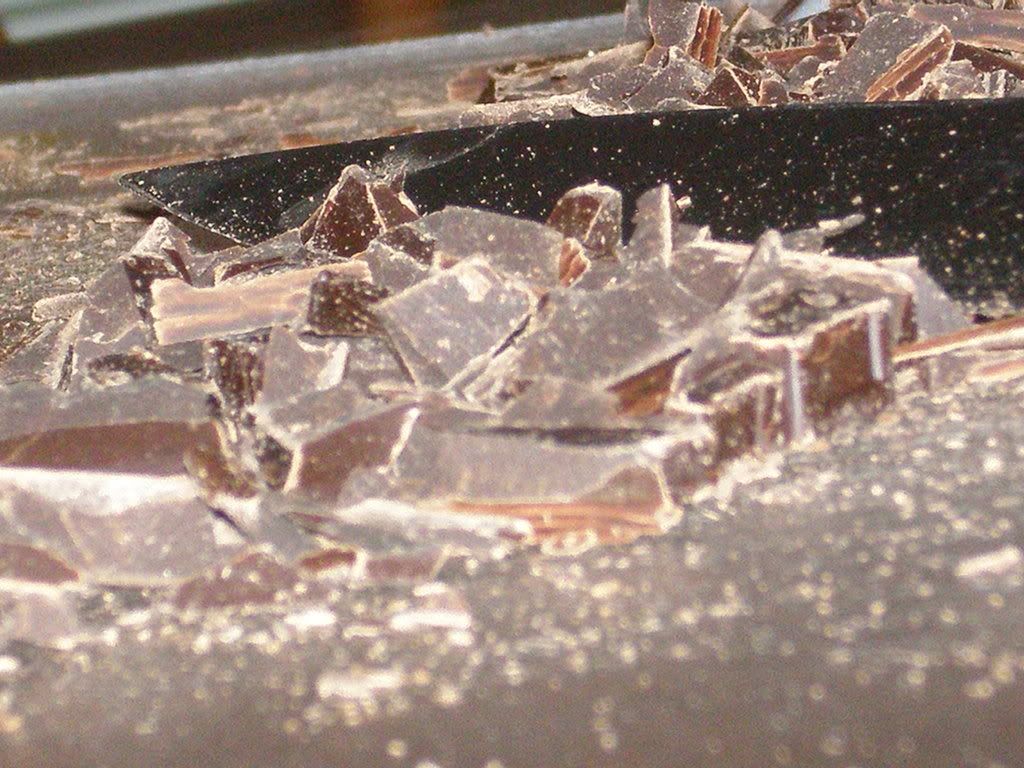
4 ounces coarsely chopped milk chocolate (I used semi-sweet)
1 stick (8 tablespoons) unsalted butter, cut into 8 pieces
2 large eggs, at room temperature
1 large egg yolk, at room temperature
6 tablespoons of sugar

Getting Ready
Center a rack in the oven and preheat the oven to 400 degrees F. butter (or spray – it’s easier) 6 cups of a regular-size muffin pan, preferably a disposable aluminum foil pan, dust the insides with flour and tap out the excess. Put the muffin pan on a baking sheet.

Sift the flour, cocoa and salt together.

Set a heatproof bowl over a saucepan of gently simmering water, put the coarsely chopped chocolate and the butter in the bowl and stir occasionally over the simmering water just until they are melted – you don’t want them to get so hot that the butter separates. Remove the bowl from the pan of water.

In a large bowl, whisk the eggs and yolk until homogeneous. Add the sugar and whisk until well blended, about 2 minutes. Add the dry ingredients and, still using the whisk, stir (don’t beat) them into the eggs. Little by little, and using a light hand, stir in the melted chocolate and butter. Divide the batter evenly among the muffin cups.

Bake the cakes for 13 minutes. Transfer them, still on the baking sheet, to a rack to cool for 3 minutes. (There is no way to test that these cakes are properly baked, because the inside remains liquid.)

Line a cutting board with a silicone baking mat or parchment or wax paper, and, after the 3-minute rest, unmold the cakes onto the board. Use a wide metal spatula to lift the cakes onto dessert plates.


Nutrition Facts
Amount per serving
Calories 349Calories from fat 214
% Daily Value
Total Fat 23.7g37%
Saturated Fat 14.6g73%
Cholesterol 150mg50%
Sodium 246mg10%
Total Carbs 30.8g10%
Dietary Fiber 1.7g7%
Sugars 22.6g
Protein 5.4g
Vitamin A 13%Vitamin C 0%
Calcium 6%Iron 8%

LinkWithin

Related Posts with Thumbnails
 
Pin It button on image hover