Ever crave those warm homemade meals that just stick to your ribs? I typically have those days when it's rainy out. All I want is something warm, delicious, and absolutely satisfying.
Well, I wish I had made this yesterday. I'm pretty sure me and my little car almost floated away on the drive home... Instead, the hubs and I settled on pizza instead -- I felt so sorry for that poor delivery guy.
BUT, if you happen to wake up one morning and it's just one of those crappy days out... I would highly recommend this.
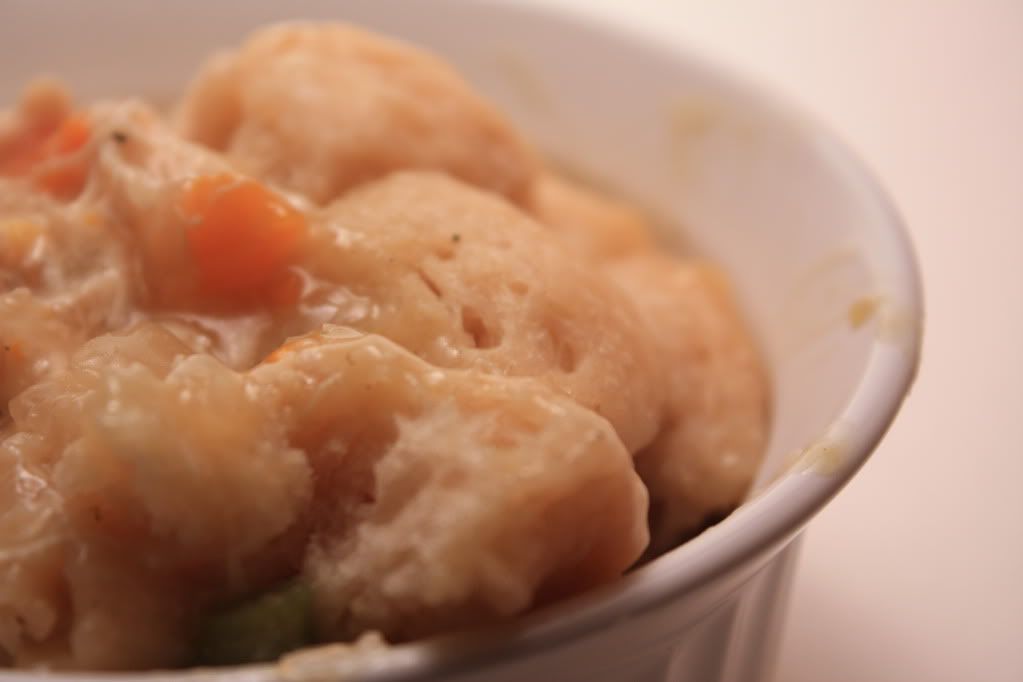

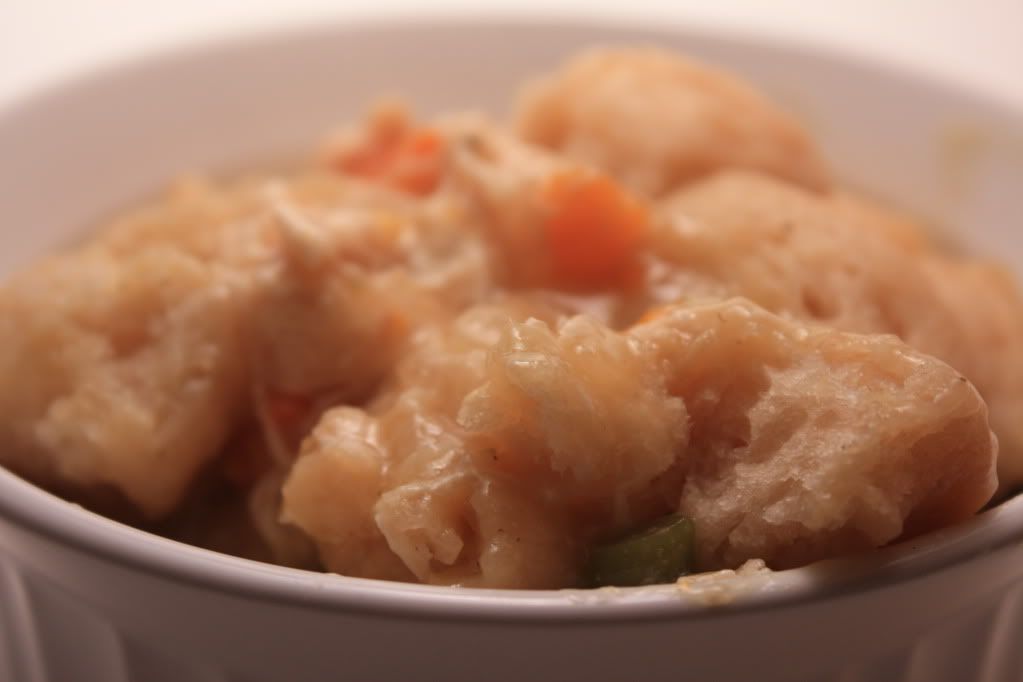
Slow Cooker Chicken & Dumplings
From: Online Source
From: Online Source
2 cans cream of chicken soup
1 can chicken broth
4 boneless/skinless chicken breast halves
2 Tbs butter
1 onion, chopped
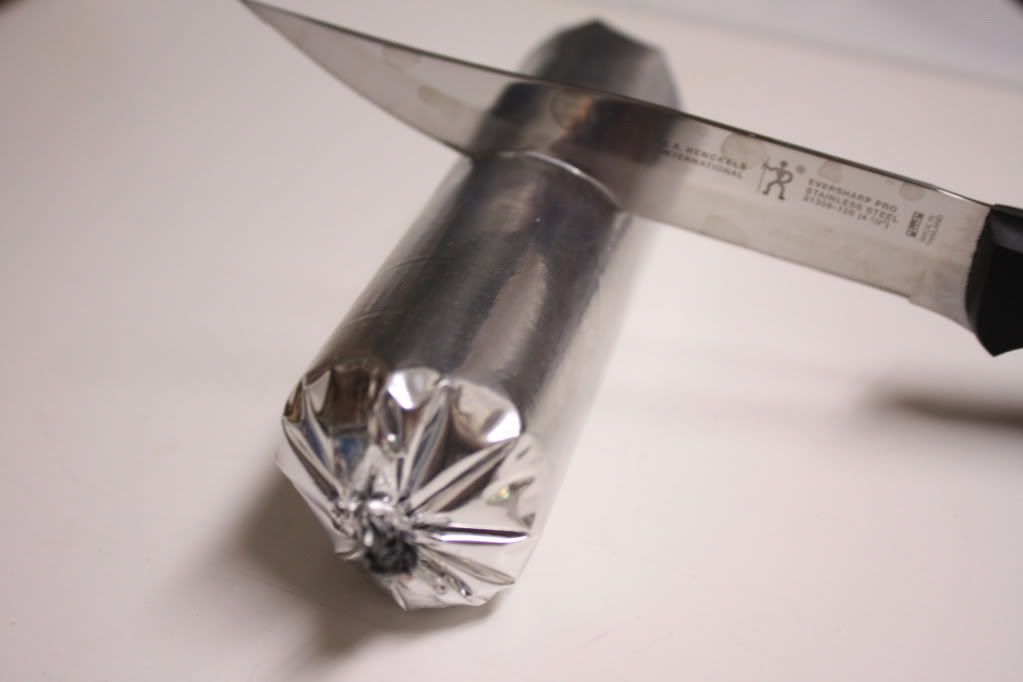
1 can refrigerated biscuit dough
Half a bag of frozen mixed veggies
Poultry seasoning, celery salt, black pepper to taste
Mix soup, broth, onion, veggies, butter and spices in the slow cooker. Submerge the chicken breasts in the liquid.
Cook on high 5-6 hours, or low 7-8 hours. Remove chicken and shred, stir back into mixture. **Optional: If mixture is still fairly runny, mix 1 tbsp of corn startch with half a cup of water and stir it in crockpot.
Cut or tear biscuit dough into small pieces, and add to crock pot, pushing down into the liquid. Cover, and cook on high 2 hours.
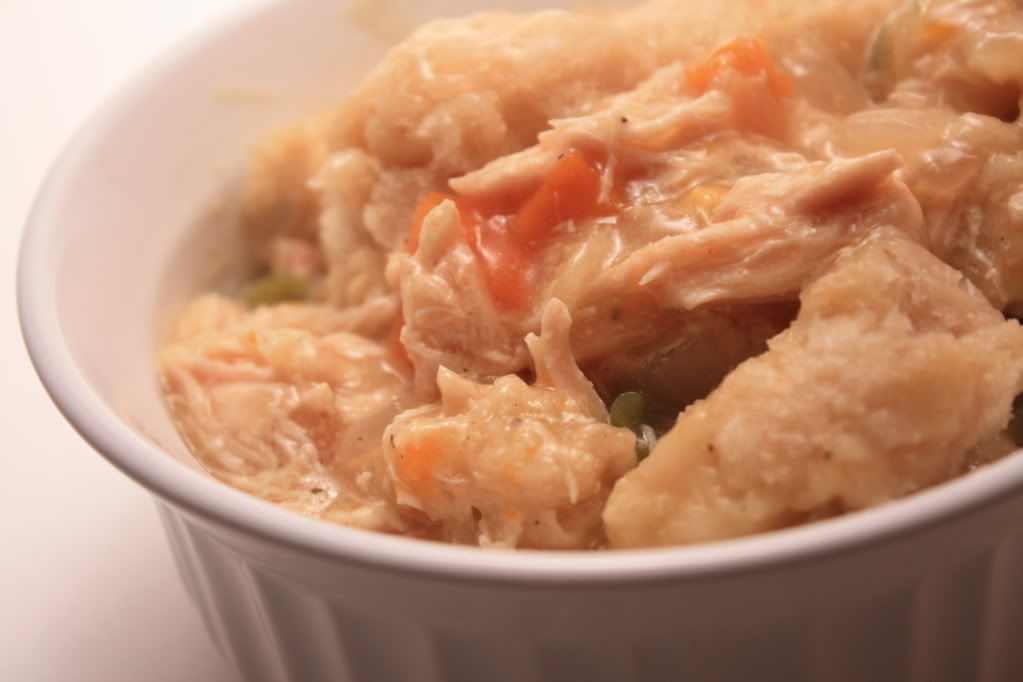
As I said before, this really hit the spot, and it a very versatile recipe so there's lots of room to play around with.

| Nutrition Facts | |
| Amount per serving | |
| Calories 456 | Calories from fat 196 |
| % Daily Value | |
| Total Fat 21.8g | 34% |
| Saturated Fat 5.8g | 29% |
| Cholesterol 65mg | 22% |
| Sodium 1373mg | 57% |
| Total Carbs 40.3g | 13% |
| Dietary Fiber 2.3g | 9% |
| Sugars 4.1g | |
| Protein 24.0g | |
| Vitamin A 29% | Vitamin C 3% |
| Calcium 6% | Iron 22% |