Monday, November 23, 2009

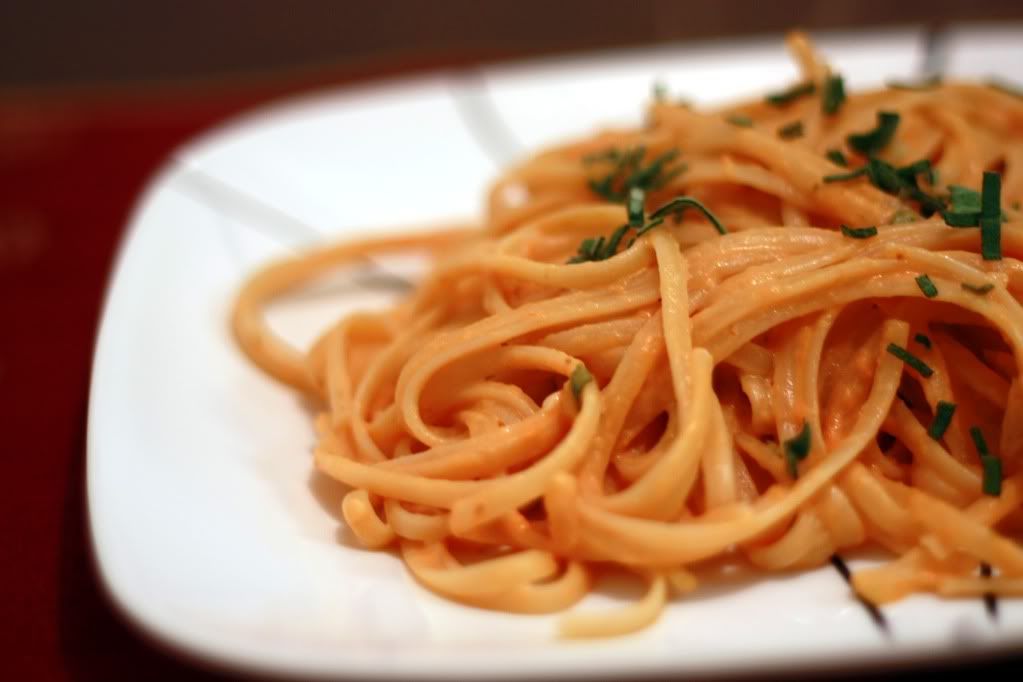
Pasta with Pumpkin Cream Sauce


So apparently Libby's, the super huge canned pumpkin company, had a bad year this year due to droughts. Thus, they expect a shortage in pumpkin this year, and once they're out, they're out until the next crop in 2010. Eh, I've still seen pumpkin can or two hanging out with their friends at the grocery store, so I'm not too horribly worried about it yet. Who knows, we'll see how it looks comes Christmas time.

However, should you find yourself opening a large can of the delicious orange stuff only to use part of it (ooooh such as to make some amazing pumpkin whoopie pies), here's a good answer for the leftovers.
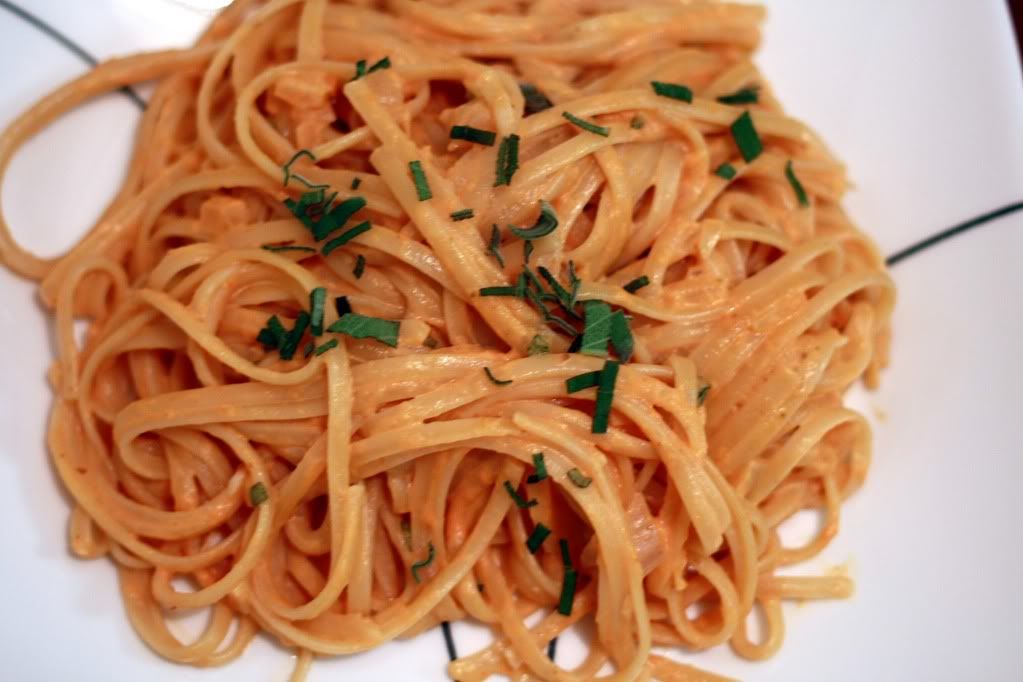

Pasta with a Pumpkin Cream Sauce
From: Macaroni and Cheesecake


1 pound long skinny pasta, such as spaghetti, fettucine, or linguine
1 medium vidalia onion, minced
3 medium cloves garlic
2 sprigs sage leaves, finely chopped
1 tablespoon olive oil
3/4 cup canned unsweetened pumpkin puree
3/4 cup low-sodium chicken broth
1/2 cup fat free half & half
Kosher salt
Freshly ground black pepper
1/4 cup grated Parmesan cheese

Bring a large pot of to a boil over medium-high heat. Add sald and pour in the pasta and cook according to package directions.

Heat the oil in a large saucepan over medium heat. Add the onion and garlic; cook for 3 minutes, stirring, until they have softened. Stir in the pumpkin puree, chicken broth, half & half, and 1/2 of the sage. Reduce the heat to medium-low and cook for 10 minutes, stirring frequently, until the sauce is slightly thickened. Season with salt and pepper to taste; keep warm on the lowest setting.

Drain the pasta and add to the sauce, then add 2 tablespoons of the cheese and mix well. Serve and sprinkle with the remaining 2 tablespoons of cheese and the remaining sage.
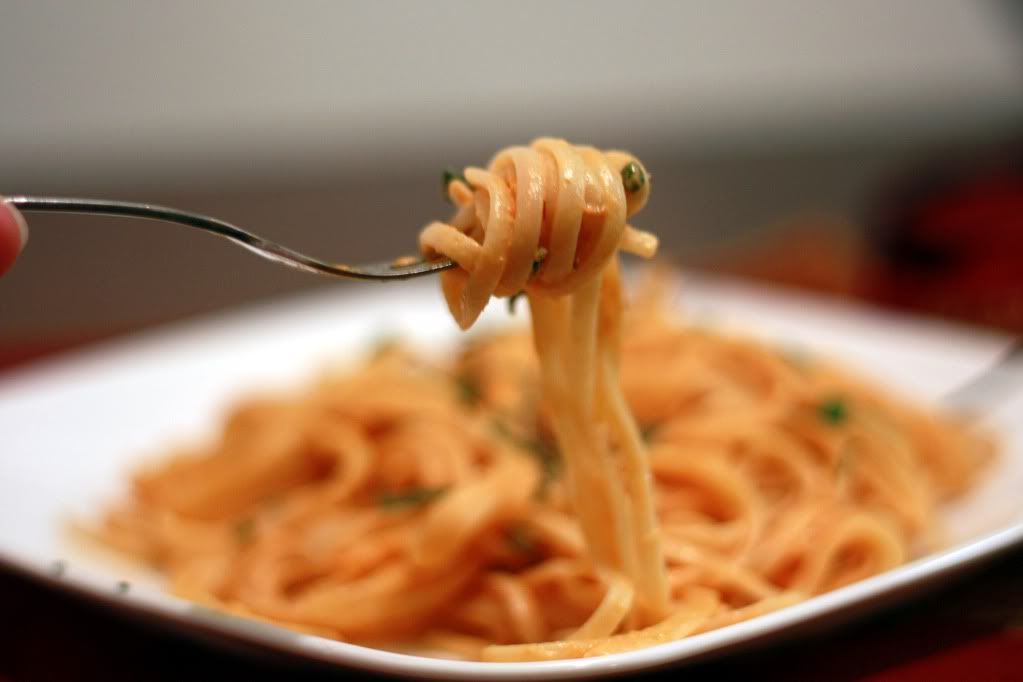


Well, I was expecting a little stronger pumpkin flavor, but I think Stephanie describes it best as an alfredo sauce with a hint of pumpkin. Overall I was pleasantly surprised with this dish, being originally a little skeptical about the pumpkin. (Adam even liked it.)

It's a fairly easy dish to throw together and perfect for fall. Not to mention great for finishing up those pumpkin leftovers.



Nutrition Facts
Amount per serving
Calories 241Calories from fat 61
% Daily Value
Total Fat 6.7g10%
Saturated Fat 2.7g14%
Cholesterol 52mg17%
Sodium 93mg4%
Total Carbs 37.1g12%
Dietary Fiber 2.4g9%
Sugars 1.4g
Protein 8.8g
Vitamin A 78%Vitamin C 6%
Calcium 12%Iron 19%

Thursday, November 19, 2009

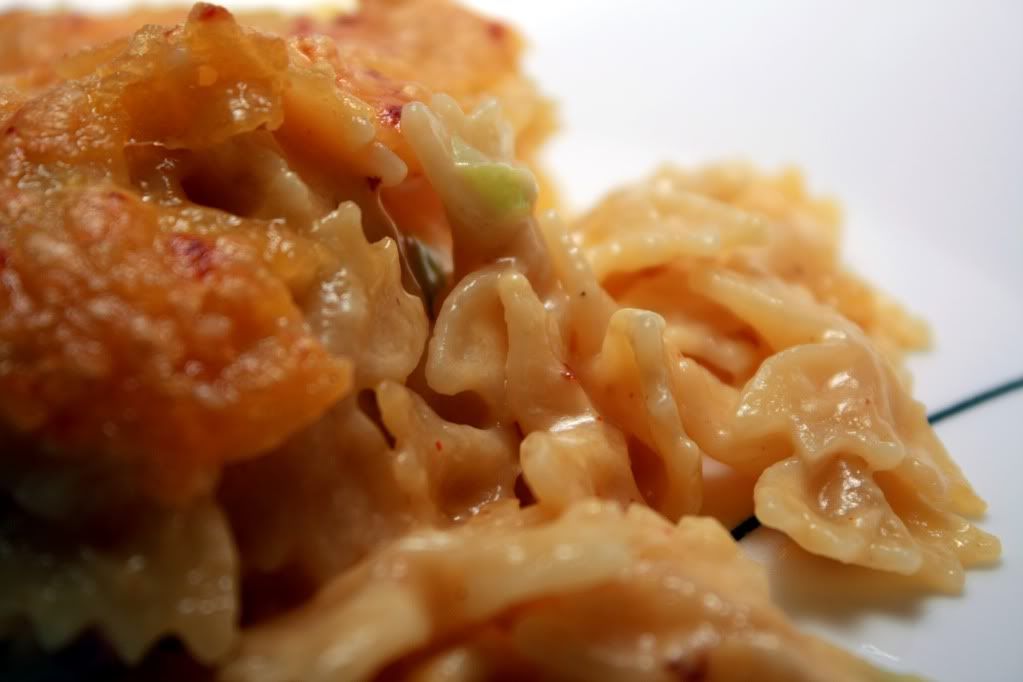
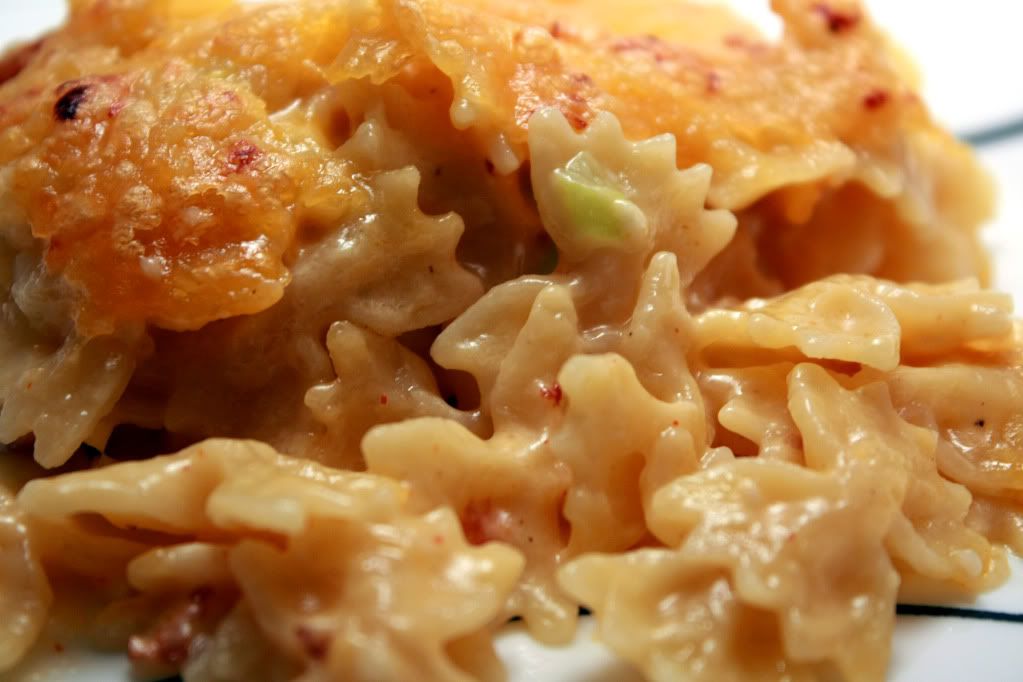
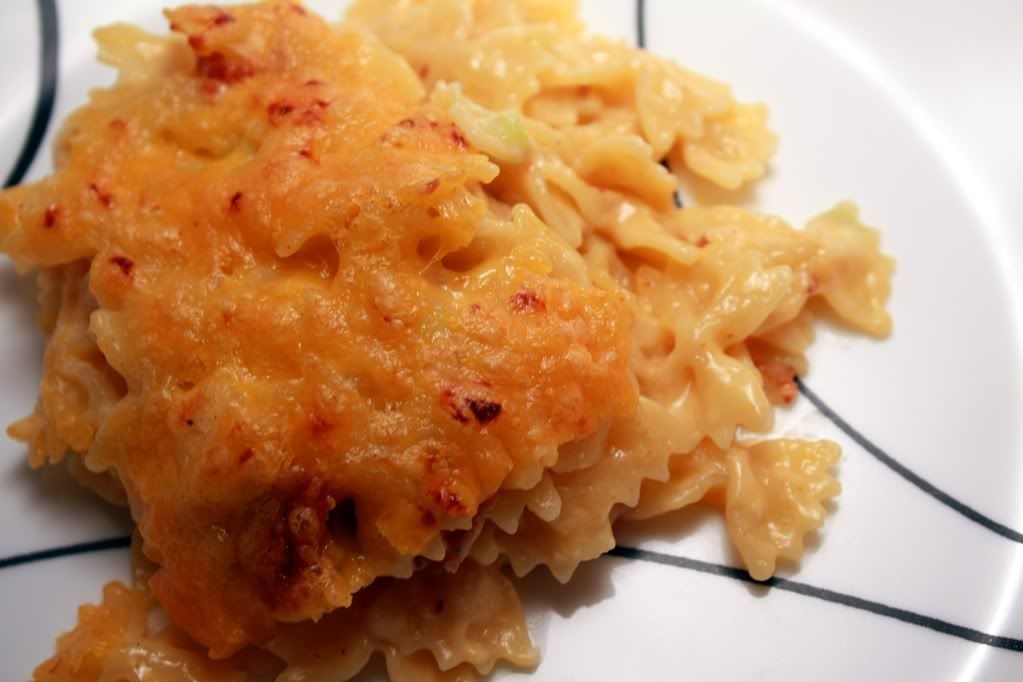
Bacon Mac


If you have been following this blog, you probably know that I'm always on the hunt for THE mac and cheese recipe. It has to be ridiculously cheesey, gooey, and bacon never hurts. I could go either baked or straight off the stovetop, although a little panko on the top is always nice to switch up the texture.

Well, lo and behold, Cooking Light decided to produce a version of mac n chee which included bacon. Okay, got my attention. It was missing the panko, but it did include hot sauce. Okay, fair enough trade. Let's try it.


Bacon Mac
Adapted From: Cooking Light, September 2009


3-1/4 teaspoons salt, divided
12 ounces small- or medium-sized, fun pasta
4 teaspoons all-purpose flour
1-1/2 cups milk, divided
2 cups finely shredded sharp cheddar cheese, divided
1/4 cup sliced green onions
1 teaspoon hot sauce
1/4 teaspoon pepper
3-4 slices peppered bacon, cooked and crumbled
Cooking spray

Preheat broiler.

Bring 6 quarts water and 1 tablespoon salt to a boil. Add pasta; cook 8 minutes or until al dente; drain.

Combine flour and 1/2 cup milk in a saucepan over medium heat. Gradually add 1 cup milk; bring to a boil. Cook 1 minute, stirring constantly. Remove from heat; let stand 4 minutes or until it cools to 155°. Stir in 1 1/2 cups cheese. Add 1/4 teaspoon salt, onions, hot sauce, pepper, and bacon; stir. Add pasta; toss. Spoon into a 2-quart broiler-safe dish coated with cooking spray; top with 1/2 cup cheese. Broil 7 minutes.


Well, I can't say that it's my absolutley favorite mac and chee recipe, but it did turn out pretty good. It did have bacon in it though, which makes everything good, so... it gets my vote!


Nutrition Facts
Amount per serving
Calories 458Calories from fat 180
% Daily Value
Total Fat 20.0g31%
Saturated Fat 10.6g53%
Trans Fat 0.0g
Cholesterol 58mg19%
Sodium 1763mg73%
Total Carbs 46.3g15%
Dietary Fiber 2.2g9%
Sugars 3.7g
Protein 23.6g
Vitamin A 10%Vitamin C 2%
Calcium 34%Iron 17%

Wednesday, November 18, 2009

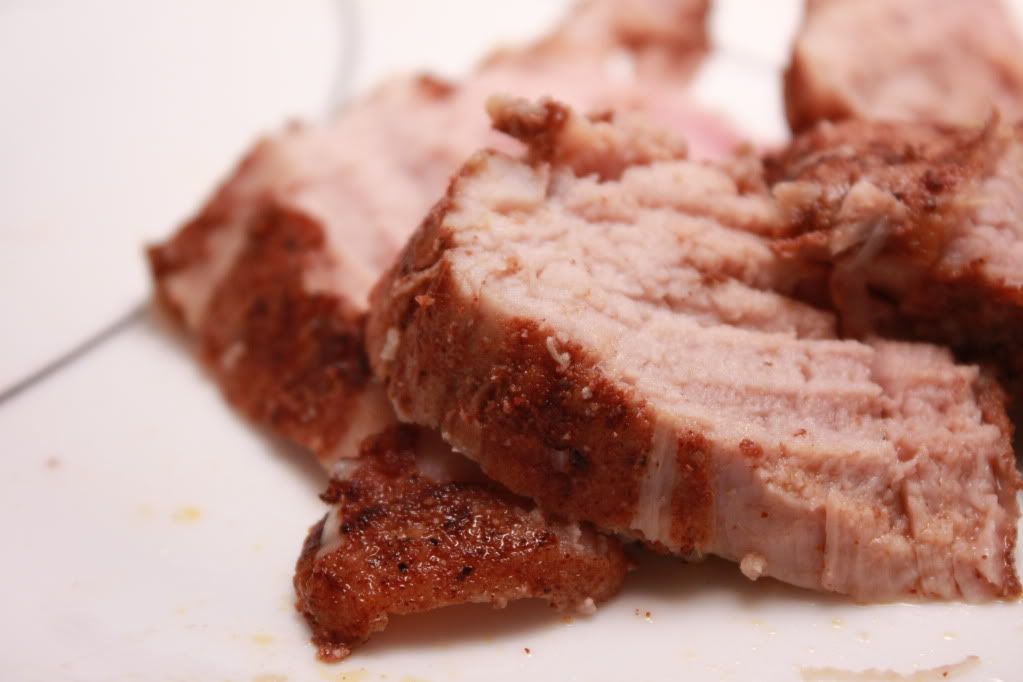
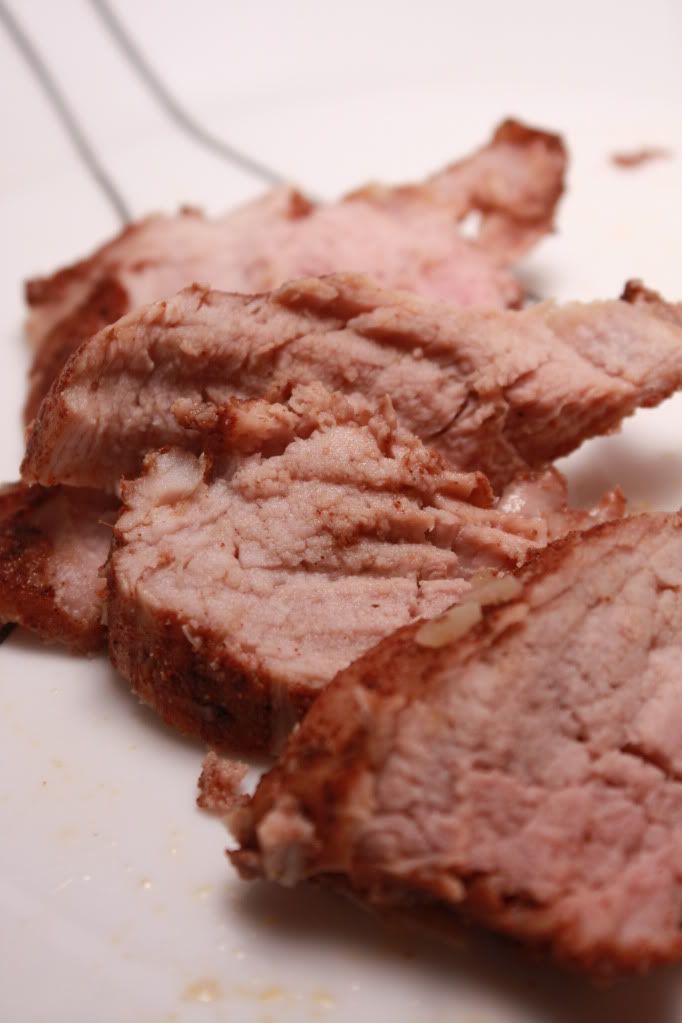
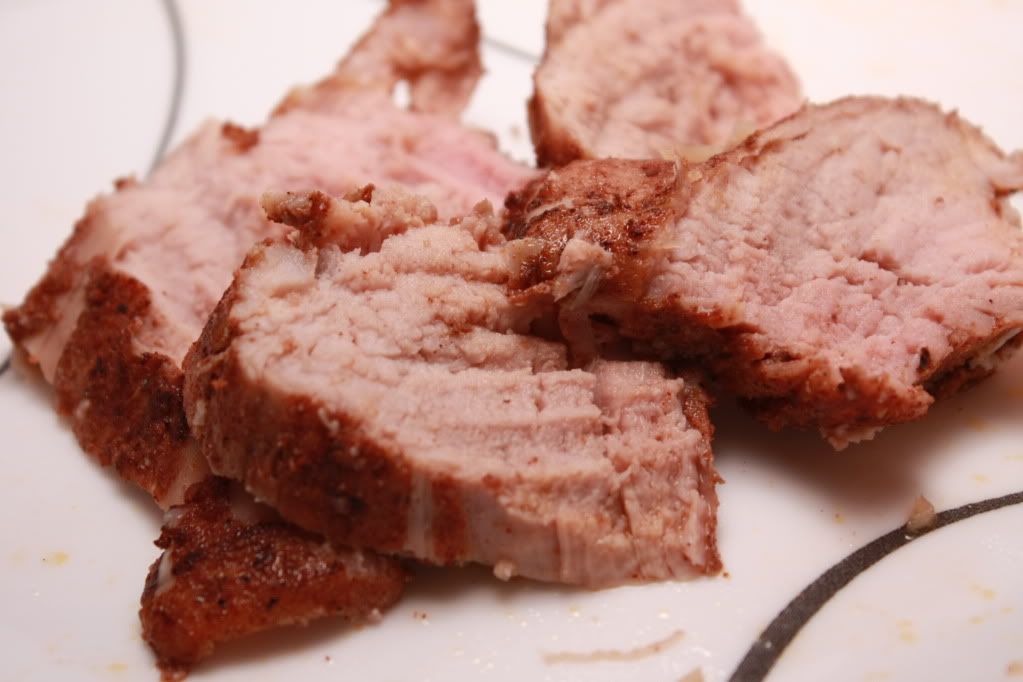
Sweet & Spicy Pork Tenderloin


I swear I can't win. As soon as I get this blog all nice and caught up, life takes over and I get so very far behind again. *Sigh* I have been completely swamped as of late with papers and homework which hasn't left a lot of time for other things.

Since I have a little bit of a break from all the chaos today, I figured it was time to catch up. And this pork tenderloin is a great way to do it. A couple months ago, I posted this pork tenderloin recipe, which was fantastic, so I decided to give another recipe a shot.

I have to say, pork tenderloin has definitely changed the way I think about pork. It used to be slow-cooked porkchops swimming in some gravy (not really my favorite, thankyouverymuch), but now I realize just how juicy and tender pork can really be. Yum.

Anyhoo, about this recipe. Delicious, of course. Now I'm going to have problems deciding which one I'm going to make...


Sweet and Spicy Pork Tenderloin
From: Macaroni and Cheesecake


1/2 teaspoon ground cumin
1/2 teaspoon ground cinnamon
1/2 teaspoon salt
1/4 teaspoon ground black pepper
1/4 teaspoon ground allspice
1/8 teaspoon garlic powder
1/8 teaspoon ground chipotle chile pepper
1 pork tenderloin (1 1/4 pounds), trimmed of visible fat
1 teaspoon extra-virgin olive oil
2 tablespoons honey
1 tablespoon minced garlic
1 1/2 teaspoons hot-pepper sauce

Preheat the oven to 350°F.

In a small bowl, combine the cumin, cinnamon, salt, black pepper, allspice, garlic powder, and chipotle pepper. Rub the pork tenderloin evenly with the olive oil. Then rub evenly with the spice mixture until coated. Cover loosely with plastic wrap. Refrigerate for 15 minutes.

Meanwhile, in a small bowl, combine the honey, garlic, and hot-pepper sauce. Whisk to mix. Set aside.

Set a large cast iron skillet over medium-high heat. Place the pork in the pan. Cook for 1 minute per side, or until browned on all sides. Transfer to the prepared pan. With a basting brush, evenly coat the pork tenderloin with the reserved honey mixture.

Roast the tenderloin in the oven for 15 to 17 minutes, or until a thermometer inserted in the center reaches 160°F and the juices run clear. Remove from the oven. Cover the pork loosely with aluminum foil. Let stand for 10 minutes. Transfer the pork to a cutting board. Holding a knife at a 45° angle, cut into thin slices.

Serves: 4


Nice and juicy and tender, what more could you ask for? The honey definitely balances out the spices quite nicely, definitely letting this pork live up to it's "sweet and spicy" name.

Yum.


Nutrition Facts
Amount per serving
Calories 251Calories from fat 56
% Daily Value
Total Fat 6.2g10%
Saturated Fat 1.9g9%
Trans Fat 0.1g
Cholesterol 103mg34%
Sodium 378mg16%
Total Carbs 10.0g3%
Sugars 8.7g
Protein 37.4g
Vitamin A 0%Vitamin C 1%
Calcium 2%Iron 11%

Sunday, November 8, 2009

I'm still here...


I promise I haven't disappeared. Okay, well maybe I have, but only because I've been buried under piles of journal articles and other school related items. And honestly, there hasn't really been a lot new happening in my kitchen as of late. Class from 4:30-7:10 four days a week (plus a 1/2 hr drive each way) has really been killing the whole making dinner thing. So we've pretty much been sticking to our tried and true recipes... at least on the nights that we actually cook.


I think I do have a recipe or two hiding out that I have yet to post... that is when I get a breather from trying to finish up a big paper I'm working on. In the meantime, I figured I'd give you a couple pictures of a cake my sister and I made for her husband as he's getting ready to be deployed to Louisiana for training, and then Afghanistan for a total of 9 months! Guess they need doctors over there, too... :(

Thursday, October 15, 2009

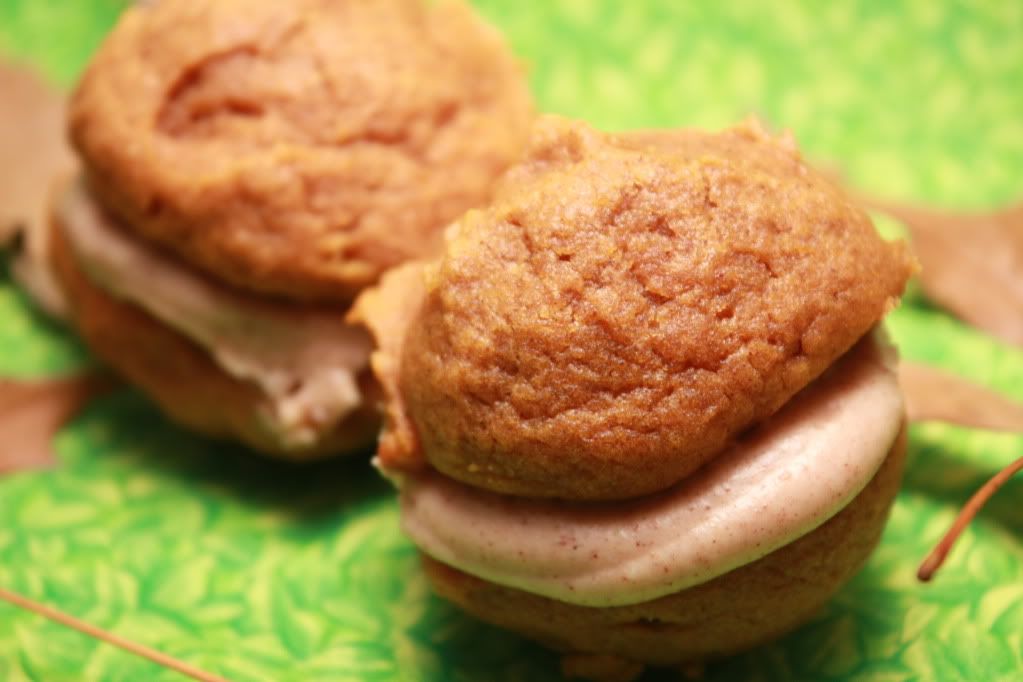
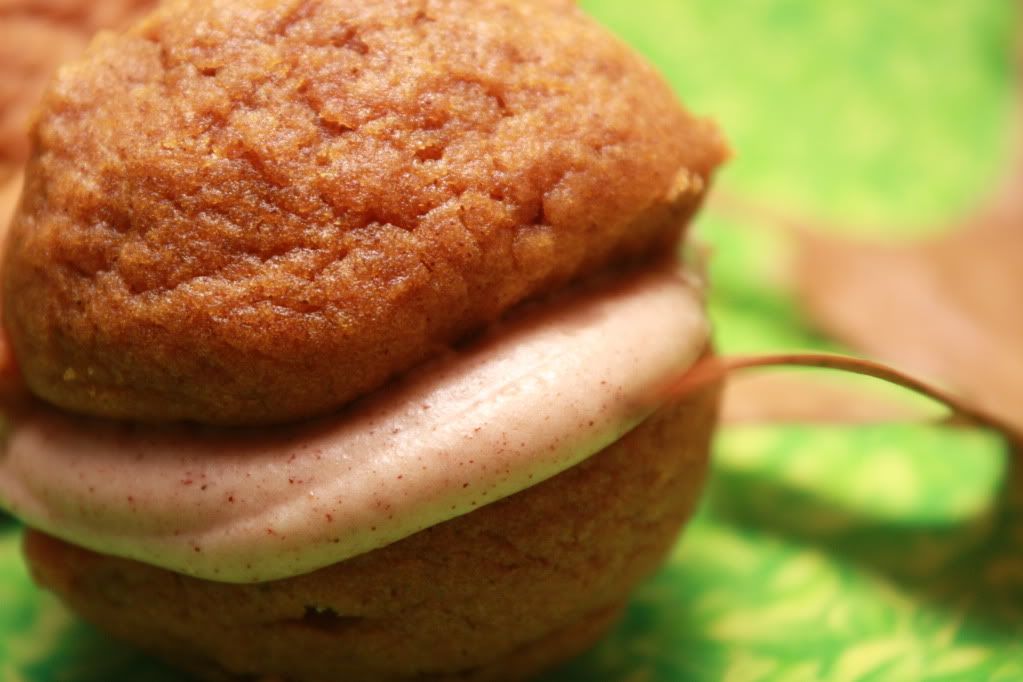
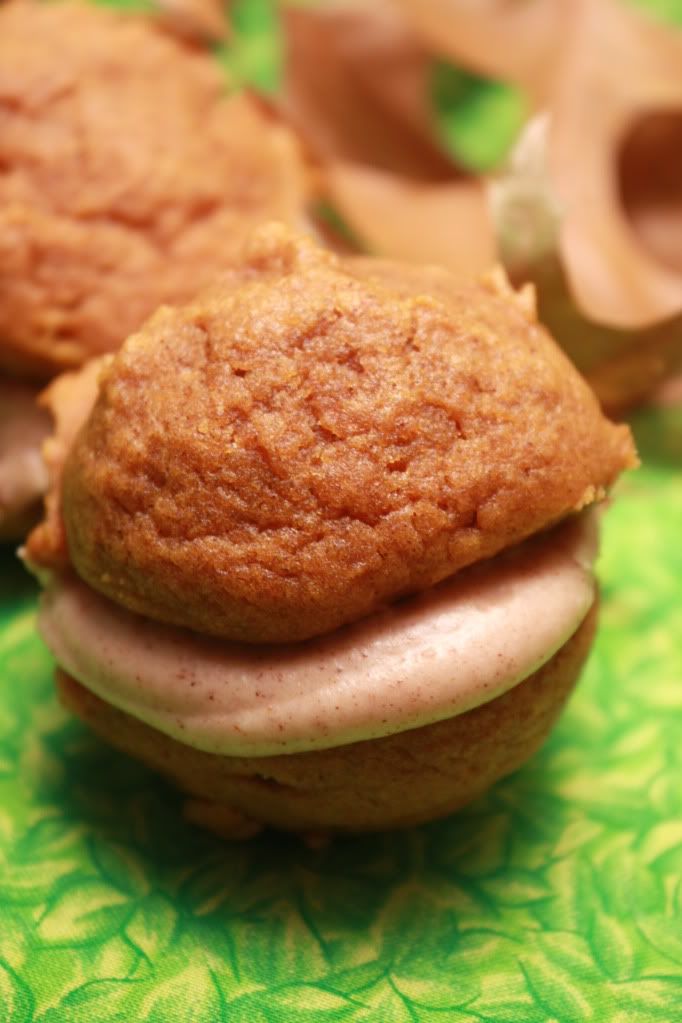
Pumpkin Whoopie Pies


I know I mentioned before that fall is my favorite season. I might have to retract that statement. Fall is typically my favorite season. Not this year though. Usually, fall starts as a slow progression of nippy mornings and warm afternoons to chilly mornings and cool afternoons. And after a less-than-hot summer, fall decided to follow suit. It has been pretty much nothing but chilly and rainy here. I'm sorry, did I misplace my October and jump straight to November somehow?

Frustrating as it is, the change in weather definitely kicked my craving for pumpkin into gear early this year. I actually made these a while ago as a "tribute" to the start of fall. (So yes, this was way back in September some time.) I didn't want to go the traditional route and pop out a pumpkin pie, and quite honestly, I wasn't really feeling like a pie anyways.

So I wandered back through my Google reader and discovered these Pumpkin Whoopie Pies from Cast Sugar from almost a year ago. I cannot believe that I waited so long to make these. They are so moist and delicious and pumpkin-y and the filling totally reminds me of cinnamon rolls and I just want to completely cover these with it.


Pumpkin Whoopie Pies
From: Baked: New Frontiers in Baking
Via: Cast Sugar

3 c. all-purpose flour
1 tsp. salt
1 tsp. baking soda
1 tsp. baking powder
2 Tbsp. cinnamon
1 tsp. ground ginger
1/2 tsp. ground fresh nutmeg
1 c. granulated sugar
1 c. dark brown sugar, firmly packed
1 c. canola oil
3 c. chilled pumpkin puree
2 large eggs
1 tsp. vanilla extract
3 c. powdered sugar
1/2 c. unsalted butter, at room temperature
8 oz. cream cheese, at room temperature
1 Tbsp. cinnamon
1 tsp. vanilla

Preheat oven to 350F. Prepare to baking sheets lined with parchment paper.

In a large bowl, whisk together the flour, salt, baking soda, baking powder, and spices. Set aside.In a separate bowl, whisk to sugars and oil together. Add the pumpkin puree and whisk to combine thoroughly. Add the eggs and vanilla and whisk until combined.

Sprinkle the flour mixture over the pumpkin mixture and whisk until completely combined. Use a small ice cream scoop with a release mechanism to drop healing tablespoon of the dough onto the prepared baking sheets, about 1 inch apart.

Bake for 10-12 minutes, until the cookies are just starting to crack on top and a toothpick inserted into the center of a cookie comes out clean. Remove from the oven and let the cookies cool completely on the pan while you make the filling.

For the filling: In the bowl of an electric mixer fitted with a paddle attachment, beat the butter until smooth with no visible lumps. Add the cream cheese an beat until combined. Add the powdered sugar, cinnamon and vanilla and beat until smooth. Be careful no to overbeat the filling, or it will lose structure.

To assemble: Turn half the cooled cookies upside down. Pipe filling (about a tablespoon) onto that half. Place another cookie, flat side down, on top of the filling. Press down slightly so that the filling spread to the edges of the cookie. Repeat until all the cookies are used. Put the whoopie pies in the refrigerator for about 30 minutes to firm before serving.


The only reason these guys lasted for any length of time around our house was because this recipe yields a TON of whoopie pies and there is only two of us. I kept trying to get Adam to take some into work, but he pretty much refused.

The only thing I would change is trying to spread out the batter on the baking sheets a little bit instead of leaving them in little balls. Adam actually called these "pumpkin balls" instead of whoopie pies because they puffed up so big and round. (Which actually kind of made it a little difficult when it came to keeping them upright when assembling them.)

Oh, and maybe I would add more filling. As much as humanly possible. And then dip each one in it before eating. :)


Nutrition Facts
Amount per serving
Calories 225Calories from fat 101
% Daily Value
Total Fat 11.3g17%
Saturated Fat 3.6g18%
Trans Fat 0.0g
Cholesterol 25mg8%
Sodium 145mg6%
Total Carbs 29.9g10%
Dietary Fiber 1.2g5%
Sugars 20.0g
Protein 2.2g
Vitamin A 67%Vitamin C 1%
Calcium 3%Iron 6%

Thursday, October 8, 2009

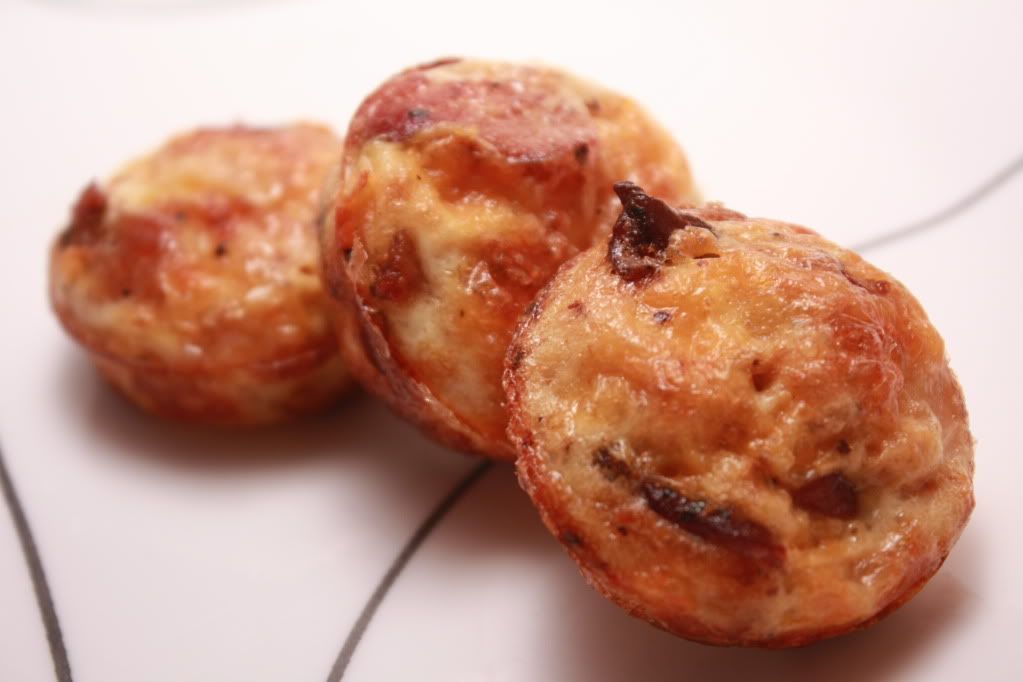
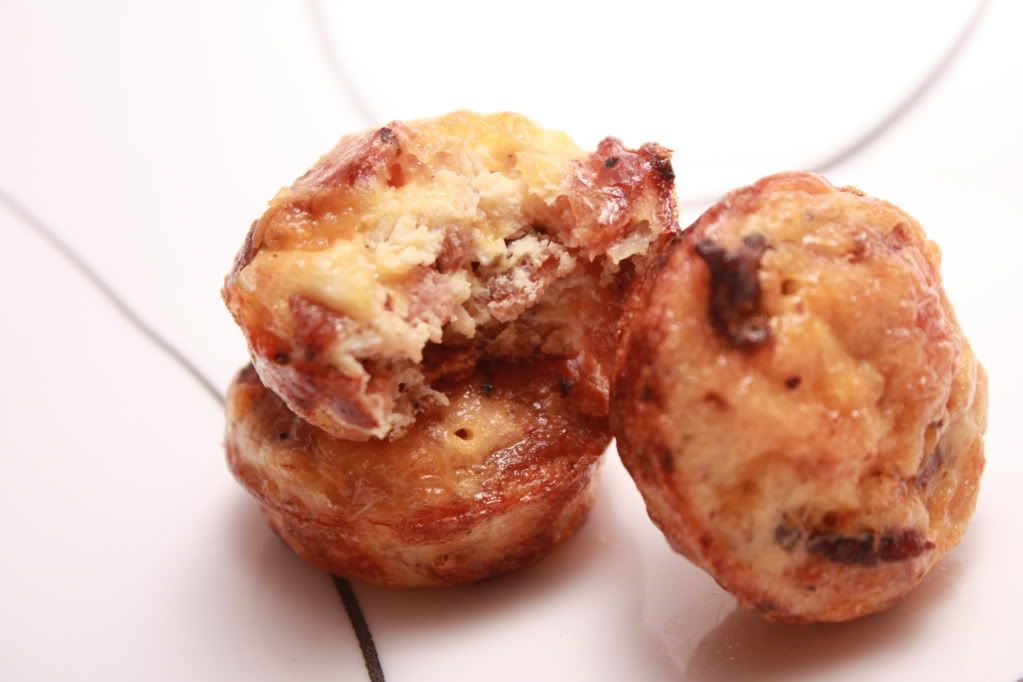
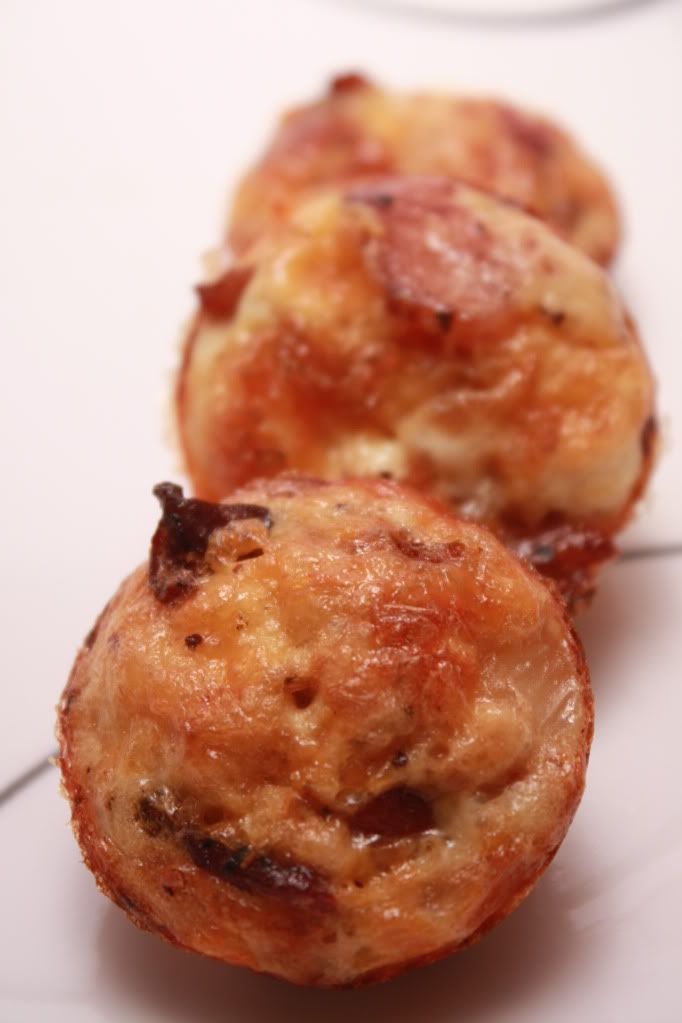
Mini Frittatas with Bacon and Cheese


Appetizers, also known as hors d'œuvres, are typically the items served before the main course. Unless you're like me, and decide you like the appetizer so much, getting the main course just really isn't worth it. Yup, that's right, I eat the appetizers as my meal.(Okay, not every time we go out, but I do occasionally.)

So, no surprise when I saw these apps on my reader from Macaroni and Cheesecake and decided to make a meal out of them. And they barely, just barely work as a meal between Adam and I. The recipe claims that you can get 24 mini frittatas out of this, but both times we've made them, we can only get 23. We definitely sit next to eat other when eating these and count out how many each of us has had -- to make sure the one of us doesn't get more than the other. Yeah, they're that good that counting matters.


Mini Frittatas with Bacon and Cheese
Adapted from: Cooking Light, December 2001


Cooking spray
1/2 cup finely chopped onion
4 slices peppered bacon
1/3 cup shredded extra-sharp cheddar cheese
2 teaspoons dried chives
1/8 teaspoon dried thyme
1/8 teaspoon black pepper
4 large egg whites
1 large egg

Preheat oven to 350°.

In a large nonstick skillet, cook bacon until done, but not crisp, and remove from pan. Discard all but about 1 tablespoon bacon grease. Turn heat to medium-high. Add onion; sauté 5 minutes. Remove from heat; cool 5 minutes. Crumble bacon. Combine remaining ingredients in a large bowl; stir with a whisk. Add bacon and onions, stirring with a whisk. Spoon mixture into 23-24 miniature muffin cups coated with cooking spray. Bake at 350° for 20 minutes or until set.

Serves: 8 (3 frittatas per serving)


Even after eating almost half a batch of these, I still keep looking at the plate, hoping Adam will stop before he's done with his half. But we all know that's not going to happen.

While we always go for dinner with these, they would probably be more appropriate for breakfast or brunch, or as appetizers/finger food at a party. Just make sure to watch your fingers when going for one of these.


Nutrition Facts
Amount per serving
Calories 116Calories from fat 74
% Daily Value
Total Fat 8.2g13%
Saturated Fat 3.1g16%
Trans Fat 0.0g
Cholesterol 47mg16%
Sodium 393mg16%
Total Carbs 1.1g0%
Protein 9.1g
Vitamin A 2%Vitamin C 1%
Calcium 4%Iron 2%

Tuesday, October 6, 2009

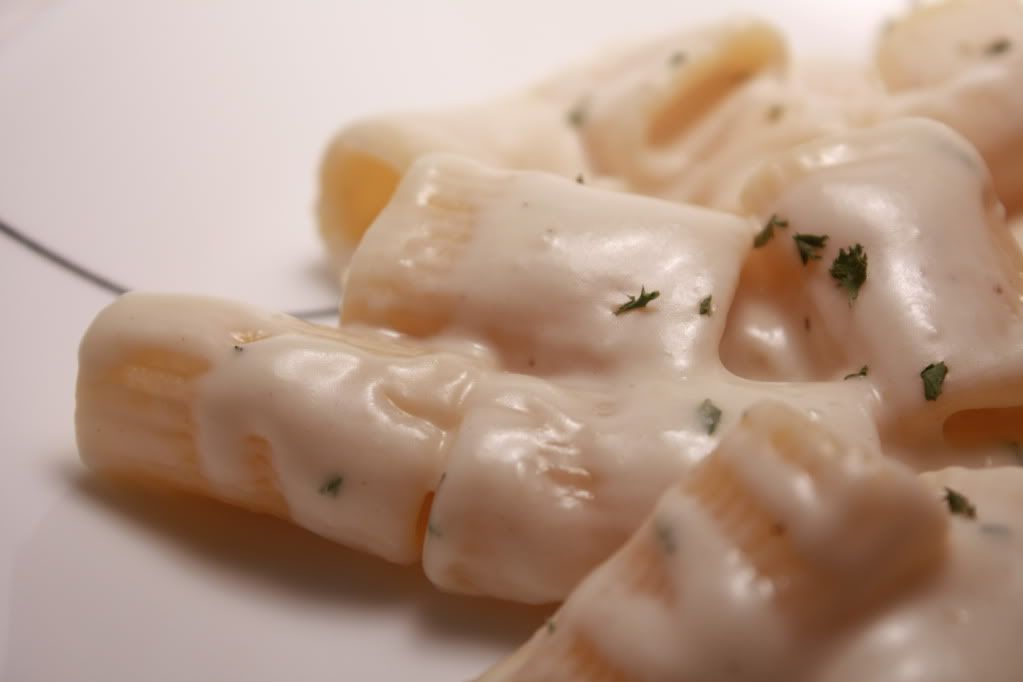
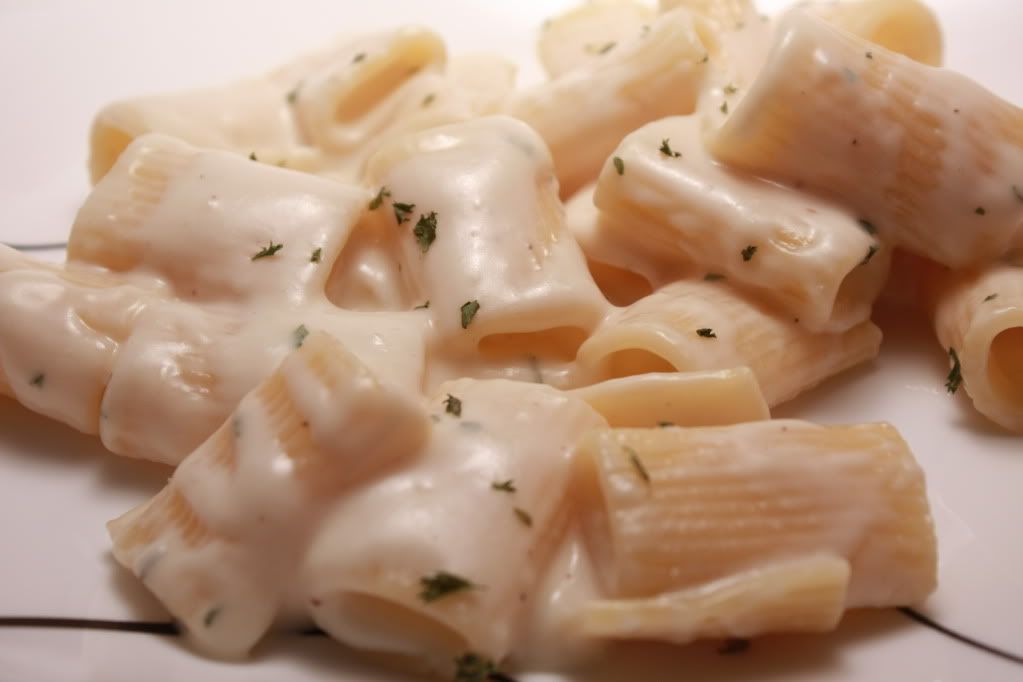
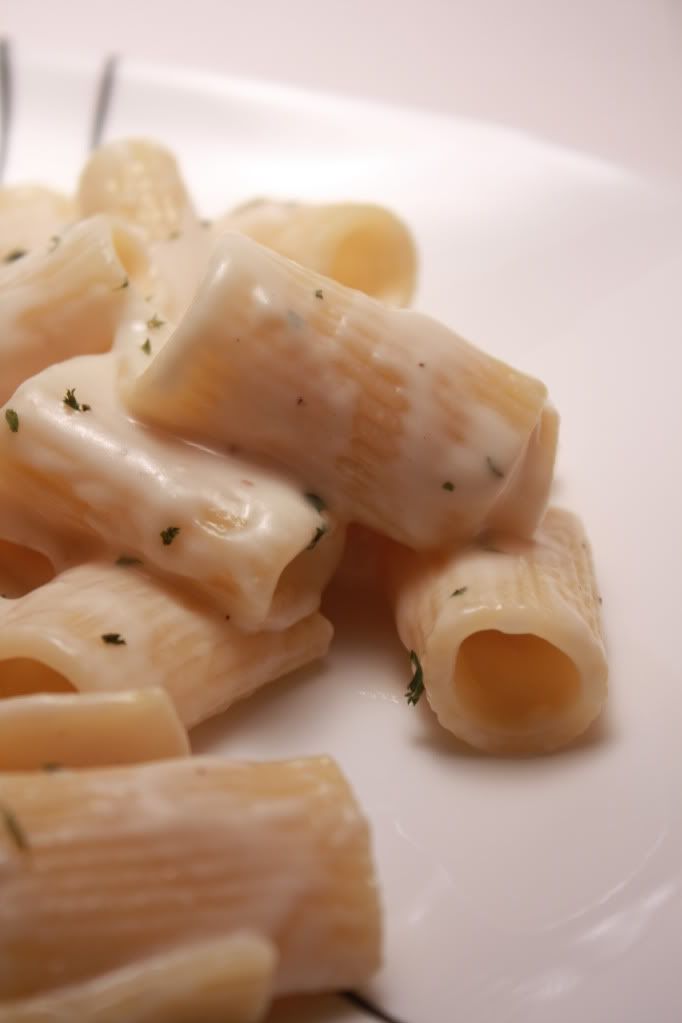
Creamy Rigatoni with Gruyère and Brie


So I promise I haven't completely dropped off the face of the earth. Not yet anyways. I have even been spending lots of time on my computer. Unfortunately, it's been to research lots of literature for a paper for my seminar class or to figure out my stats homework, not to talk about all the yummy food I've been eating lately. :(

I was very excited when the Cooking Light September issue arrived and I discovered it had a section on making mac n cheeses. Yum. Definitely one of my favorite "comfy" meals. Of the couple recipes I pulled out, this was the first one we gave a shot. Although, I would liken this more to an alfredo than your typical mac and cheese.


Creamy Rigatoni with Gruyère and Brie
From: Cooking Light, September 2009


3 1/2 teaspoons salt, divided
12 ounces rigatoni pasta
3 tablespoons all-purpose flour
2 cups 2% reduced-fat milk, divided
1 tablespoon butter
1 1/4 cups (5 ounces) finely shredded Gruyère cheese (I used Swiss)
3 ounces soft-ripened Brie cheese, rind removed
1/2 teaspoon freshly ground black pepper
Fresh flat-leaf parsley leaves (optional)

Bring 6 quarts water to a boil in a large saucepan. Add 1 tablespoon salt and pasta; cook 6 minutes or until al dente. Drain.

Place flour in a medium saucepan over medium heat; add 1/2 cup milk, stirring with a whisk until smooth. Gradually add remaining 1 1/2 cups milk to pan, stirring with a whisk; bring to a boil, stirring constantly with a whisk. Cook 2 minutes or until slightly thick, stirring constantly; stir in butter. Remove from heat; let stand 4 minutes or until sauce cools to 155°. Add cheeses; stir until smooth. Stir in remaining 1/2 teaspoon salt, pepper, and pasta. Garnish with parsley, if desired.

Serves: 6


Well, this fit the bill of creamy and cheesy... although with brie and swiss, I felt like there wasn't really a super strong taste. Or at least not one that left lasting impressions on me. Not too bad for an alfredo/white creamy type pasta.


Nutrition Facts
Amount per serving
Calories 362Calories from fat 128
% Daily Value
Total Fat 14.2g22%
Saturated Fat 8.4g42%
Trans Fat 0.0g
Cholesterol 85mg28%
Sodium 1553mg65%
Total Carbs 39.5g13%
Sugars 4.6g
Protein 18.6g
Vitamin A 10%Vitamin C 0%
Calcium 31%Iron 13%

LinkWithin

Related Posts with Thumbnails
 
Pin It button on image hover