Monday, April 25, 2011

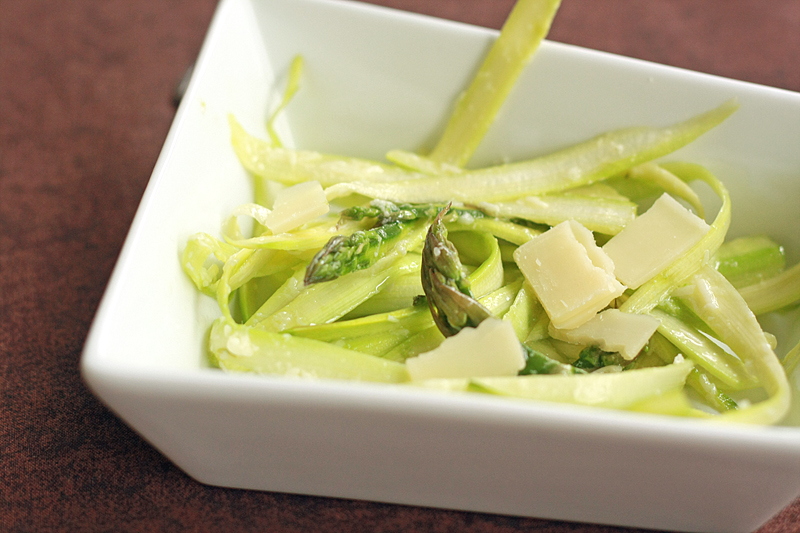
Shaved Asparagus with Parmesan Vinaigrette


I'm finally back! I have to admit, it was a tough week without my computer, even though I was borrowing the hubby's. There's just something about having my own stuff with all my files and programs. Although heading down to my parents for the weekend made it about a 100 times better since I had chunky baby cheeks to pinch and a three-year-old's birthday party to help throw. And of course I had to forget my camera, so I have no pictures. Sad day.

Once my power cord died and I realized there would be no editing and uploading of pictures, I decided to completely take the week off from blogging. There were other things piling up for me to do, so I decided to take advantage of my power-cord-failure-imposed time off and get a few of those done, or at least make some progress on them. However, before I essentially skedaddled out of the kitchen for a week, I did happen to try my hand at a quick and easy veggie side dish.

One of my goals as of late is to get my freezer cleaned out. Not really for any budget or old food reasons -- nope, I simply want to be able to fit my ice cream maker in there. It's starting to get warmer and warmer out (oh so gradually, but it is) which is only making Adam and I crave some ice cream. After throwing out several nasty looking freezer-burned foods, I came across a couple easy entrées and decided that I could actually maybe try my hand at a side dish since the main dish was almost no work at all.
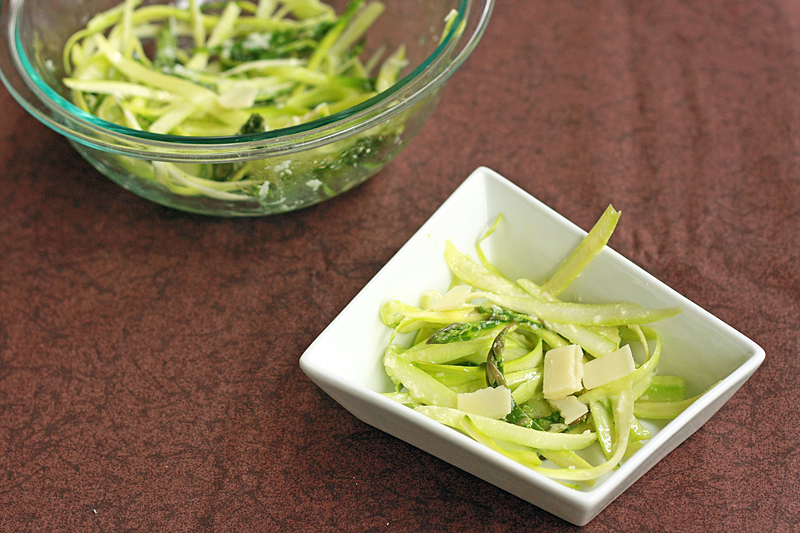

Shaved Asparagus with Parmesan Vinaigrette


Bon Appetit, May 2011

1 pound large asparagus spears, trimmed and peeled
1/4 cup finely grated Parmesan, plus more for shaving
1 1/2 tablespoons lemon juice
1/4 cup extra-virgin olive oil
1/2 teaspoon kosher salt
1/4 teaspoon ground black pepper

Using a vegetable peeler, shave asparagus spears into long thin shavings. Place shavings and asparagus tips in a medium bowl.

In a small bowl, whisk together the grated Parmesan, lemon juice, and olive oil until well blended. Whisk in salt and pepper. Drizzle vinaigrette over asparagus, tossing to coat. Serve with shaved Parmesan.


Serves: 4


This side dish fit the bill for quick and easy, exactly what I was going for last week. The vinaigrette takes about 2 minutes to put together, and there is zero cooking, baking, or heating of any kind involved. Win. The asparagus spears are a little unwieldy at first when you start peeling them, but once you have a rhythm figured out, it goes by pretty fast.

I was a little hesitant at first with this recipe -- eating raw asparagus? That just sounded odd, something I'd never done before. But surprisingly, it works. The trick is to use the vegetable peeler rather than a knife so you have super thin shavings. Despite being drizzled in a vinaigrette, the asparagus remains bright, fresh, and crispy. Definitely something out of the ordinary rotation of steamed or roasted veggies, and perfect for spring.


Nutrition Facts
Amount per serving
Calories 171Calories from fat 139
% Daily Value
Total Fat 15.4g24%
Saturated Fat 3.0g15%
Cholesterol 6mg2%
Sodium 389mg16%
Total Carbs 5.2g2%
Dietary Fiber 2.4g10%
Sugars 2.3g
Protein 4.9g
Vitamin A 18%Vitamin C 15%
Calcium 10%Iron 15%

Tuesday, April 19, 2011

Happy Early Easter!

I can't believe Easter is already here. I keep thinking "oh Easter comes really late this year", and suddenly, it's "really late". Time to rustle up some recipes for that infamous Easter dinner.

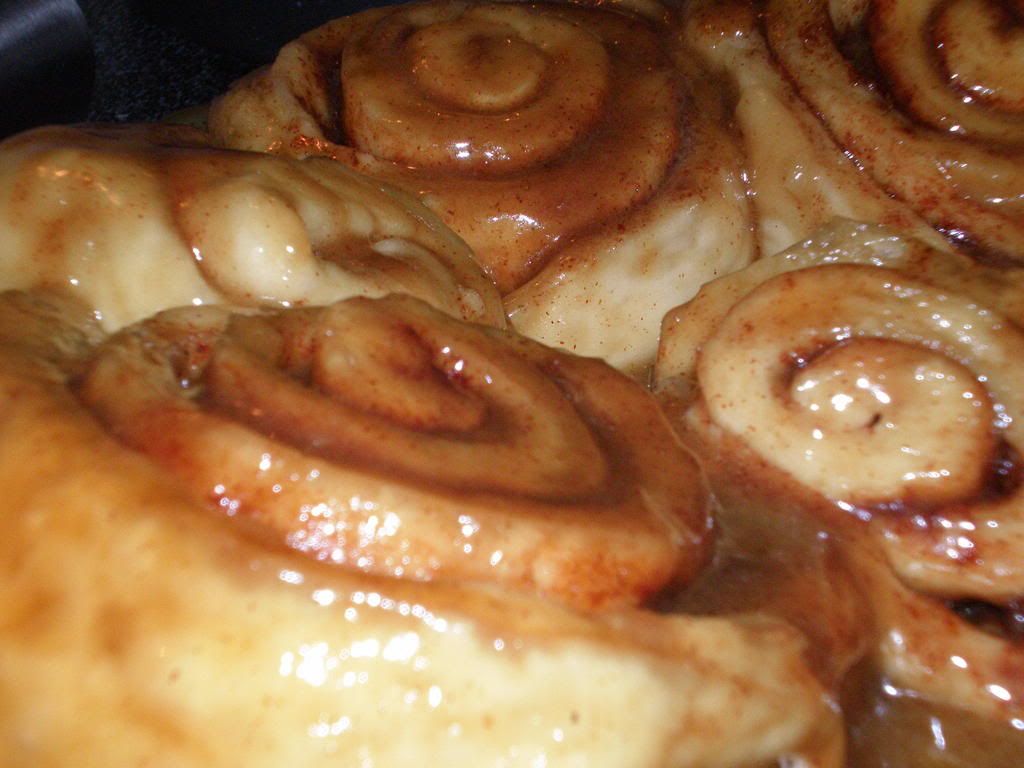
First things first. You have to start the day out right with a good breakfast. Because it's not like you're going to be chowing down on chocolate bunnies and sugary egg candy later. Um, yeah.


Note, I said "good breakfast", not "good for you breakfast". This might take a few more minutes to put together in the morning, but let me assure you -- it can be done before church, and it is completely worth it. Just don't do the flipping of the rolls in your Sunday best.

Now that we have breakfast out of the way, let's talk Easter dinner/brunch/lunch/whatever.

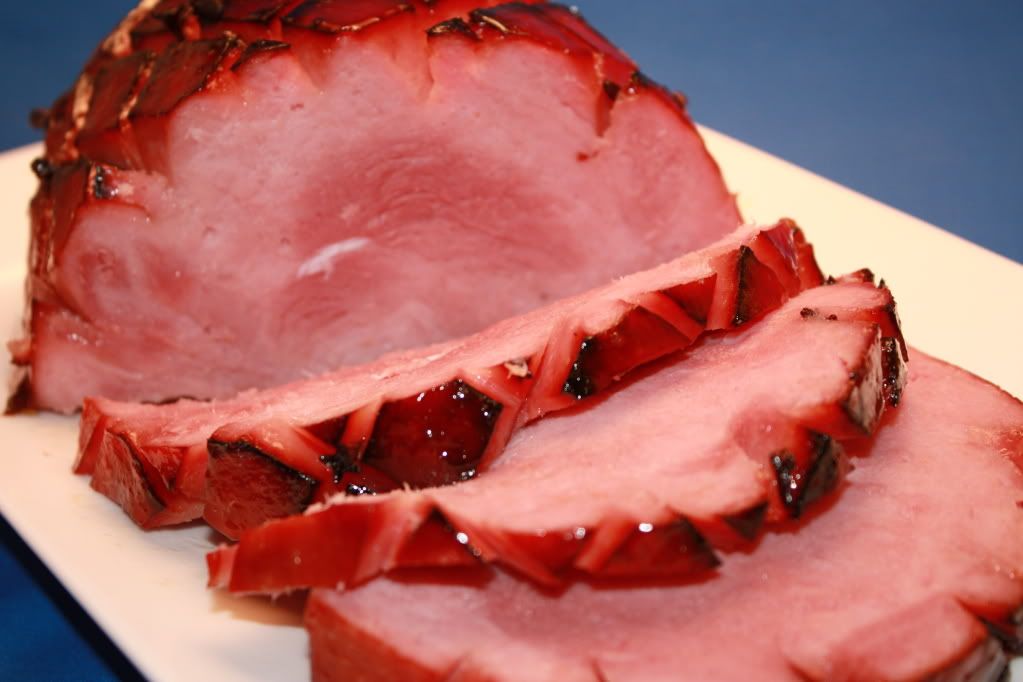
We always go the traditional ham route, although you certainly don't have to. If you're into splurging on some Honey-Baked Ham, I say go for it, one less thing for you to worry about. I, myself, don't like to spend an arm and a leg on something that's fairly easy to make and tastes almost the exact same. I mean, we're not talking turkey here, these babies are already cooked, all we're really doing is re-heating and flavoring.


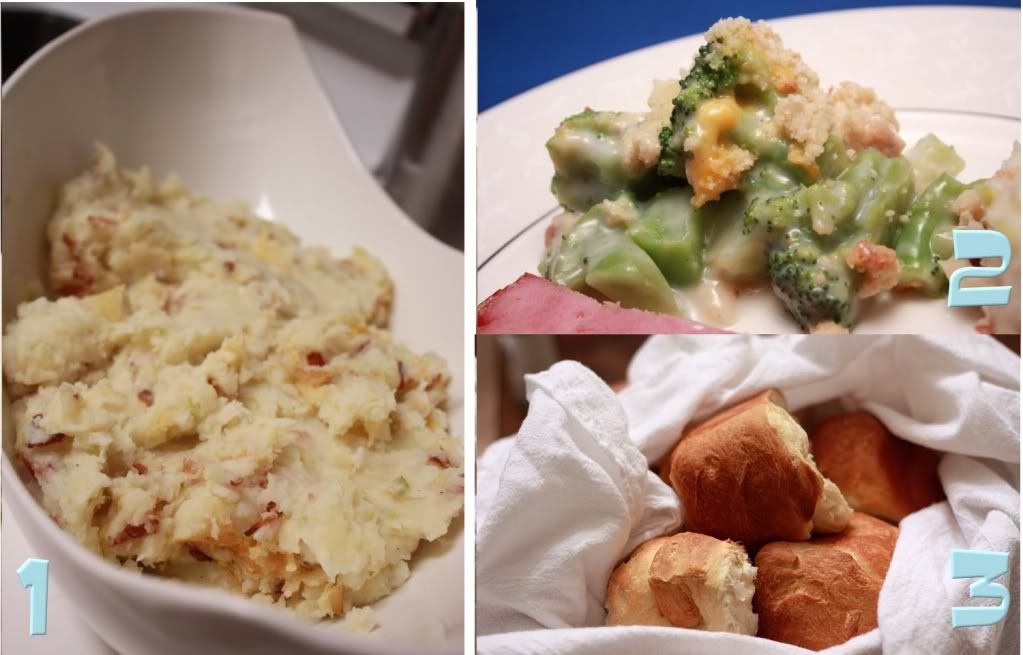
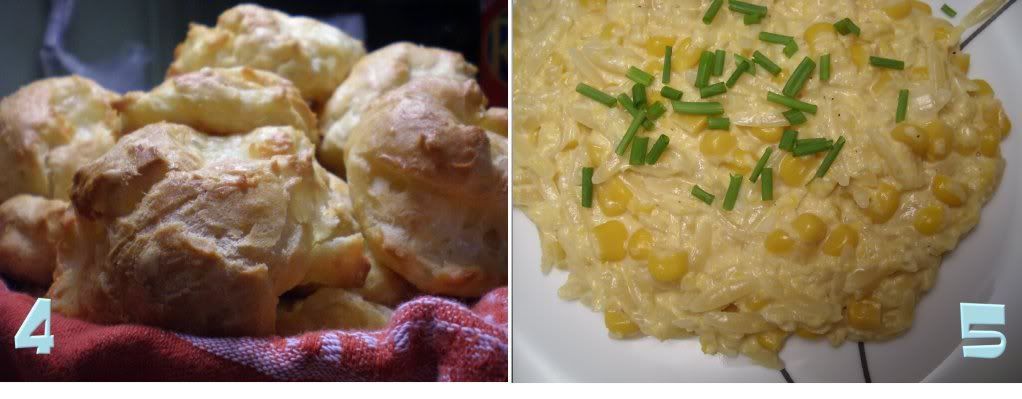
And then there are the ominous side dishes. Maybe this part isn't a huge deal for you, but for someone (such as me) who rarely makes them, it can be tough trying to find just the right side to go with the meal, not to mention trying to figure out when everything gets its turn in the oven. Here are a few of my favs:


1. Mashed Potato Casserole with Smoked Gouda and Bacon
2. Creamy Broccoli Bake
3. Honey Yeast Rolls
4. Gougeres
5. Orzo with Creamed Corn Sauce

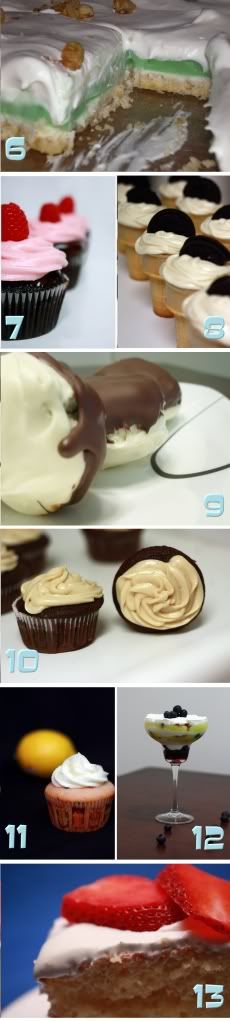
Last but never least, are the desserts. Sure the kiddos get the baskets full of jelly beans and Reese's eggs, but what is there for the adults? Well, unless you happen to make yourself a basket with that random assortment of Easter candy that just happened to fall into your cart at the grocery store... but I digress. A dessert is still needed in order to finish out this fantastic meal.

I really don't think you can go wrong with any of these:


6. Pistachio Pie
7. Chocolate-Dipped Chocolate Raspberry Cupcakes
8. Cookie 'n' Cream Ice Cream Cone Cupcakes
9. Cake Balls
10. Milky Way Cupcakes
11. Strawberry Basil Lemonade Cupcakes
12. Blueberry, Lemon, and Gingersnap Cheesecake Pudding
13. Tres Leches Cake

Hope everyone has a Happy Easter!


Note:The power cord for my laptop as decided to die on me, thus I am unable to access my pictures and editing software until my new one arrives. Unfortunately, this means no new posts until then. :( (And I will most definitely fix those dang dessert pics once I'm able to upload it to my FTP site rather than a free photo site).

Friday, April 15, 2011

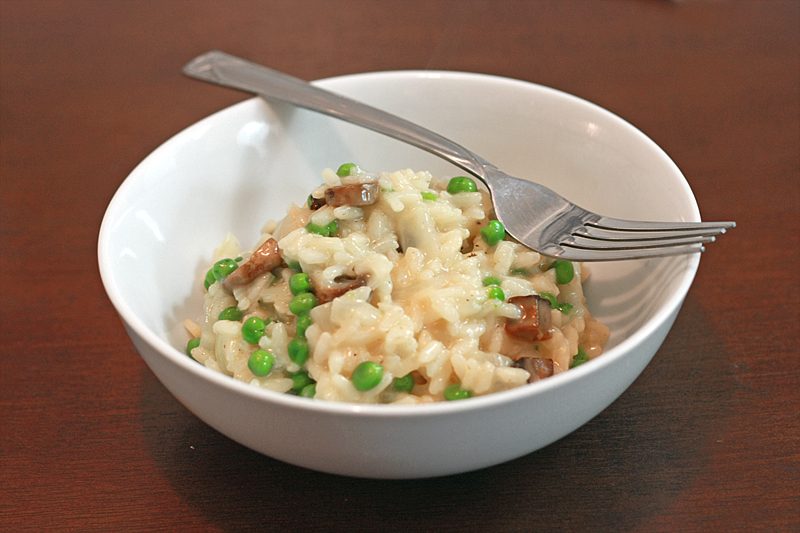
Brown Butter Risotto


Despite the fact that my fridge is mostly bare, there are always a few items hiding out down in the veggie bins that I never seem to remember about until it's too late. I hate that. This time, I found a carton of mushrooms on the verge of trash-worthiness. Even though they were only about $1, I still couldn't bring myself to just leave them in there, so I hunted around the kitchen trying to find something to go with them.

Which is when I came across my stash of arborio rice in the pantry. That'd work. For some reason, I kept thinking about brown butter, and how nice the nutty flavor would go with the earthiness of the mushrooms. Sure, why not? It was going to be a hodge-podge meal anyways... Might as well throw in the last of my white wine too, as that was also probably past its prime. Geez. Clearly I have an issue with using things up.

Brown Butter Risotto


Original Recipe

4 cups fat-free low-sodium chicken broth
1 cup white wine
6 tablespoons butter, divided
1 1/2 cups onion, diced
1 1/2 cups arborio rice
1 cup Parmesan cheese, grated
8 ounces white mushrooms, diced
4 ounces frozen peas, thawed
1/2 teaspoon ground black pepper

Bring broth and wine to boil in medium saucepan. Reduce heat to low; cover saucepan.

Melt 2 tablespoons butter in a wide medium saucepan (such as a 10" omelette pan) over medium-low heat. Add onions; saute until very tender but not brown, about 15 minutes. Increase heat to medium. Add rice and stir 1 minute. Add 1 1/2 cups warm broth. Boil gently until broth is absorbed, stirring frequently. Add another 1 cup broth; stir until absorbed. Add remaining 2 1/2 cups broth, 1/2 cup at a time, allowing broth to be absorbed before adding more and stirring frequently until rice is tender and creamy, about 25 minutes.

Meanwhile, in a small skillet coated with cooking spray, cook the mushrooms over medium heat until tender and just starting to release liquids, about 5 minutes. Transfer to a small bowl and set aside. Wipe skillet with a paper towel. Melt 4 tablespoons butter. Stirring often, continue to cook the butter until the foaming subsides and browned bits have formed on the bottom of the pan, about 5 minutes. Remove from heat.

Fold in the Parmesan cheese, mushrooms, peas, and black pepper. Add the browned butter, stirring well.


Serves: 6


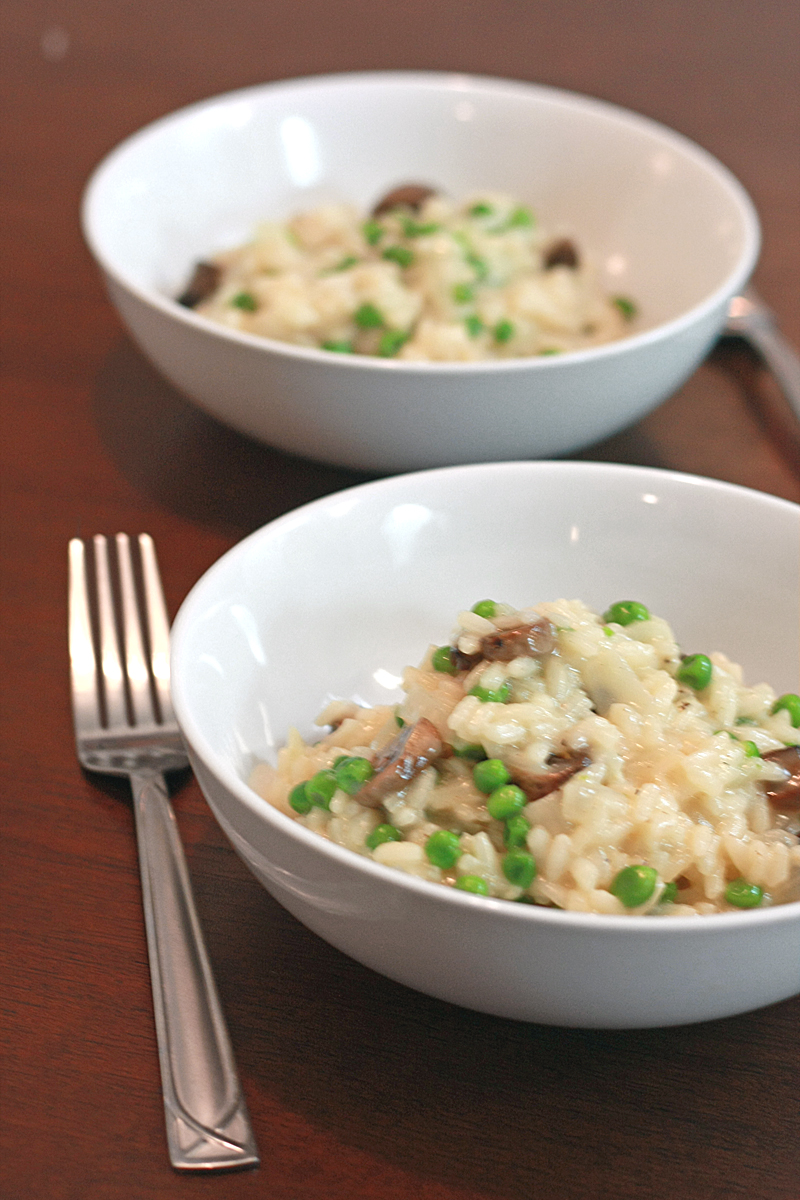
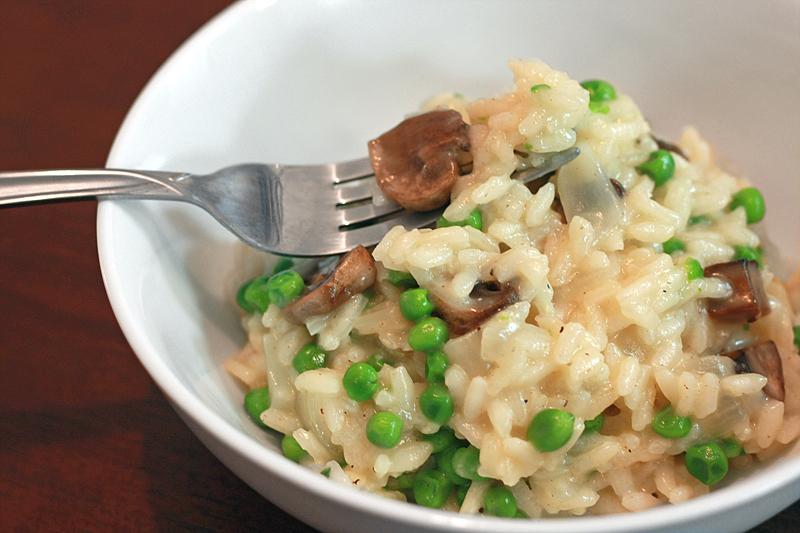
Sometimes when I throw together a "cleaning-out-the-kitchen" meal it turns out just alright, or even not-so-hot. Every once in a while though, I put together something that I would gladly eat again, even the next day, as leftovers. Which is really saying something. I knew going in that this would at least be decent, as I started out with my favorite go-to-hasn't-failed-me-yet risotto recipe. But I was honestly surprised at how much I enjoyed the mushrooms in it.

I was a little disappointed that the brown butter didn't come through as much as I expected. Though I think not adding the wine and maybe combining the butter with the broth additions might bring out that nuttiness I was looking for a bit more. I guess there's only one way to find out... :)


Nutrition Facts
Amount per serving
Calories 416Calories from fat 151
% Daily Value
Total Fat 16.8g26%
Saturated Fat 10.3g51%
Cholesterol 45mg15%
Sodium 659mg27%
Total Carbs 46.3g15%
Dietary Fiber 3.3g13%
Sugars 3.2g
Protein 12.9g
Vitamin A 17%Vitamin C 8%
Calcium 21%Iron 9%

Thursday, April 14, 2011

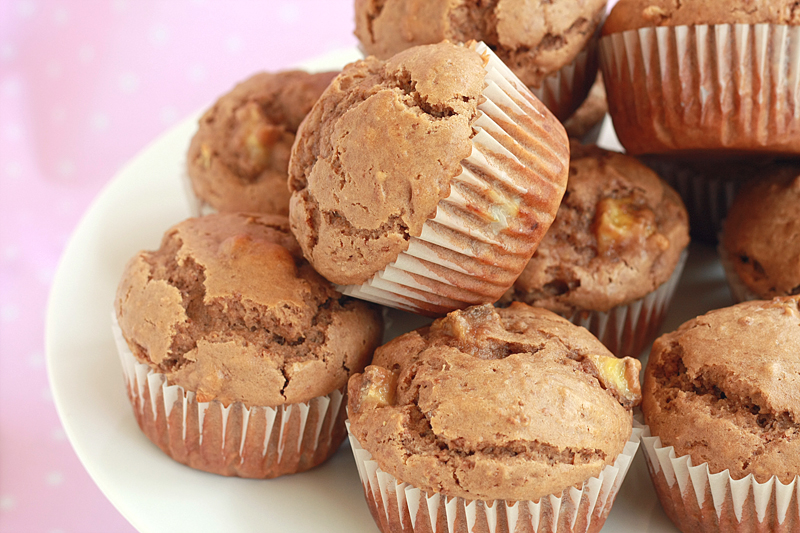
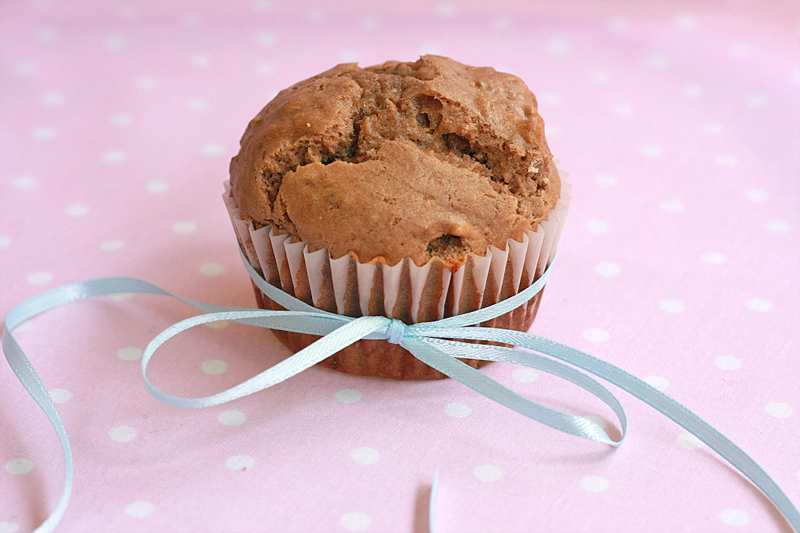
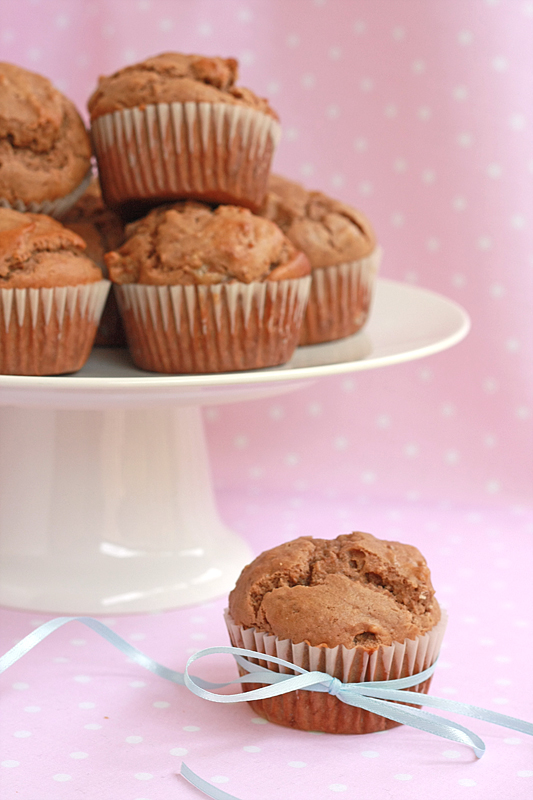
Chocolate Peanut Butter Banana Muffins


Pretty much as soon as I made my Dark Chocolate Peanut Butter I knew exactly what I wanted to do with it. Which is weird, seeing as I'm not a huge muffin person. But there was just something inside my head insisting that my new peanut butter would be fantastic in a muffin. With bananas. Which aren't exactly my favorite fruit. Odd again.

But I made those muffins anyways. And even stuck some bananas in there for good measure -- I mean it is a breakfast food after all, might as well get some fruit in there. While they were baking all I could smell was the peanutty goodness coming out of my kitchen. I might have drooled a little.

Let me tell you, it was painful letting these beauties just sit there cooling. Mocking me. Then I ate one. Ha, take that muffins. I'm not sure I'll even tell the hubby I made these, just bury them deep in the freezer for me to eat at my leisure. Now that, my friends, is an excellent idea.


Chocolate Peanut Butter Banana Muffins


Original Recipe

2 cups all-purpose flour
1/2 cup granulated sugar
2 tablespoons brown sugar
1 tablespoon baking soda
1/2 teaspoon salt
1 cup Dark Chocolate Peanut Butter*
2 tablespoons cold butter
2 eggs
1 cup milk
2 medium ripe bananas, diced

Preheat oven to 400 degrees F. Line (or grease) a muffin tin; set aside.

In a large bowl, combine flour, granulated sugar, brown sugar, baking powder, and salt. Using a pastry blender, or two knives, cut in the peanut butter and butter until the mixture resembles coarse crumbs.

In a small bowl, lightly beat the eggs. Stir in the milk. Pour the egg mixture into the dry ingredients and stir until all the ingredients are moistened. Gently fold in the bananas.

Fill the muffin tin about three-quarters full. Bake for 15-17 minutes, or until a wooden toothpick inserted comes out clean. Let cool in pan 5 minutes, then transfer to a rack to cool completely.


Makes: 14 muffins

*You can substitute regular peanut butter here with 2 ounces dark chocolate melted and stirred in.


The only thing I would really change if I made these again would be to add a bit more chocolate. The peanut butter and banana flavors come across so strong that the subtle nuance of the chocolate tends to get a little lost. And really, it's not like you can go wrong with more chocolate. :)


Nutrition Facts
Amount per serving
Calories 265Calories from fat 117
% Daily Value
Total Fat 13.1g20%
Saturated Fat 3.4g17%
Cholesterol 56mg19%
Sodium 436mg18%
Total Carbs 32.4g11%
Dietary Fiber 2.0g8%
Sugars 14.1g
Protein 7.7g
Vitamin A 3%Vitamin C 9%
Calcium 7%Iron 25%

Tuesday, April 12, 2011

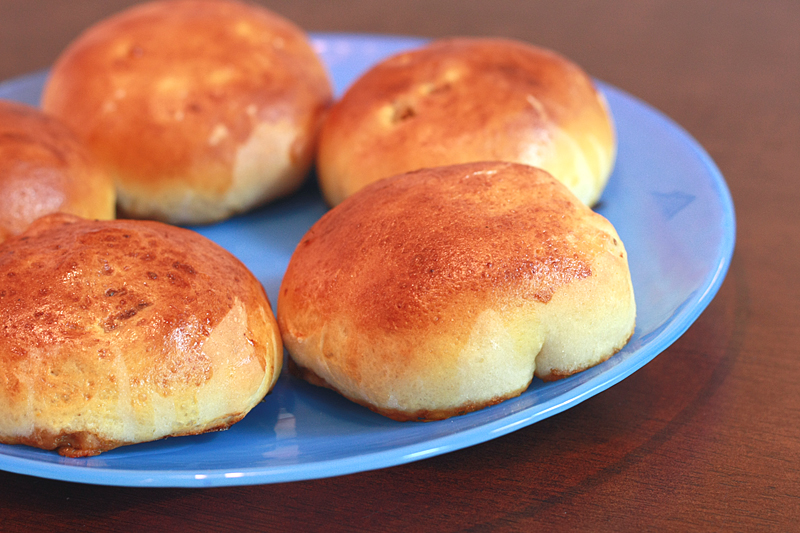
Ginger Teriyaki Turkey Buns


It's that time again! So far I've turned Dark Chocolate Cupcakes with Oreo Raspberry Glaze into Chocolate Dipped Chocolate Raspberry Cupcakes, Penne Alla Vodka into Creamy Penne Alla Vodka, and some Spicy Garlic Lime Chicken into Spicy Garlic Lime Chicken Handpies. Up next on the list are what I proclaimed to be the most amazing burgers ever -- Ginger Teriyaki Burgers.


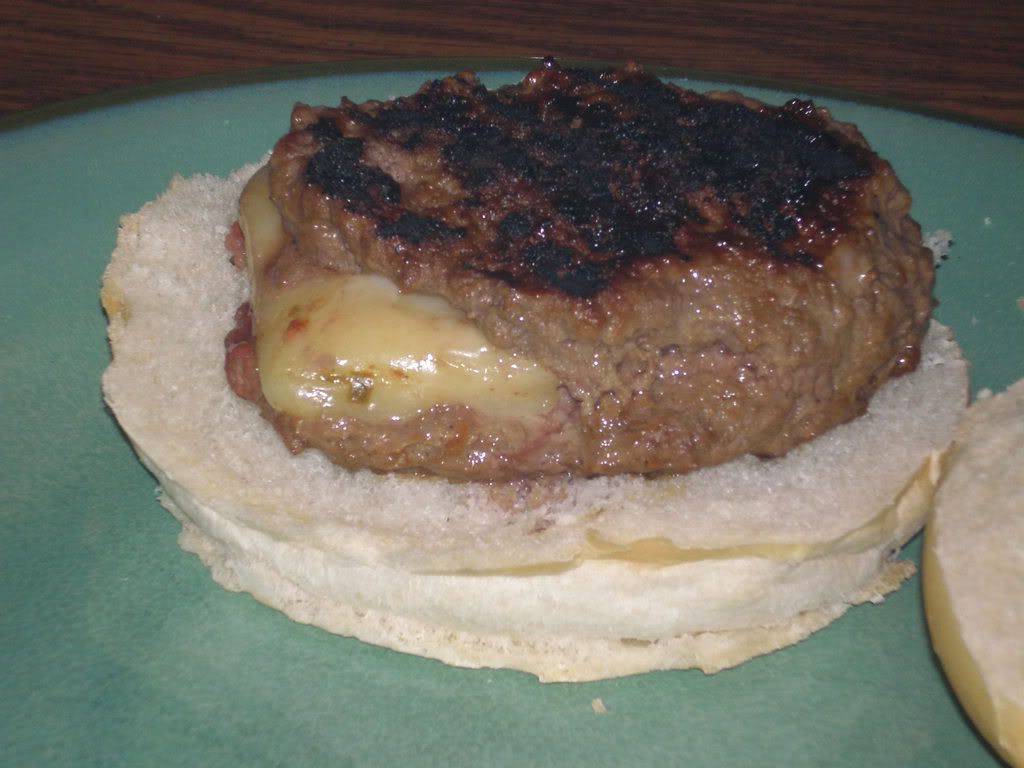
These burgers were not only made out of beef with a ginger teriyaki sauce mixed in, but also had a slice of pepper jack cheese nestled in the middle. Yum. Although today, I probably wouldn't label them as the "best burger ever", but they are pretty good. I think I was just so excited that I actually came up with my first truly unique recipe.

When it came to re-creating this dish, I knew right away I wanted to switch from ground beef to ground turkey to let the flavor of the sauce come through a bit more. While they go well together, the beef has a heavy enough flavor on its own that it somewhat overpowers and mutes the sauce. This time around I wanted that sauce to shine.

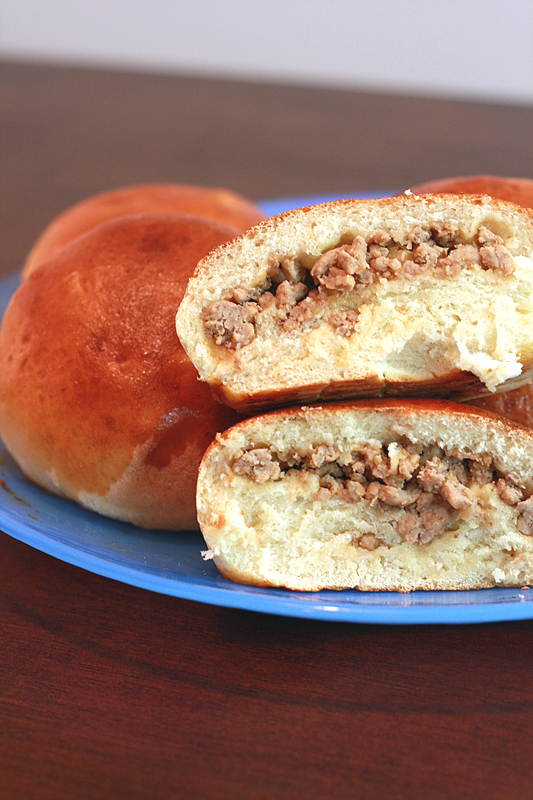
As I kept turning this recipe over in my mind trying to figure out how to change it, I decided I wanted to have it lean more towards Asian-inspired rather than American. I used the classic Char Siu Bao (Chinese BBQ pork buns) as an inspiration to wrap the flavored turkey inside a bun rather than between two halves of one. And it is so.good. I love that the buns are slightly sweet while the sauce reminds me of hibachi grill restaurants that I love so much.


Ginger Teriyaki Turkey Buns


Buns adapted from: Christine's Recipes
Sauce adapted from: Allrecipes.com

2 tablespoons sugar
1/2 cup very hot water
2 teaspoons vegetable oil
1/3 cup milk
2 1/4 teaspoons instant yeast
2 cups all-purpose flour

1 egg yolk, lightly beaten
1 teaspoon sugar
2 teaspoons water

1 pound ground turkey
1/4 cup onion, roughly chopped
1 clove garlic
1/8 teaspoon ground ginger
1 1/2 tablespoons lemon juice
4 1/2 tablespoons soy sauce
1 tablespoon Teriyaki sauce
1/4 teaspoon sugar
1/4 teaspoon white vinegar


In a large bowl, stir together 2 tablespoons sugar and hot water. Let sit until sugar has completely melted (may need to put in the microwave for a few seconds). Add oil and milk. Allow mixture to cool to 110-115 degrees F. Add yeast and stir well. Cover with a towel and let sit for 10 minutes in a warm, draft free spot. Mixture should be foamy on top when ready.

Stir in flour with a wooden spoon until the flour is mostly incorporated and the mixture looks shaggy. Knead dough by hand until no longer sticky, about 5 minutes. Transfer to a lightly oiled bowl, turning once to coat. Cover with a towel and let rest in a warm, draft free area until doubled in size (25 minutes).

Preheat oven to 400 degrees F. Line a baking sheet with parchment paper and set aside.

Meanwhile, brown the ground turkey in a large skillet over medium heat until no pink remains. Remove from heat & drain.

Combine the onion and next 5 ingredients (through Teriyaki sauce) in a food processor. Process until smooth. Pour sauce over ground turkey, tossing to make sure all the turkey is coated.

Divide dough into 6 equal portions. Flatten each section into a 4-5 inch round, leaving the center thicker. Add about 2 2/3 ounces (about 4 tablespoons) filling to the center of each disk, then fold the ends over each other. Seal the seams well. Place buns seam-side down on the baking sheet.

In a small bowl, whisk together the egg yolk, 1 teaspoon sugar, and 2 teaspoons water. Brush egg wash over each bun. Bake for 15-20 minutes, or until buns are golden brown.


Yields: 6 buns


My first attempt at these sweet little buns was a disaster. Actually, I think it was my first failed yeast dough. After 2+ hours the dough had barely risen, definitely not "tripled in size" as it was supposed to. And of course, it was well past time we should have eaten, sooo it ended up being pizza night. But I knew this was the way I wanted to go, not to mention I still had turkey sitting in the fridge. A few nights and a new recipe later, and we had success. I was a little hesitant with using the recipe I did as it had such a short rise time compared to the other recipes I had come across, but trust me, it works.

You could also go the steaming route, which seems to be a bit more popular with Char Siu Bao, but seeing as I don't have the right equipment, baked it was. (And anyways, I think the baked version replaces hamburger buns a little better.) Either way, these will be delicious.


Nutrition Facts
Amount per serving
Calories 395Calories from fat 117
% Daily Value
Total Fat 12.9g20%
Saturated Fat 3.4g17%
Cholesterol 113mg38%
Sodium 882mg37%
Total Carbs 40.5g14%
Dietary Fiber 1.7g7%
Sugars 6.8g
Protein 27.5g
Vitamin A 1%Vitamin C 4%
Calcium 5%Iron 22%

Monday, April 11, 2011

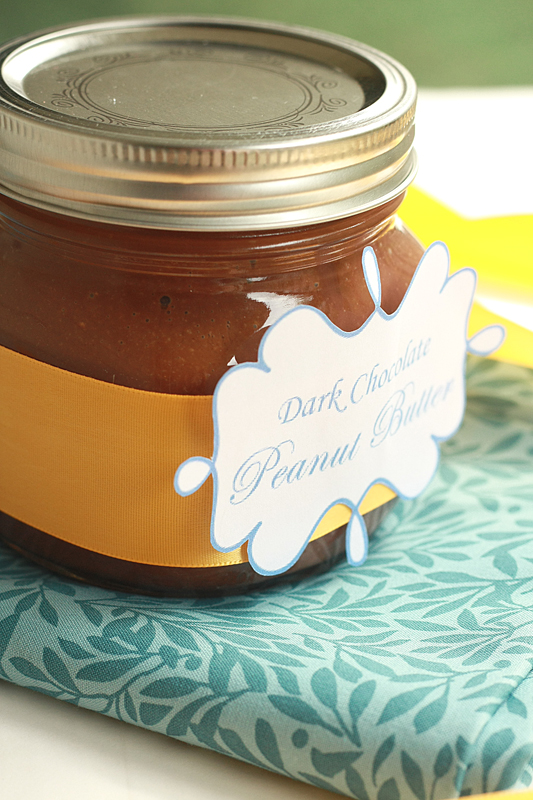
Dark Chocolate Peanut Butter


A little while ago I tried my hand at making Pistachio Butter and had a pretty epic fail. Well, the flavors were there, but the smoothness and consistency one expects from a nut butter was nowhere to be found. Ever since then I've been itching to make a nut butter again. I figured out that I didn't dry the nuts properly between the blanching and processing stages, giving me clumpy unappetizing "butter". So I decided to altogether skip blanching and go straight into processing.

Lucky for me (or so I thought), peanuts just happened to be on sale that week -- a 10 ounce bag for $1. Note that these were unshelled guys. By the time I had cracked a cereal bowl full of shells, I barely even had 1/2 a cup of nuts. Frustrating and time consuming. And the hubby kept walking by and eating the shelled ones. Not cool. So in my impatient ways while at the grocery store, I decided to give in and buy jarred peanuts, ready to go. The slight slight price difference was definitely worth my time.

Once shelling and blanching are no longer factors, it literally takes under 10 minutes to make your own peanut butter. Not too shabby. Especially when the food processor is doing all the work. I opted to add in some chocolate because, well, that's how I roll. Chocolate + peanut butter = one of the best flavor combinations out there, I just couldn't resist.


Dark Chocolate Peanut Butter


Original Recipe

16 ounces lightly salted peanuts
2 tablespoons oil (peanut, canola, vegetable)
4 ounces dark chocolate chips, melted

Pour peanuts into a food processor. Process nuts 5-7 minutes, adding oil 1/2 tablespoon at a time until smooth (more or less oil may be needed). Add melted chocolate and process until fully incorporated.

Yields: 1 pint (serving size: 2 tablespoons)


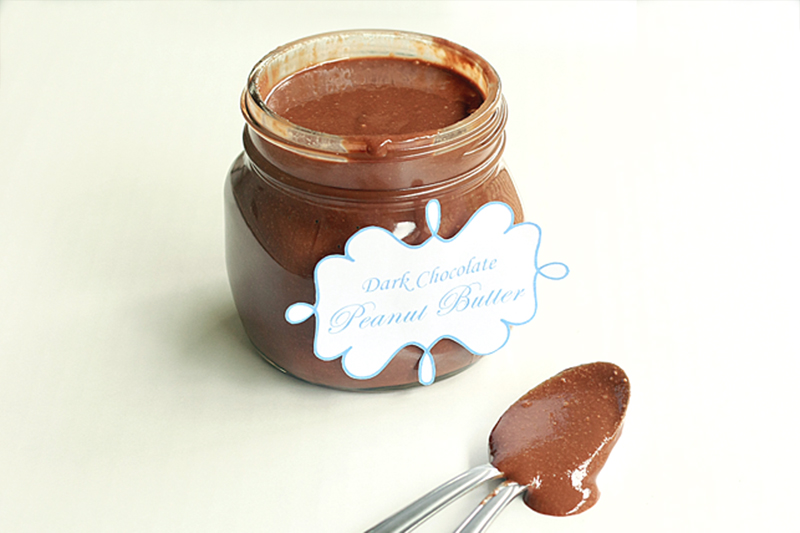
I ended up adding just a bit too much oil (I added upwards of 3 tablespoons) so my end result was a bit on the runny side. Still super tasty though. Next time I might add in more chocolate as the peanut butter is upfront and prominent, with just a hint of chocolate.

I think I have now entered the never-ending loop of wanting to keep trying to make nut butters. I am really wanting to go back and try pistachio butter again, this time without the blanching. I just have to talk my poor little fingers into shelling those things again.


I almost forgot! Denise from We Like to Cook has bestowed me with the Sisterhood of the World Bloggers Award!
I love the simple yet tasty looking dishes that Denise and Dom share, so make sure you head over to their blog and check them out! Accepting this award involves me sharing 7 things you might not know about me, and then passing the award along to 15 other bloggers. As I just shared 7 things with you just about a month ago, I will direct you to that list if you're just dying to know something about me. ;) As for the 15 bloggers to pass this along to:


Enjoy ladies!

Nutrition Facts
Amount per serving
Calories 210Calories from fat 160
% Daily Value
Total Fat 17.8g27%
Saturated Fat 3.4g17%
Cholesterol 0mg0%
Sodium 96mg4%
Total Carbs 9.8g3%
Dietary Fiber 2.0g8%
Sugars 4.8g
Protein 7.6g
Vitamin A 0%Vitamin C 6%
Calcium 4%Iron 19%

Thursday, April 7, 2011

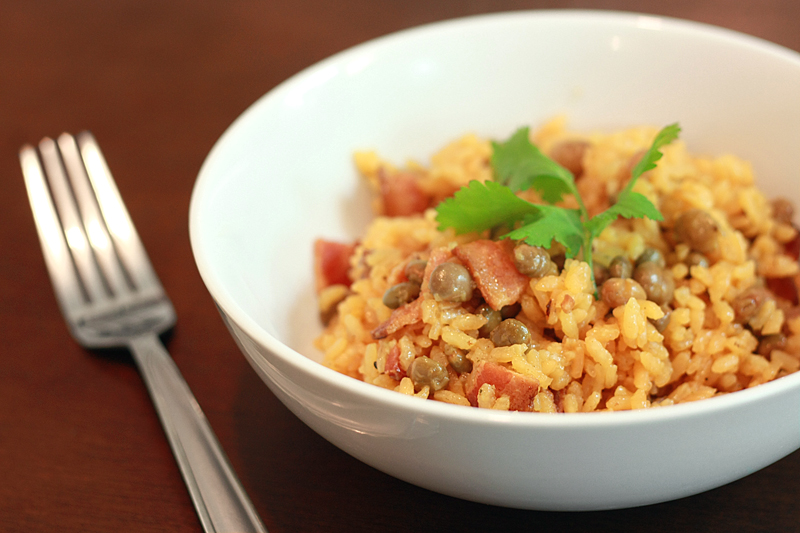
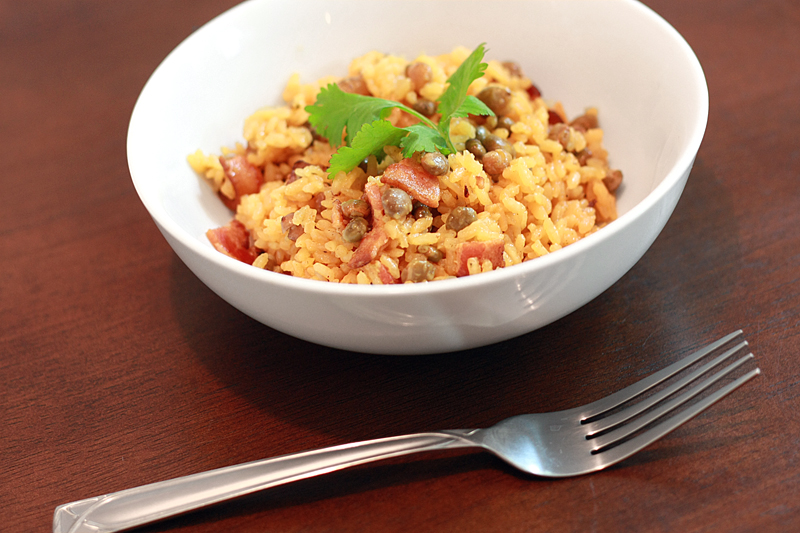
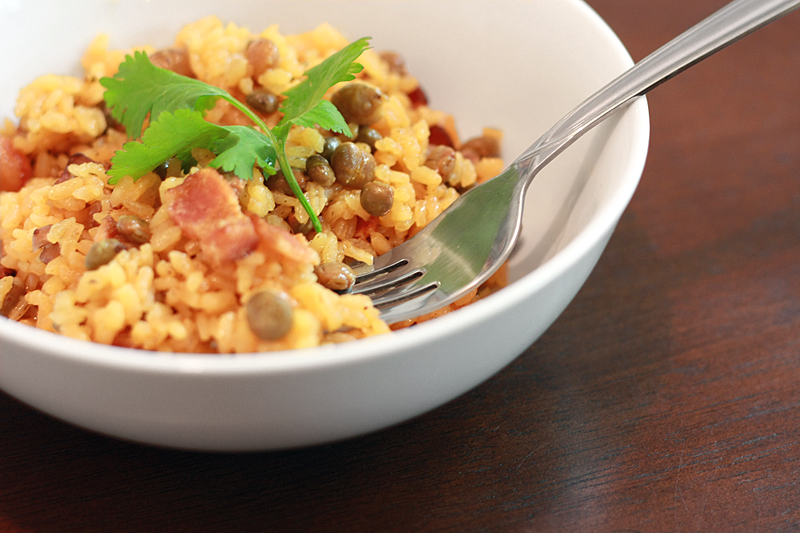
Arroz con Gandules


I have a soft spot when it come to Puerto Rican food, I don't know why. 9 times out of 10 I stay away from greasy fried food but when it happens to come from Puerto Rico, I'm all over it. Can we say alcapurrias and tostones? There's just something about the flavor of the food that I just can't get anywhere else, well, especially with where I live now (let's be honest, I'm still searching for a good Mexican restaurant).

Not all Puerto Rican food is fried. In fact, one of my favorite dishes ever is the Puerto Rican version of Arroz con Pollo, which is just a simple rice and chicken dish. Most of the Puerto Rican food I've attempted in the past I've had before, either in Puerto Rico or cooked by my old roommate who is from there. This was a first for me. I'm not sure how I ran across this recipe, or one like it, but it inspired me to go out and buy a can of pigeon peas with the thought that I would make this some time in the distant future.

But that can just sat there and tormented me. Every single time I opened my pantry. I held off though, as my imported-straight-from-Puerto-Rico-through-my-friend-sofrito supply is starting to dwindle. Then came last night. I realized I hadn't checked my dinner recipe close enough and it needed hours for dough to rise. Yeah, not happening. What did I have? Or better yet, what did I feel like? And then there was the can. All I needed was bacon, easy to do as the husband goes right by the grocery on his way home. Done. Totally not a decision I regret.

Arroz con Gandules


Original Recipe

1/2 pound bacon
3 tablespoons bacon drippings
2 cups medium-grain rice
4 cups water
1/2 cup sofrito (green, not red)
1 (15 ounce) can pigeon peas, rinsed and drained
1 packet sazón with achiote and culantro

In a dutch oven (or large pot), cook the bacon over medium heat until done, but not crisp. Remove from pan and crumble. Discard all but 3 tablespoons of bacon drippings. (If you do not have 3 tablespoons of drippings you can substitute with vegetable oil.) Add all the ingredients (including crumbled bacon) to the dutch oven, giving it a quick stir. Do not stir after this point. Turn heat to medium high and bring to a boil. Allow water to be absorbed (no water remaining on top of the rice), give a gentle stir, then cover and reduce heat to low. Cook in 10 minute increments, checking to see if the rice is done after each.

Serves: 6


There are variations upon variations of this recipe, so I just picked and chose the parts I liked. You could easily add capers, olives, onions, or even tomato sauce. Or substitute out the bacon for diced ham or salt pork. Any way works. It's the sofrito, rice, sazón, and pigeon peas that make the basis for this dish. All of the recipes I came across call for vegetable oil to be used in lieu of the bacon drippings, but I decided to go with what I already had going on. I think using the bacon drippings gives the rice and pigeon peas a nice subtle smoky flavor that you wouldn't get otherwise. And let me tell you -- De-licious.

Oh, and don't worry if you get some crispy rice on the bottom of your pan -- it's supposed to happen and can actually be tasty.

I'm not sure I like this dish quite as much as my beloved Arroz con Pollo, but it sure ranks up there pretty high.


Nutrition Facts
Amount per serving
Calories 593Calories from fat 218
% Daily Value
Total Fat 24.2g37%
Saturated Fat 5.2g26%
Cholesterol 42mg14%
Sodium 1228mg51%
Total Carbs 67.3g22%
Dietary Fiber 6.4g25%
Protein 25.6g
Vitamin A 0%Vitamin C 6%
Calcium 4%Iron 19%

LinkWithin

Related Posts with Thumbnails
 
Pin It button on image hover