Wednesday, April 29, 2009

Grilled Smoked Gouda, Bacon, & Granny Smith Sandwiches


It's not all that often that a meal just pops into my head. But usually when it happens, it turns out pretty good. And these sandwiches are definitely no exception. I have to admit, they're pretty fabulous -- not to mention super simple to throw together.

Grilled Smoked Gouda, Bacon, and Granny Smith Sandwiches

From: Original Recipe


8 slices of bread
8 slices of smoked gouda cheese
16 slices of bacon, cooked
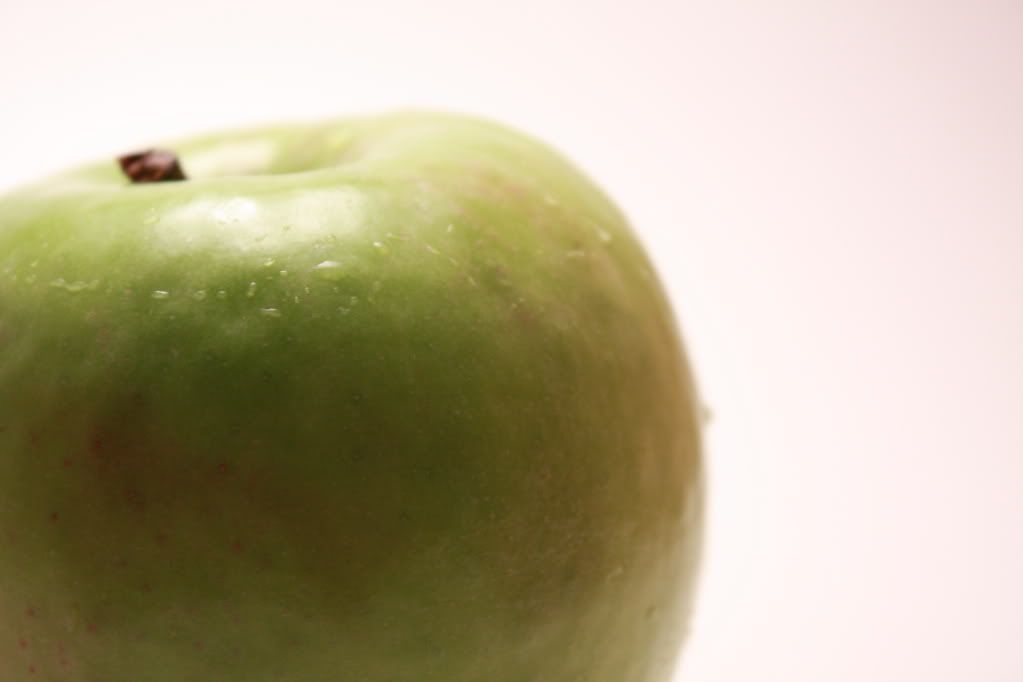
1 Granny Smith apple, peeled and cut into 16 slices
Butter/margarine

Preheat large non-stick frying pan over medium-low heat.


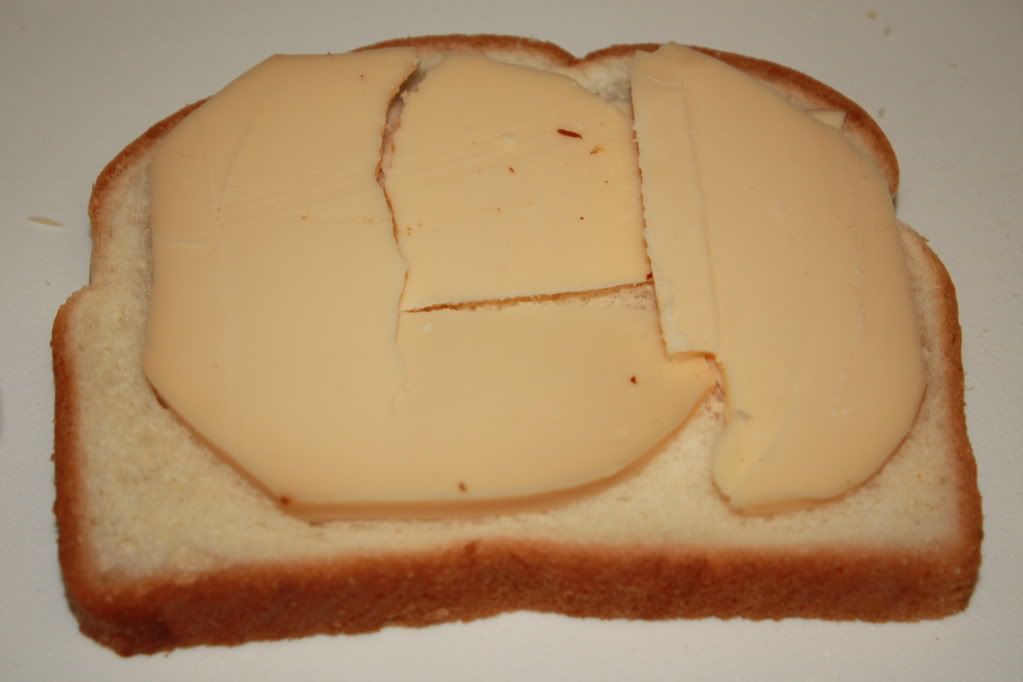
Prepare bread by buttering one side of each slice (2 slices per sandwich). Place slice of bread butter-side down in pan. Add one slice of Smoked Gouda.


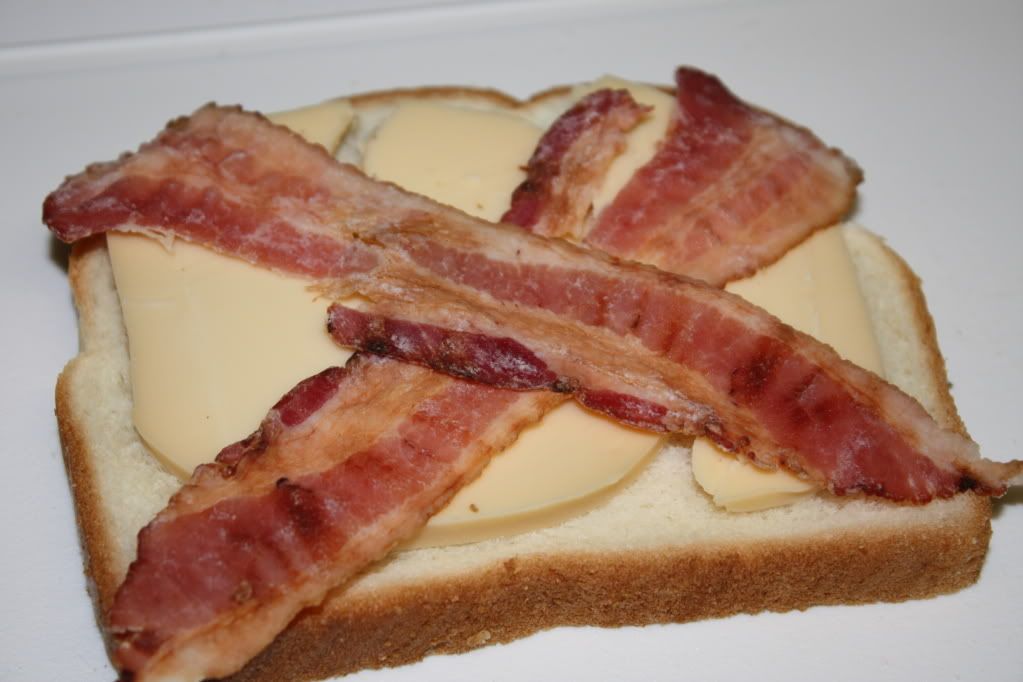
Add two slices of bacon.


Add 4 slices of apple. (Make sure yours is peeled -- it's a lot easier to eat.) Add another two bacon slices and another slice of cheese.


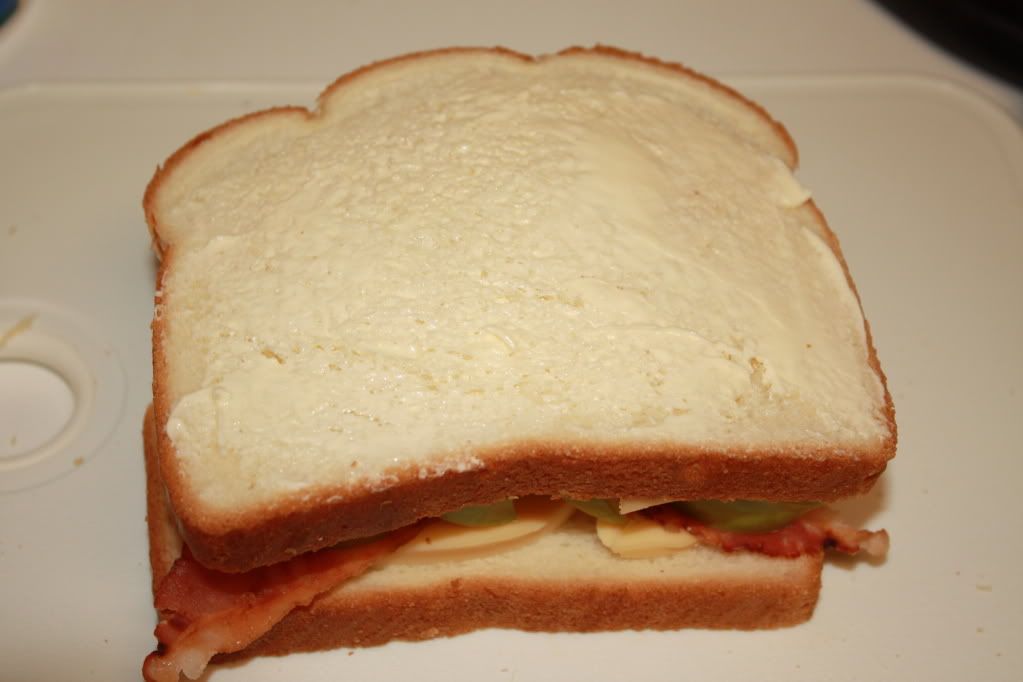
Top with the second slice of bread, butter-side up.


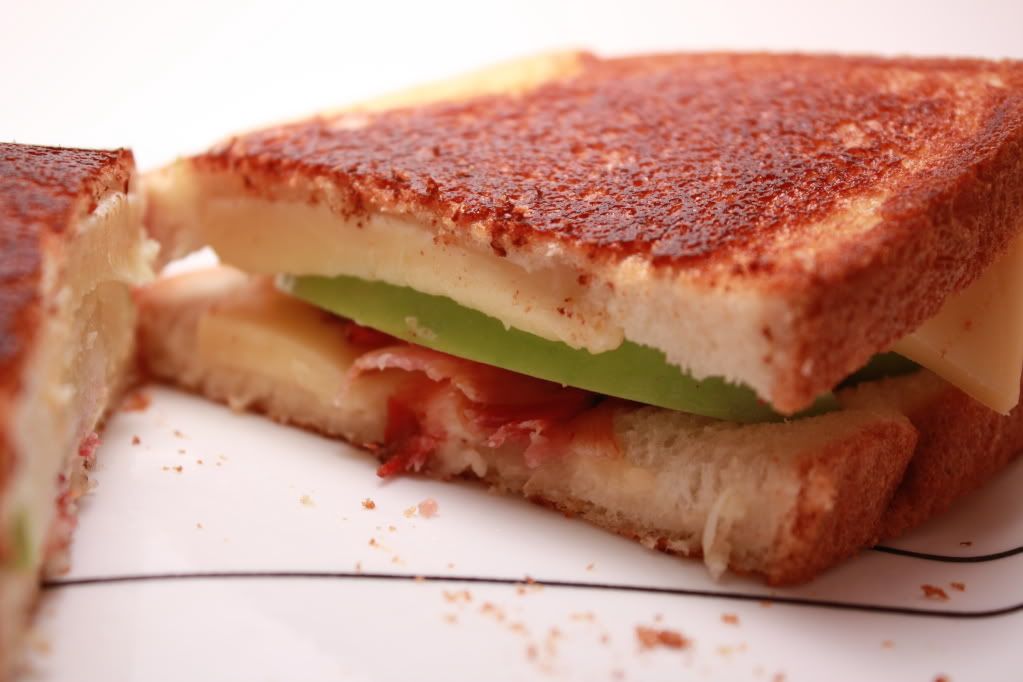
Grill sandwich on each side until golden-brown. Since it is over a lower heat, it will take a bit longer than your normal grilled cheese sandwich. Don't be tempted to turn up the heat though, or the cheese won't melt.
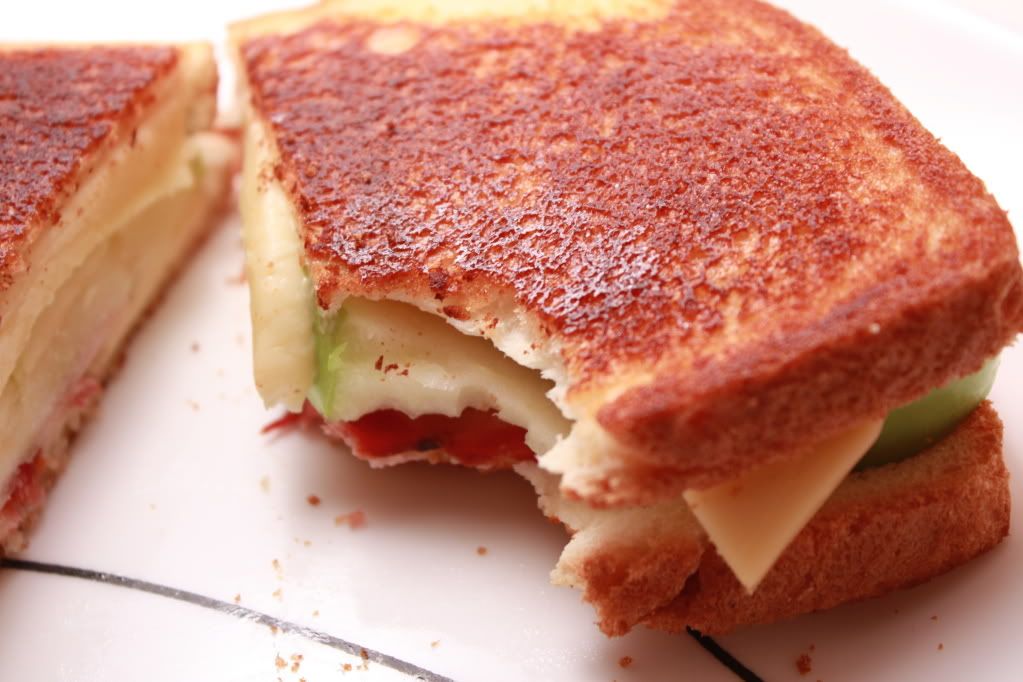

And enjoy!

We've already made these several times (once even for my parents, sister and brother-in-law, and Laura) and absolutely love them!


Nutrition Facts
Amount per serving
Calories 985Calories from fat 648
% Daily Value
Total Fat 72.0g111%
Saturated Fat 19.7g99%
Trans Fat 0.0g
Cholesterol 125mg42%
Sodium 3272mg136%
Total Carbs 35.3g12%
Dietary Fiber 2.2g9%
Sugars 6.0g
Protein 46.7g
Vitamin A 21%Vitamin C 3%
Calcium 11%Iron 21%

Asian-Marinated Flank Steak


What? No chicken? Amazing, I know. But every once in a while I like to switch it up on Adam. I was flipping through the March issue of Cooking Light and ran across this recipe for Asian-Marinated Flank Steak. I've been looking for a tasty teriyaki marinade, but this looked pretty good, so I decided to give it a try.

Wow. Am I ever so glad I did. Adam and I liked it so much that we even made it last weekend for Jen, Marion, my parents, and Laura, all of who loved it too.

And honestly, I'm not sure you can really get any easier than this. (It takes all of maybe 5 minutes to throw together the marinade, and then just cook it!)


Asian-Marinated Flank Steak
Adapted from: Cooking Light, March 2009


3 tablespoons hoisin sauce
2 tablespoons water
2 tablespoons rice vinegar
1 tablespoon soy sauce
2 teaspoons grated peeled fresh ginger
1 teaspoon dark sesame oil
1/4 teaspoon ground nutmeg
1/8 teaspoon crushed red pepper
2 garlic cloves, minced
1 (1-pound) flank steak, trimmed
Cooking spray

Combine first 9 ingredients in a small bowl. Reserve 1/4 cup hoisin mixture; spoon remaining mixture into a large zip-top plastic bag. Add steak to bag; seal and marinate in refrigerator 24 hours, turning bag occasionally. Remove steak from bag; discard marinade.

Prepare grill or grill pan to medium heat.

Place steak on grill rack coated with cooking spray; grill about 5 minutes on each side or until desired degree of doneness (using an instant read thermometer is a great idea on a grill pan). Let stand 5 minutes. Cut steak diagonally across the grain into thin slices. Serve with reserved 1/4 cup sauce.

Serves:4

Overall, I pretty much kept the recipe for the marinade the same (except I always use regular soy sauce instead of low-sodium -- can't stand the stuff), but their cooking time/method was way off.

The first time we made this, I followed their instructions: 4 minutes per side on med-high heat. Well, as you can imagine, this seared the outside and left the middle pretty rare (I think it only got up to about 120 degrees). So on our second go around, we used the grill on a lower heat and cooked it for a bit longer. Perfect.

We will for sure be making this again, and again, and again.


Try this recipe with:


Nutrition Facts
Amount per serving
Calories 271Calories from fat 101
% Daily Value
Total Fat 11.2g17%
Saturated Fat 4.2g21%
Trans Fat 0.0g
Cholesterol 63mg21%
Sodium 484mg20%
Total Carbs 6.8g2%
Dietary Fiber 0.6g2%
Sugars 3.4g
Protein 32.4g
Vitamin A 1%Vitamin C 1%
Calcium 3%Iron 13%

Tuesday, April 28, 2009

Ham and Swiss Croquettes


A couple weeks ago I was given a "mission" by one of the nurses I work with. Every time we work together, we somehow end up talking about food. Apparently she had some croquettes and absolutely loved them, and is in search of a recipe.

The first time I had croquettes was down in Ponce, Puerto Rico in a small restaurant. The smooth insides mixed with ham and cheese (or other things) won me over on the first bite. Alas, once we came back to the States, no more croquettes. Until Adam and I took a couple friends to Ibiza, a tapas restaurant over in South Side.

I saw Ham Croquettes listed on the menu and insisted we order them right away. Oh, and were they so good. The ham was pureed in with the base giving the insides an absolutely deliciously creamy texture. I really want to go back and get some just thinking about it.

After searching around on the web, I kind of put together my own idea of what to throw together -- it's loosely based on this recipe.


Ham & Swiss Croquettes
From: Original Recipe

6 medium russet (baking) potatoes (2 1/2 pounds), peeled and quartered
1/2 pound Swiss cheese, shredded
1/4 cup grated parmesan
3 large eggs
1 cup fine dry bread crumbs
About 2 1/2 cups olive oil

Generously cover potatoes with salted cold water (2 teaspoon for 4 quarts) in a large pot, then simmer until tender, about 15 minutes. Drain potatoes and mash. Stir in cheeses, pepper, and salt to taste. Chill in a large bowl until cool, about 45 minutes.
Stir in 1 egg.

Form potato mixture into 24 oblong croquettes. Lightly beat remaining 2 eggs in a shallow bowl and put bread crumbs in another shallow bowl. Dip 1 croquette into egg, letting excess drip off, then roll in bread crumbs to coat. Transfer to a parchment-paper-lined baking sheet. Repeat with remaining croquettes.

Heat 1/2 inch oil in a 12-inch heavy skillet over medium-high heat until it shimmers. Fry croquettes in batches, cooking on each side until golden brown, 4 to 5 minutes (total) per batch. Transfer to paper towels to drain. Serve immediately.


Ok, so I forgot to add pepper. And you most definitely should because they for sure benefited from it. I didn't quite get it right for her, so I will be trying these again in the near future, but they did satisfy my craving for croquettes.

I originally wanted to try making these with yuca, as I think they would give a better taste for the base than potatoes, but apparently it is impossible to find that around here. We will see how round #2 comes out.

Monday, April 27, 2009

Chewy Amaretti Cookies


I never really discovered how awesome almond flavoring is until last year. Hmm, seems like I never discovered much of anything until last year. Where was I?

Despite falling in love with this flavoring, I haven't really had a chance (or excuse, however you look at it) to try out almond paste or marzipan. Almond paste is ground almonds or almond meal and sugar, typically 50-55%, with a small amount of cooking oil, heavy cream or corn syrup; added to bind the two ingredients, while marzipan consists mostly of just almond meal and sugar. (Gotta love Wikipedia.)

So when I saw that this recipe contained almond paste it of course peaked my interest. And it was only 4 ingredients for the cookies. Which is made in my food processor, of which all the parts are dishwasher safe -- even better.


Chewy Amaretti Cookies
From: Gourmet, January 2009
(via Smitten Kitchen)


1 (7-ounce) tube pure almond paste (not marzipan; 3/4 cup)
1 cup sugar
Pinch of Kosher salt
2 large egg whites at room temperature for at least 30 minutes

Preheat oven to 300°F and place racks in the upper and lower thirds of your oven. Line two large sheet pans with parchment paper.

Pulse almond paste, sugar and salt in a food processor until broken up, then add egg whites and puree until smooth. Transfer batter to pastry bag fitted with a 3/8-inch tip and pipe 3/4-inch rounds (1/3 inch high) about 1-inch apart in pans. Dip a fingertip in water and gently tamp down any peaks.

Bake, rotating and switching position of pans halfway through, until golden and puffed, 15 to 18 minutes.

Let cookies cool almost completely in their pans. Once cool, remove from the parchment.

Cookies can be kept in an airtight container at room temperature for a day or two or frozen up to one month.

To make into sandwiches with a chocolate filling, melt about 3 oz. of chocolate and mix with 1-2 tbsp. of cream; let thicken.


Were these easy? Definitely. Were they tasty? Not too bad. However, they are for sure chewy. I made the mistake of whipping these bad boys up a few days after Adam had a wisdom tooth extracted and he wasn't really able to eat them. It's not a bad chewy, it's just... super chewy. So they followed me to work and were polished off there (I knew those nurses were good for something...).


Nutrition Facts - Sandwich Cookies
Amount per serving
Calories 91Calories from fat 30
% Daily Value
Total Fat 3.4g5%
Saturated Fat 1.0g5%
Trans Fat 0.0g
Cholesterol 1mg0%
Sodium 16mg1%
Total Carbs 14.4g5%
Dietary Fiber 0.5g2%
Sugars 13.2g
Protein 1.3g
Vitamin A 0%Vitamin C 0%
Calcium 2%Iron 1%

Wednesday, April 22, 2009

Balsamic Pork with Shallots


Gah, I hate days when my cooking/baking doesn't turn out. Mostly it's because I don't completely read through the directions -- or pay attention to what I am doing. (Well at least I learned that adding too much butter makes for really flat cookies.)

Good thing I didn't make this today. :) It actually turned out pretty good. And it's fairly easy to make (not a super quick meal, but still doesn't take forever to make either).


Balsamic Pork with Shallots
From: Cooking Light, March 2009


5 teaspoons olive oil, divided
1 (1-pound) pork tenderloin, trimmed and cut crosswise into (1/2-inch-thick) slices
1/2 teaspoon salt, divided
1/2 teaspoon freshly ground black pepper, divided
2 1/4 cups thinly sliced shallots (about 8)
1 garlic clove, minced
1/2 cup water
2 tablespoons balsamic vinegar

Heat 1 teaspoon oil in a large nonstick skillet over medium-high heat. Sprinkle pork with 1/4 teaspoon salt and 1/4 teaspoon pepper. Add pork to pan; cook 3 minutes on each side or until done. Remove from pan, and keep warm.

Add remaining 4 teaspoons oil to pan; reduce heat to medium. Add shallots to pan; cook 10 minutes or until tender, stirring occasionally. Add garlic; cook 2 minutes. Stir in 1/2 cup water and vinegar; simmer 6 minutes. Stir in remaining 1/4 teaspoon salt and remaining 1/4 teaspoon pepper. Spoon shallot mixture over pork. Serve immediately.

Serves: 4


If I remember correctly, I cooked the pork a little longer than 3 minutes on each side, but now that I have discovered our handy-dandy meat thermometer, I will definitely be using that more often!


Nutrition Facts
Amount per serving
Calories 280Calories from fat 87
% Daily Value
Total Fat 9.7g15%
Saturated Fat 2.2g11%
Trans Fat 0.0g
Cholesterol 83mg28%
Sodium 368mg15%
Total Carbs 15.6g5%
Protein 32.0g
Vitamin A 21%Vitamin C 12%
Calcium 4%Iron 14%

Tuesday, April 21, 2009

Homemade Oreo Cookies


On my 18th birthday, I arrived at school to find taped to my locker,

"Happy Birthday
to our Oreo Fiend,
today you're turning
18"
(with two oreos glued to the paper to make the 8)

Or at least something to that effect. But I know for sure there were Oreos glued to the paper. And I still considered eating them.

Yeah, think I liked Oreos much? Surprised that I would jump at the chance to try this recipe out? Didn't think so.


Homemade Oreo Cookies


For the chocolate wafers:
1 1/4 cups all-purpose flour
1/2 cup unsweetened Dutch process cocoa
1 teaspoon baking soda
1/4 teaspoon baking powder
1/4 teaspoon salt
1 to 1 1/2 cups sugar*
1/2 cup plus 2 tablespoons (1 1/4 sticks) room-temperature, unsalted butter
1 large egg

For the filling:
1/4 cup (1/2 stick) room-temperature, unsalted butter
1/4 cup vegetable shortening
2 cups sifted confectioners’ sugar
2 teaspoons vanilla extract

Set two racks in the middle of the oven. Preheat to 375 F.

In a food processor, or bowl of an electric mixer, thoroughly mix the flour, cocoa, baking soda and powder, salt, and sugar. While pulsing, or on low speed, add the butter, and then the egg. Continue processing or mixing until dough comes together in a mass.

Take rounded teaspoons of batter and place on a parchment paper-lined baking sheet approximately two inches apart. With moistened hands, slightly flatten the dough. Bake for 9 minutes, rotating once for even baking. Set baking sheets on a rack to cool.

To make the cream, place butter and shortening in a mixing bowl, and at low speed, gradually beat in the sugar and vanilla. Turn the mixer on high and beat for 2 to 3 minutes until filling is light and fluffy.

To assemble the cookies, in a pastry bag with a 1/2 inch, round tip, pipe teaspoon-size blobs of cream into the center of one cookie. Place another cookie, equal in size to the first, on top of the cream. Lightly press, to work the filling evenly to the outsides of the cookie. Continue this process until all the cookies have been sandwiched with cream. Dunk generously in a large glass of milk.

* I used only 1 c. sugar to get closer to that true Oreo taste.


I was actually pretty surprised with how well these turned out. The cookies really do taste like the Oreo cookies, although the filling is still a little bit off. It was still also kind of hard for me to get past the fact that these were supposed to be hard cookies, I kept thinking they were going to be soft and chewy (so unlike an Oreo) everytime I went to eat one because of the way they look.

I took some of these in to work, and everyone said they were pretty good. (One nurse even mentioned something about them yesterday, a couple weeks after I took them in.)

Don't forget the milk!


Nutrition Facts
Amount per serving
Calories 197Calories from fat 84
% Daily Value
Total Fat 9.4g14%
Saturated Fat 5.1g26%
Cholesterol 27mg9%
Sodium 126mg5%
Total Carbs 28.5g9%
Dietary Fiber 0.7g3%
Sugars 22.4g
Protein 1.3g
Vitamin A 4%Vitamin C 0%
Calcium 1%Iron 3%

Sunday, April 19, 2009

Basic Beer-Cheese Bread


Want to know something that everyone knows about me? I hate beer. With a passion. It definitely makes for expensive nights out, but I have attempted to drink beer -- different kinds in fact, and I still just can't make myself enjoy it. It's really not how it goes down, but definitely the aftertaste that gets me.

Now, do you want to know a secret? I love beer bread. A long time ago, my dad got a bread machine and would try out different kinds of recipes with it. And boy did I love his beer bread. It smells just so delicious and tastes that way too.

So when I ran across this recipe in Cooking Light, it definitely got ripped out and saved. Finally, I decided to pull this bad boy out and give it a try.


Basic Beer-Cheese Bread
From: Cooking Light, November 2008

1 tablespoon olive oil
1/2 cup finely chopped yellow onion
1/4 teaspoon freshly ground black pepper
1 garlic clove, minced
13.5 ounces all-purpose flour (about 3 cups)
3 tablespoons sugar
2 teaspoons baking powder
1 teaspoon salt
1 cup (4 ounces) shredded Monterey Jack cheese
1 (12-ounce) bottle lager-style beer (such as Budweiser)
Cooking spray
2 tablespoons melted butter, divided
Preheat oven to 375°.

Heat oil in a small skillet over medium-low heat. Add onion to pan; cook 10 minutes or until browned, stirring occasionally. Stir in pepper and garlic; cook 1 minute.

Weigh or lightly spoon flour into dry measuring cups; level with a knife. Combine flour, sugar, baking powder, and salt in a large bowl, stirring with a whisk; make a well in center of mixture. Add onion mixture, cheese, and beer to flour mixture, stirring just until moist.

Spoon batter into a 9 x 5–inch loaf pan coated with cooking spray. Drizzle 1 tablespoon butter over batter. Bake at 375° for 35 minutes. Drizzle remaining 1 tablespoon butter over batter. Bake an additional 25 minutes or until deep golden brown and a wooden pick inserted into the center comes out clean. Cool in pan 5 minutes on a wire rack; remove from pan. Cool completely on wire rack.


Serves: 16


Okay, so apparently I have issues as of late with following directions. First I forgot to add the garlic to the onions (so I just sprinkled it over the top), and then with my a-mazing beer selection skills (HA) I chose to add a light Hoegaarden beer instead a darker one, which really gave very little flavor to the bread. It smelled great, but definitely was missing out on the taste.

Cooking Light also has other variations for this recipe such as Apple-Cheddar, Manchego-JalapeƱo, and Sopressata-Asiago. I definitely want to give a couple of these a try -- using the correct beer.


Nutrition Facts
Amount per serving
Calories 155Calories from fat 42
% Daily Value
Total Fat 4.7g7%
Saturated Fat 2.4g12%
Trans Fat 0.0g
Cholesterol 10mg3%
Sodium 197mg8%
Total Carbs 22.1g7%
Dietary Fiber 0.7g3%
Sugars 2.6g
Protein 4.4g
Vitamin A 2%Vitamin C 1%
Calcium 19%Iron 7%

Friday, April 17, 2009

Spinach Lasagna Roll-Ups with Tomato Coulis


Don't you just love when you're looking for a certain recipe and come across a different one that as equally scrumptious? I was searching for a good lasagna recipe because, well, quite frankly I'm starting to get lazy and was wanting a recipe that would provide lots of leftovers.

Okay, so these really aren't a super far stretch from traditional lasagna, but they're cuter and are missing out on the meat part. (I figured Adam could get over it -- he's actually been pretty good about that.)


Spinach Lasagna Roll-Ups with Tomato Coulis

From: Hunt's

Cooking Spray
9 lasagna noodles, uncooked

Tomato Coulis:
1 tablespoon olive oil
1 cup chopped red onion
1 tablespoon minced garlic
3 cans (14.5 oz each) Hunt's Diced Tomatoes, undrained
1/4 cup thinly sliced fresh basil
1/2 teaspoon salt
1/2 teaspoon ground black pepper

Filling:
1 tablespoon olive oil
2 tablespoons minced shallots
3 pkgs (10 oz each) frozen chopped spinach, thawed, squeezed dry
1/2 teaspoon salt
1/2 teaspoon ground black pepper
1/4 teaspoon ground nutmeg
9 tablespoons crumbled feta cheese

Okay now, don't get too stressed by the length of the ingredient list. I'll walk you through the steps.

First prepare the coulis.

Chop your herbs and veggies. (If using fresh spinach, use waaay more than 30 oz., it will wilt and shrink down once you cook it -- I did not, and really had to stretch my filling.)


Cover each lasagna noodle with spinach mixture and feta.


Roll 'em up! Then cut in half so each half has a curly edge.


And nestle those bad boys in that delicious smelling sauce.


Cover and bake (make you cover them or the tops will get hard -- not like anyone here did that or anything...). Then place in dishes and enjoy!


Okay, the real directions:

Preheat oven to 350F. Spray 13- x 9-inch baking dish with cooking spray. Cook lasagna noodles for about 6 minutes in salted, boiling water (or until pliable but still firm). When done, rinse with cold water, drain. Spray noodles with cooking spray to prevent sticking until ready to fill.

Meanwhile, make Tomato Coulis. Heat oil in medium saucepan over medium heat 1 minute. Add onions and garlic; cook 4 minutes, stirring occasionally, or until onion is tender. Add undrained tomatoes; cook over medium-low heat 30 minutes (sauce should be gently bubbling around edge of pan). Remove from heat; add basil, salt and pepper. Working in batches, place coulis in blender container and puree until smooth. Place coulis in baking dish; set aside.

For the filling: Heat oil in large skillet over medium-high heat 1 minute. Add shallots; cook 3 minutes, stirring occasionally, or until tender. Blend in well-drained spinach, salt, pepper and nutmeg. Cook and stir 3 minutes or until heated through. Remove from heat.

Place plastic wrap on work surface. Lay out lasagna noodles. Top each with equal amounts of spinach mixture (about 1/3 cup). Spread spinach evenly over each noodle leaving last 2 inches uncovered. Sprinkle 1 tablespoon feta over spinach on each noodle. Roll up each starting with the covered end. Carefully cut each roll-up in half and place ruffled-edge facing up in dish. Cover dish with aluminum foil. Bake 30 to 35 minutes or until sauce is bubbling and roll-ups are hot.

To serve, spread 1/2 cup hot coulis in each shallow bowl; top with 3 roll-ups. Remaining sauce may be served on side. (Serves: 6)


Alright, if you're kind of intimidated, don't be. I swear they are easier than that small novel makes it look. And they're delicious. And cute. Maybe a little hard to eat in a bowl (especially when the tops are hard -- so cover them while baking!!), and a little time consuming, but totally worth it.

Not too shabby from a canned tomato company!


For those curious, hands on time (according to the recipe) is about an hour, and total time is about and hour and a half.


Nutrition Facts
Amount per serving
Calories 282Calories from fat 84
% Daily Value
Total Fat 9.3g14%
Saturated Fat 2.9g15%
Trans Fat 0.0g
Cholesterol 27mg9%
Sodium 669mg28%
Total Carbs 40.3g13%
Dietary Fiber 6.1g24%
Sugars 7.4g
Protein 13.3g
Vitamin A 304%Vitamin C 114%
Calcium 24%Iron 26%

LinkWithin

Related Posts with Thumbnails
 
Pin It button on image hover